The GHP63x(W) series of hotel phones comes with a variety of features that can be tailored to the needs of hotels, hospitals, apartments and more. Not only is the GHP63x(W) series a well rounded solution for hotel staff and guests, but it also allows wallpaper and screensaver customization to complement its sleek and compact design.
This guide describes, step by step, how to customize the wallpaper and screensaver on a GHP63x(W) hotel IP phone.
Wallpaper Customization
To change the wallpaper settings, please access the Web UI by opening a browser, entering the phone’s IP address and logging in with the administrator username and password. Then, go to System Settings 🡪 Preferences 🡪 Wallpaper.
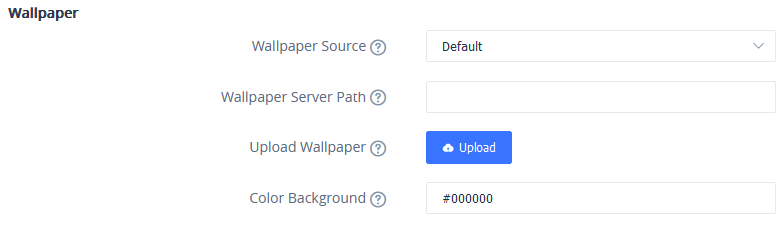
On the “Wallpaper Source” list, users can choose their preferred method to store the wallpapers. There are four ways, either by using the default option, downloading the wallpaper using a server path, uploading it or choosing a specific color.
In this section, we will explain how to configure each method on the phone’s Web UI.
Default Wallpaper
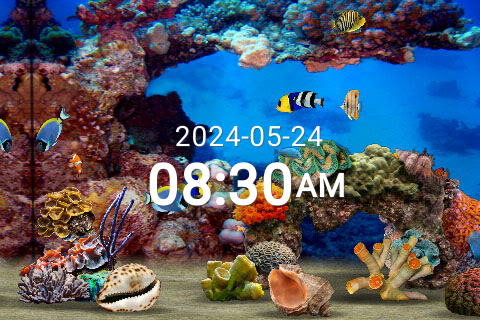
The GHP63x(W) comes with a predefined wallpaper which can be set under System Settings 🡪 Preferences 🡪 Wallpaper by selecting “Default” from the Wallpaper Source drop-down menu.

The following image shows the default GHP63x(W) wallpaper.
Wallpaper Download
Users can also download a wallpaper using a configured server path. In this example, we will be using a local HTTP server by following these steps :
- Launch the install of the tool once it’s fully downloaded from the following link: “ http://www.rejetto.com/hfs/download ”
- Click on Run to launch the HTTP server.
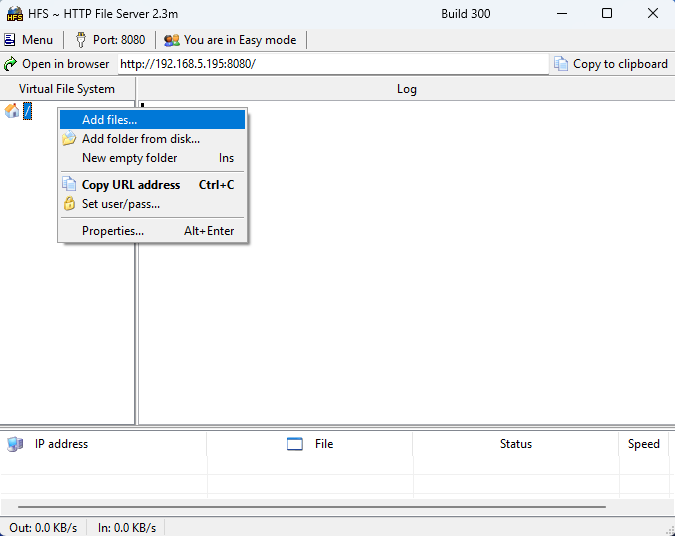
- When HFS starts, browse and add the wallpaper image file from local directories.
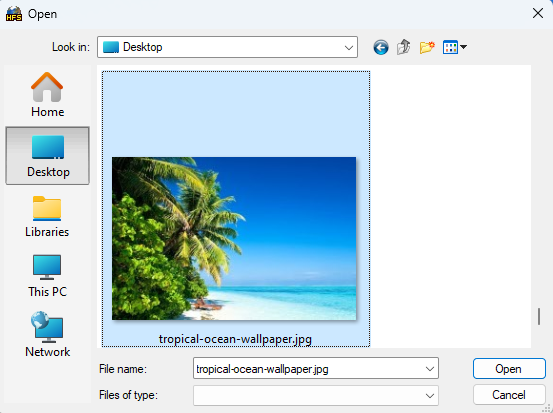
- Select the file and click Open to upload it to the HTTP server.
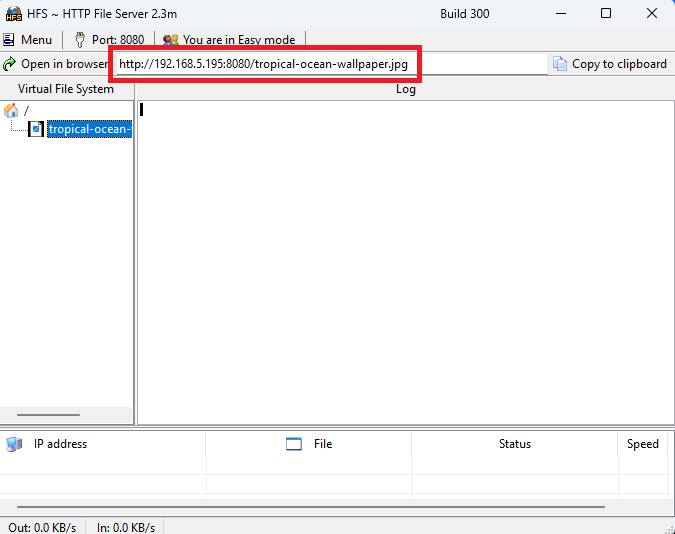
- Once the wallpaper image has been uploaded, copy the server path as shown below :
- To configure the server path on the GHP63x(W), go to System Settings 🡪 Preferences 🡪 Wallpaper, set Wallpaper Source to “Download” and paste the HTTP server path under Wallpaper Server Path.
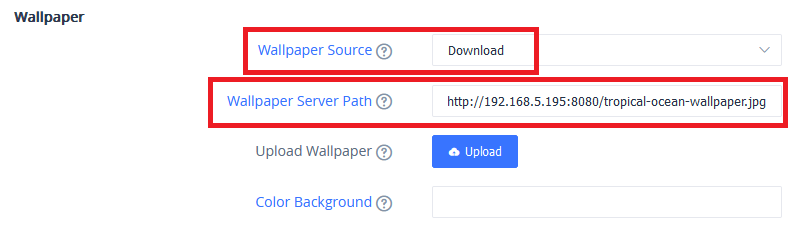
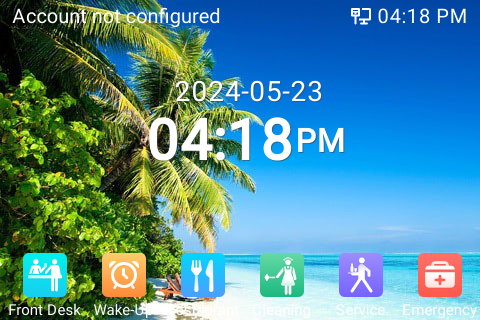
- Click on Save and Apply for the changes to reflect on the GHP63x(W) phone’s LCD.
Wallpaper Upload
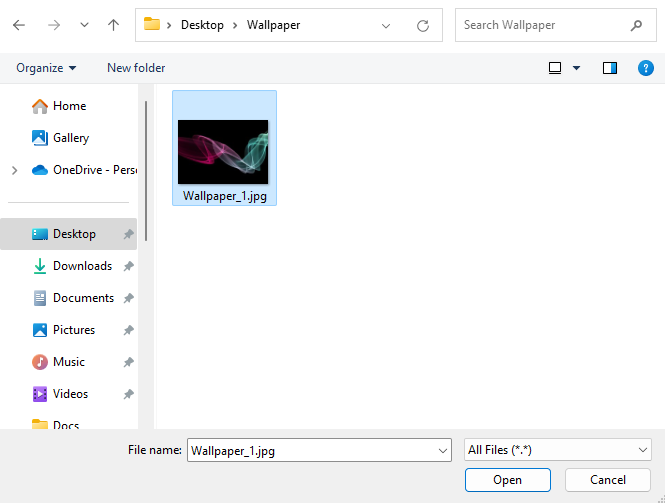
- To upload a wallpaper, Go to System Settings 🡪 Preferences 🡪 Wallpaper. Set Wallpaper Source to “Uploaded” and click on Upload


- Select the wallpaper from a local directory and click Open to upload it and Save and Apply.
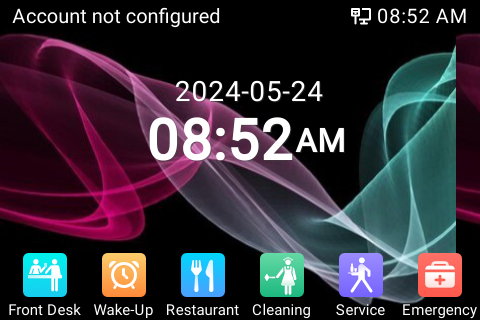
- Click on Save and Apply, and the uploaded wallpaper will appear on the phone as follow :
Color Background Wallpaper
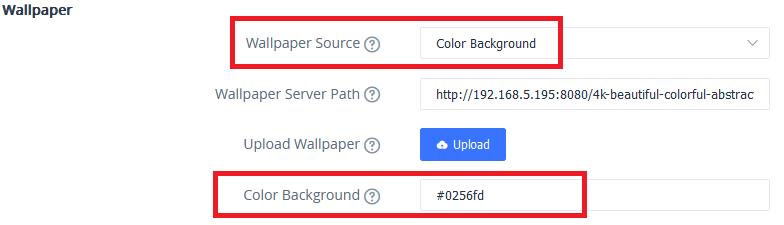
- In order the change the phone’s wallpaper to a solid color, go to System Settings 🡪 Preferences 🡪 Wallpaper and set Wallpaper Source to “Color Background“.
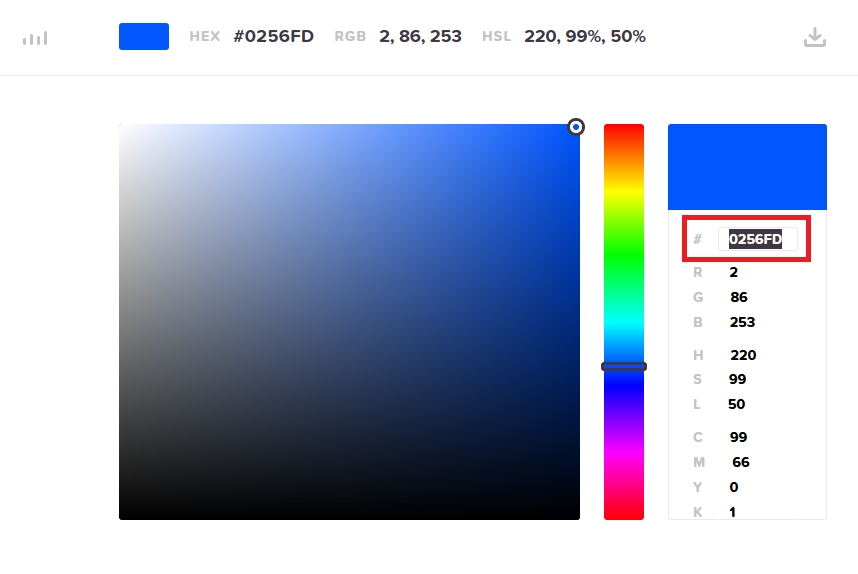
- Enter a color to use in HEX format under Color Background. Please use this link to find the HEX format of a specific color http://htmlcolorcodes.com
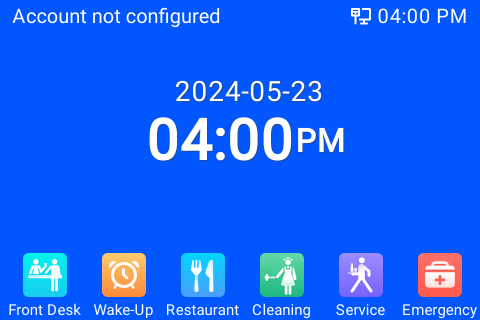
- Once the settings are saved and applied, the phone’s wallpaper will change to the color chosen as shown in the image below :
Screensaver Customization
In order to customize the screensaver, user need to access the Web UI and go to System Settings 🡪 Preferences 🡪 Screensaver.
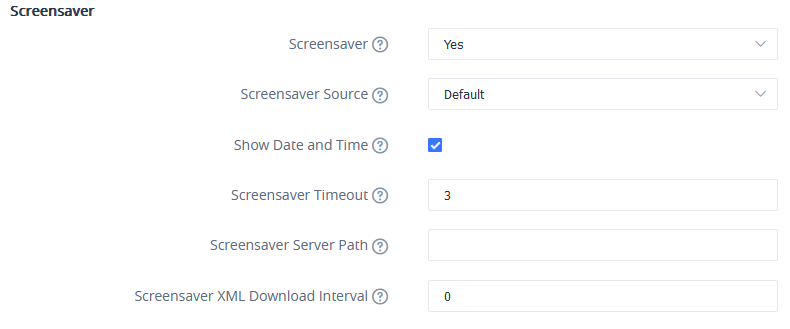
To turn on or off the screensaver feature, set Screensaver to “Yes” or “No” (this feature is turned on by default). Users can also choose whether or not to Show Date and Time and configure the minutes of idle time before the screensaver activates under Screensaver Timeout.
As for the screensaver source, there are two options on the GHP63x(W): default and download. This following section goes describes each one in detail.
Default Screensaver
The screensaver activated by default on the phone can be configured in System Settings 🡪 Preferences 🡪 Screensaver 🡪 Screensaver Source

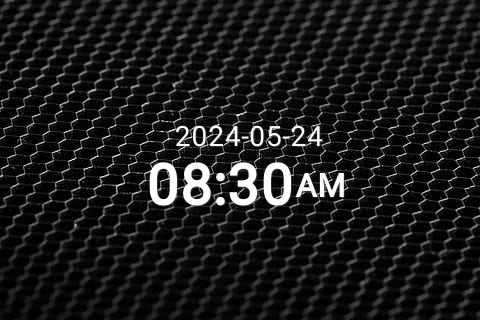
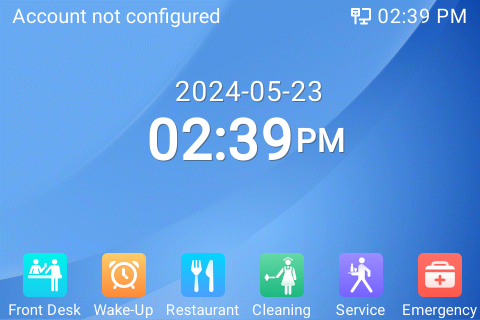
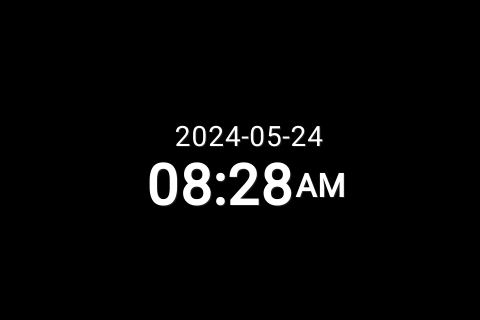
The following image shows the default GHP63x(W) screensaver.
Download Screensaver
To further customize the GHP63x(W) screensaver, users can configure a personalized XML file containing many image paths that will be displayed chronologically on the phone’s LCD.
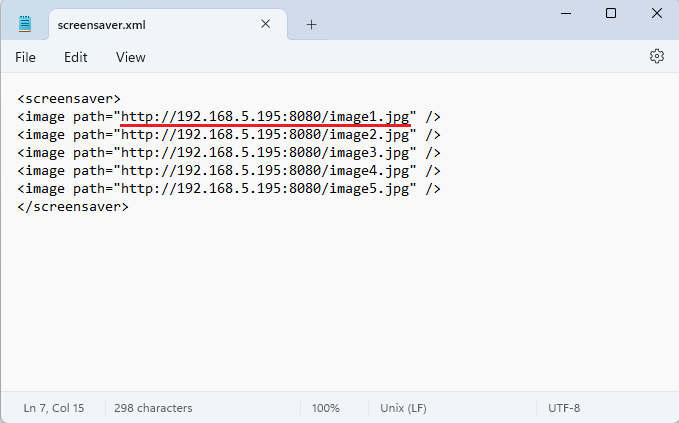
The screensaver XML file should respect the following format :
<screensaver>
<image path="http://server-ip-address/image1.jpg" />
<image path="http://server-ip-address/image2.jpg" />
<image path="http://server-ip-address/image3.jpg" />
<image path="http://server-ip-address/image4.jpg" />
</screensaver>
In order the configure the HTTP server with the XML file locally please refer to the steps below :
- Launch the install of the tool once it’s fully downloaded from the following link: “ http://www.rejetto.com/hfs/download ”
- Click on Run to launch the HTTP server.
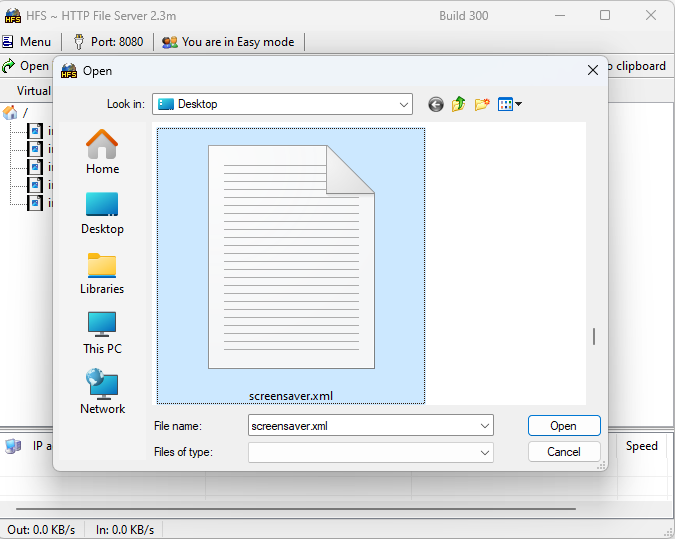
- When HFS starts, browse and add the screensaver image files from local directories.

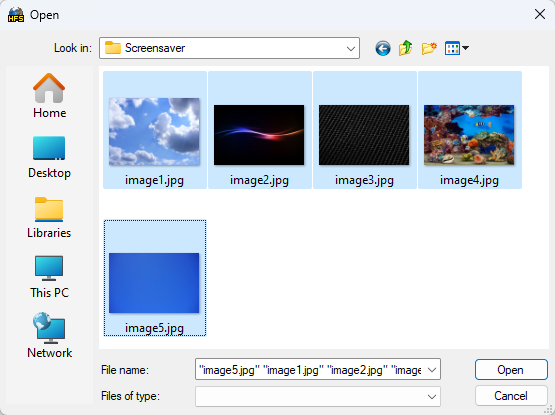
- Select the files and click Open to upload them to the HTTP server.
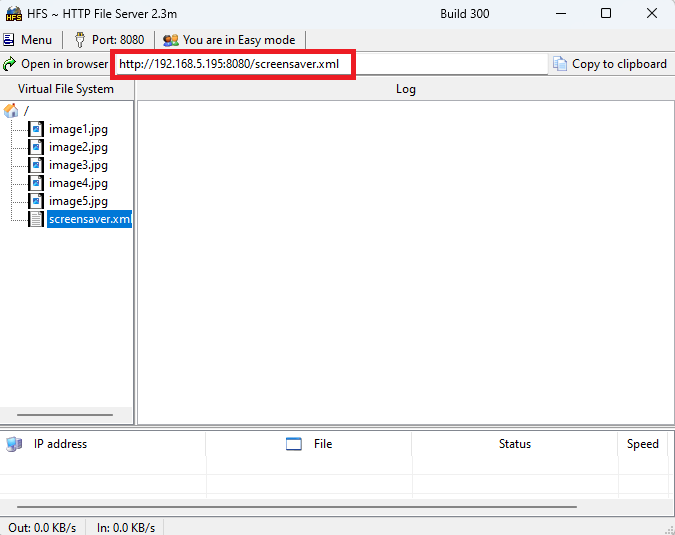
- Once the images are uploaded, copy the path for each image and enter them in the XML file.
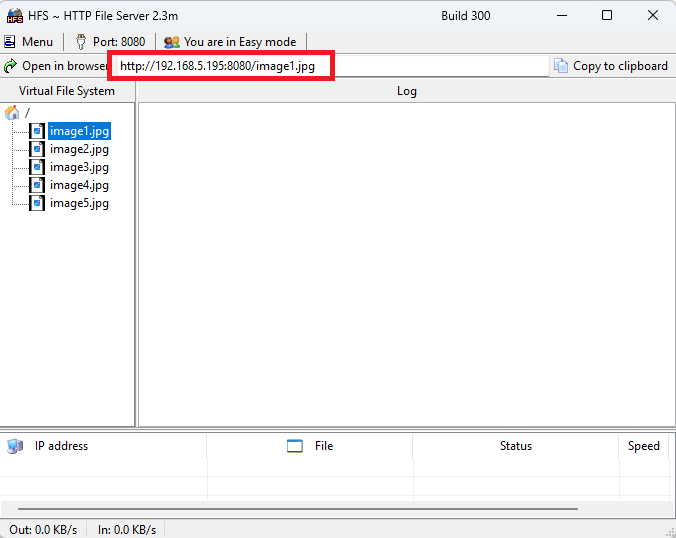
- Upload the XML file created to the HTTP server and copy the path.
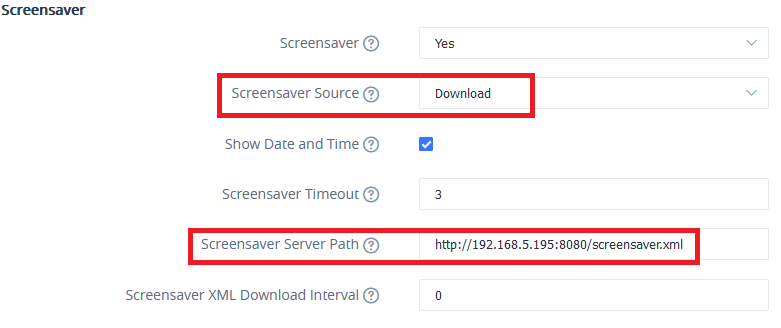
- Go to System Settings 🡪 Preferences 🡪 Screensaver, set Screensaver Source to Download and paste the XML file path in Screensaver Server Path.
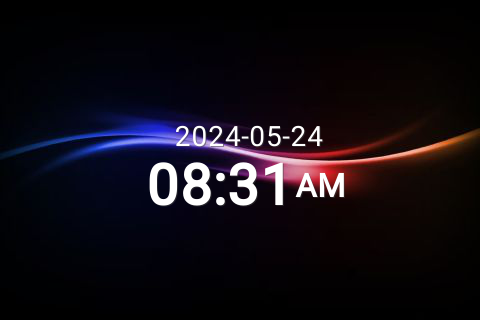
- Click on Save and Apply so the changes takes effect and activate the screensaver (either by waiting for timeout or pressing “Hold + 8” from the phone’s keypad).
- Once the screensaver is activated, the configured images will appear one at a time.