PRECAUTIONS:
OVERVIEW:
GAC2500 represents the future in enterprise conference phone featuring a 4.3” capacitive screen, a Gigabit network port, 3 microphones, a Micro-USB port, a 3.5mm audio port and an RJ48 cascade port, PoE, Wi-Fi and Bluetooth. The GAC2500 supports 6 lines/6 SIP accounts, 7-way HD audio conferencing. The GAC2500 delivers superior HD audio, leading edge telephony features, advanced security and privacy protection, and provisioning. The GAC2500 is compatible with plenty of third party SIP devices and major SIP/NGN/IMS platforms.
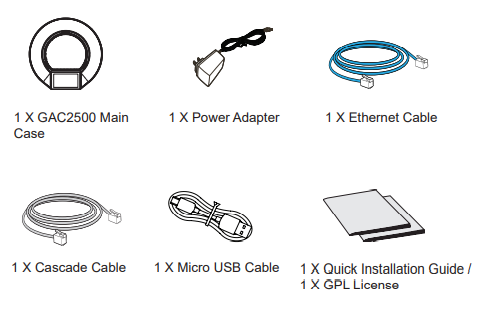
PACKAGE CONTENTS:
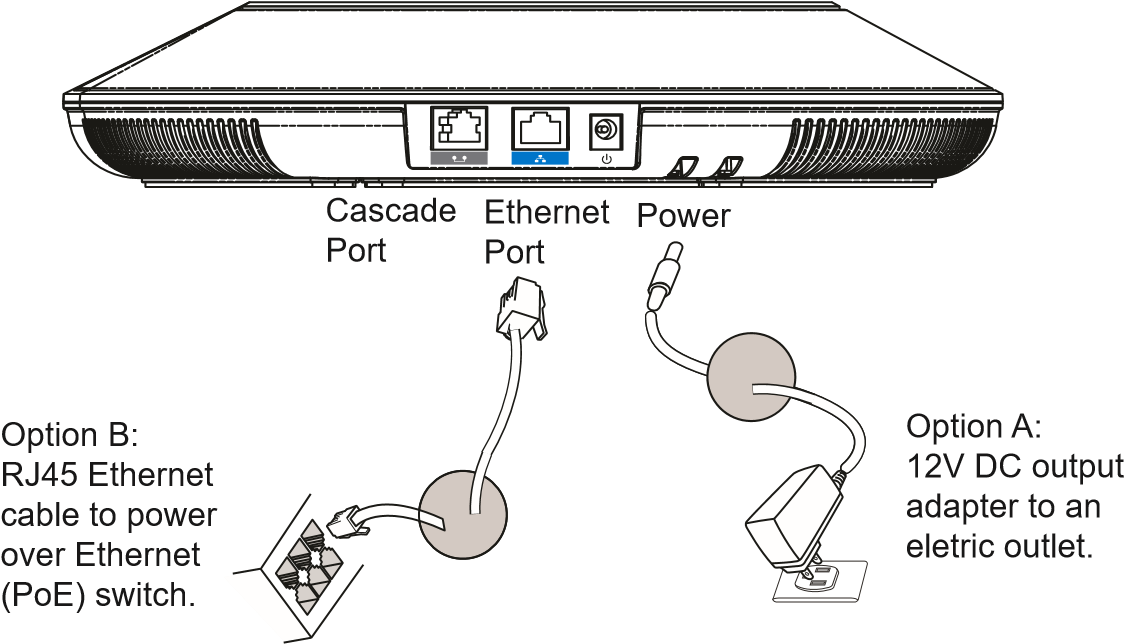
CONNECTING THE GAC2500:
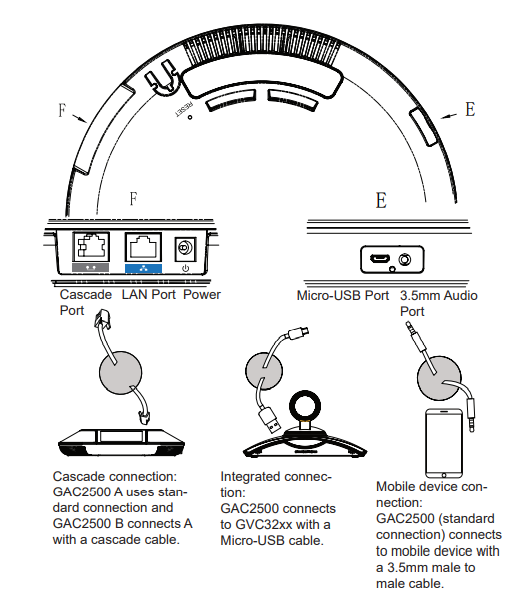
CONNECTION CONFIGURATION:
GAC2500 provides 2 connection configurations:
- Standard connection (extendable cascade connection and mobile device connection).
- Integrated connection (slave mode connection).
STANDARD CONNECTION:
- Connect the LAN port of the phone to the RJ-45 socket of a hub/switch or a router.
- Connect the 12V DC output plug to the power jack on the phone; plug the power adapter into an electrical outlet. If PoE switch is used in step 1, this step could be skipped.
- The LCD will display booting up or firmware upgrading information. Before continuing, please wait for the main screen display to show up.
- On the web configuration interface or from the menu of the touch screen, you can further configure network connection using static IP, DHCP and etc.
INTEGRATED CONNECTION:
- Connect the 12V DC to the power jack on the phone; plug the power adapter into an electrical outlet.
- After the device boots up, connect the Micro-USB port to the USB port ofGVC32xx or PC, as shown above.
- The LCD will display the cascade connection interface, as shown below.
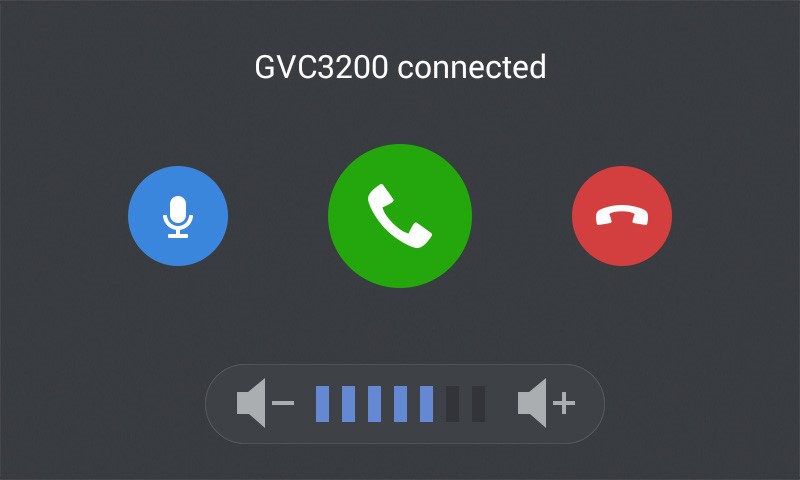
- Adjust the conference settings by tapping the icons on the interface.
DEVICE CONFIGURATION:
Configuring the GAC2500 Using Web Browser:
- Ensure the device is properly powered up and connected to the Internet using standard connection.
- The IP address of the phone will be shown up on the LCD.
- Type the phone’s IP address in your PC’s browser (under the same LAN).
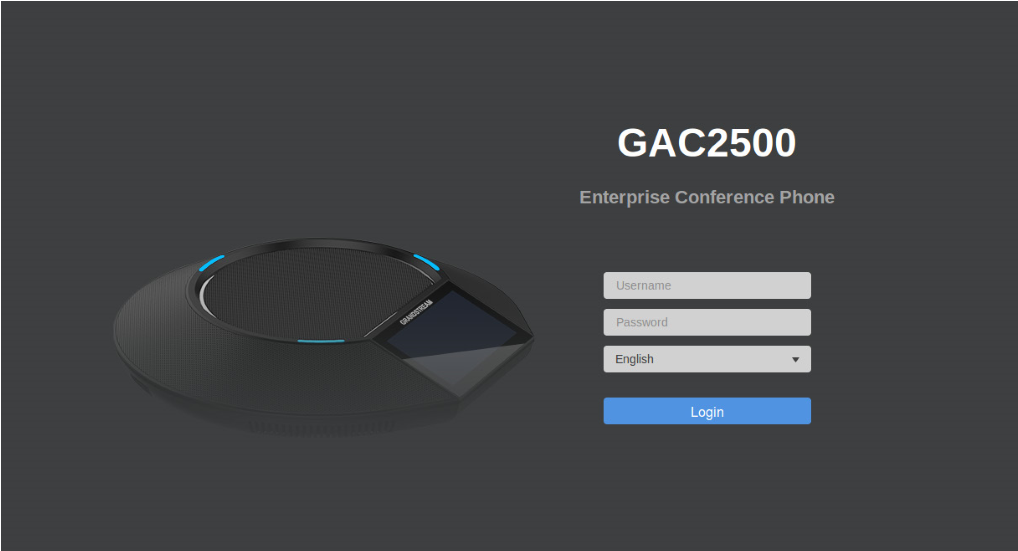
- In the login page shown below, the default username and password for administrator are “admin” and “admin”. The default username and password for user are “user” and “123”.
- In the web GUI, select “Account” to configure Account name, SIP Server, SIP User ID, Authenticate ID and Authenticate Password to register the account on the device.
- For configuring the network, select “Maintenance” –> “Network”. Please contact your ITSP (Internet Telephony Service Provider) for additional settings that may be necessary to configure the phone.
Configuring the GAC2500 Using Touch Screen:
- Make sure the device is properly powered up using standard connection and in idle screen.
- Select Settings -> Advanced Settings -> Account. Tap on one of the Accounts to configure Account name, SIP Server, SIP User ID, SIP Auth ID, SIP Auth Password to register account on the GAC2500.
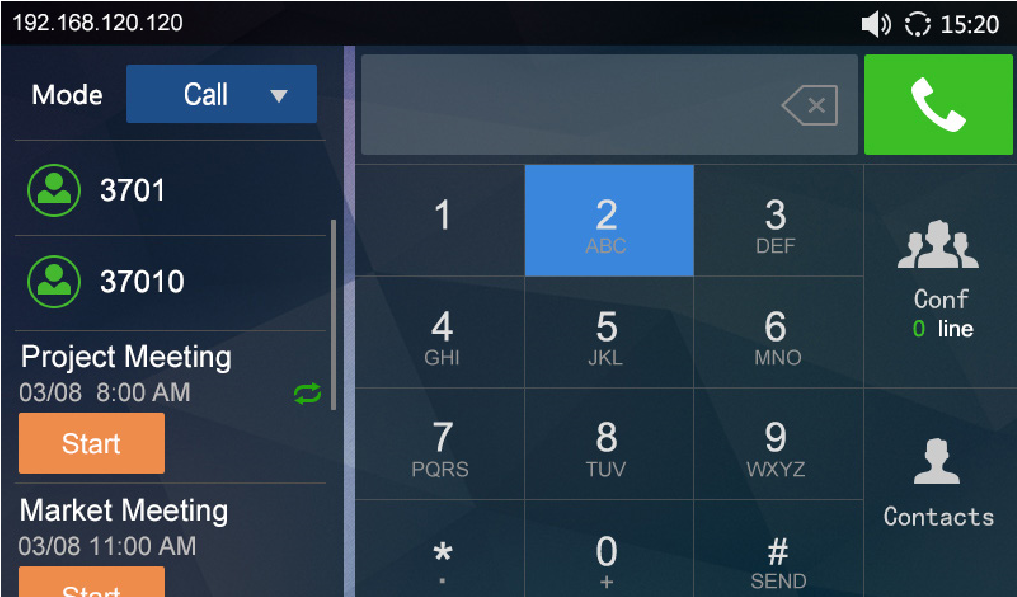
- Once successfully registered, the main screen will be shown as below.
- Please refer to the user manual for more configuration such as configuring the static IP address.
- Please contact your ITSP (Internet Telephony Service Provider) for additional settings that may be necessary to configure the phone.
This product is covered by one or more of the U.S. patents (and any foreign patent counterparts thereto) identified at www.cmspatents.com.