Overview
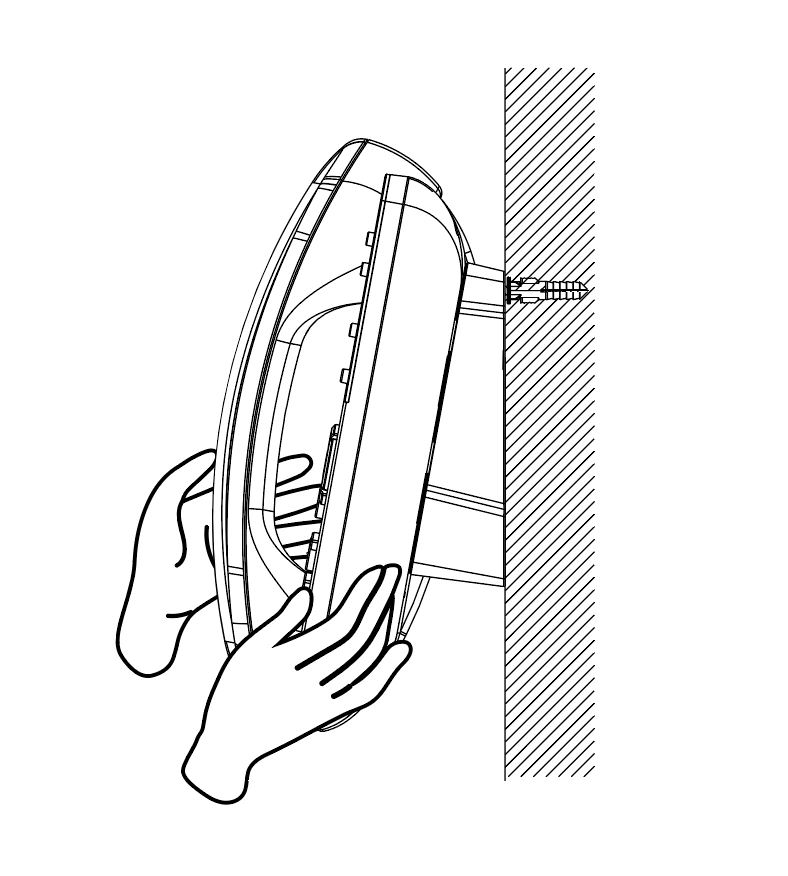
This guide provides step-by-step instructions for mounting your GXP2130/GXP2135 high-end IP phones to a wall using a wall mount. The process involves adjusting the hookswitch tab, installing the wall mount bracket, and securely attaching the phone to the wall using appropriate hardware.
Package Contents
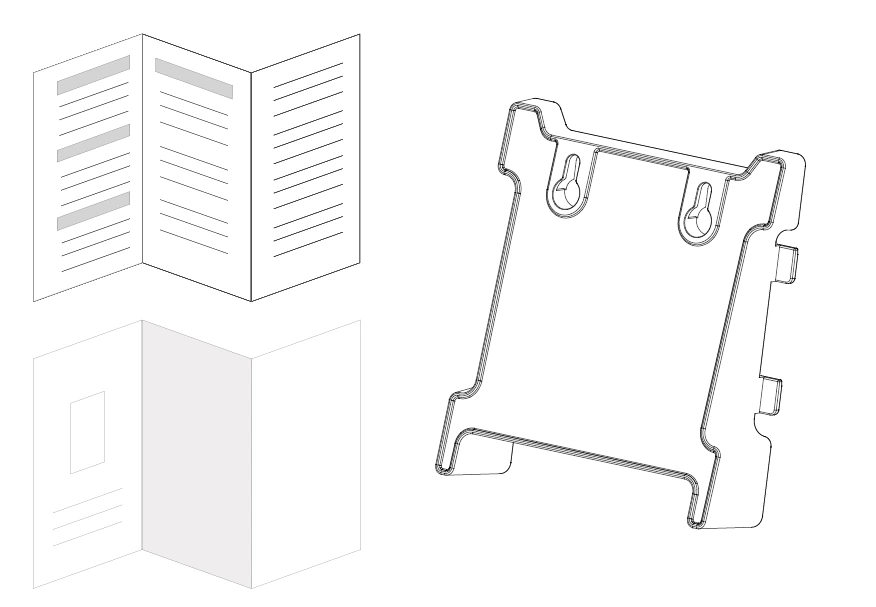
- GXP2130/GXP2135 Wall Mount
- Regulatory Information
- Quick Installation Guide
Adjusting the Hookswitch Tab
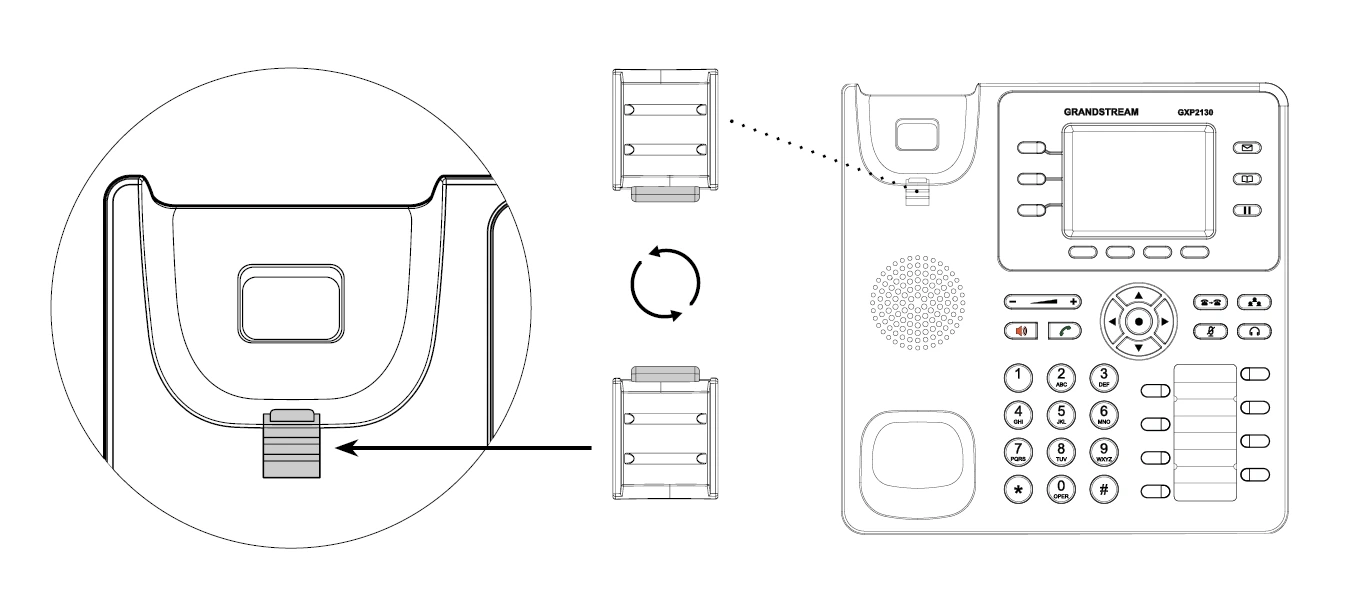
Before mounting the phone on the wall, please make sure to reposition the hookswitch tab to prevent the handset from falling. For wall-mounted use, the tab must be set with the extension facing upward to securely hold the handset in place. For desktop use, it is recommended to keep the extension facing downward, as configured by default.
- Remove the tab from the handset cradle.
- Rotate the tab so the extension points upward.
- Reinsert the tab into the slot with the extension up.
Mounting the Phone to a Wall
To mount the GXP2130/GXP2135 phone to a wall, use the included wall mount bracket and follow the steps below.
- Use the “wall mount slots” on the bracket to mark two vertically aligned mounting points.
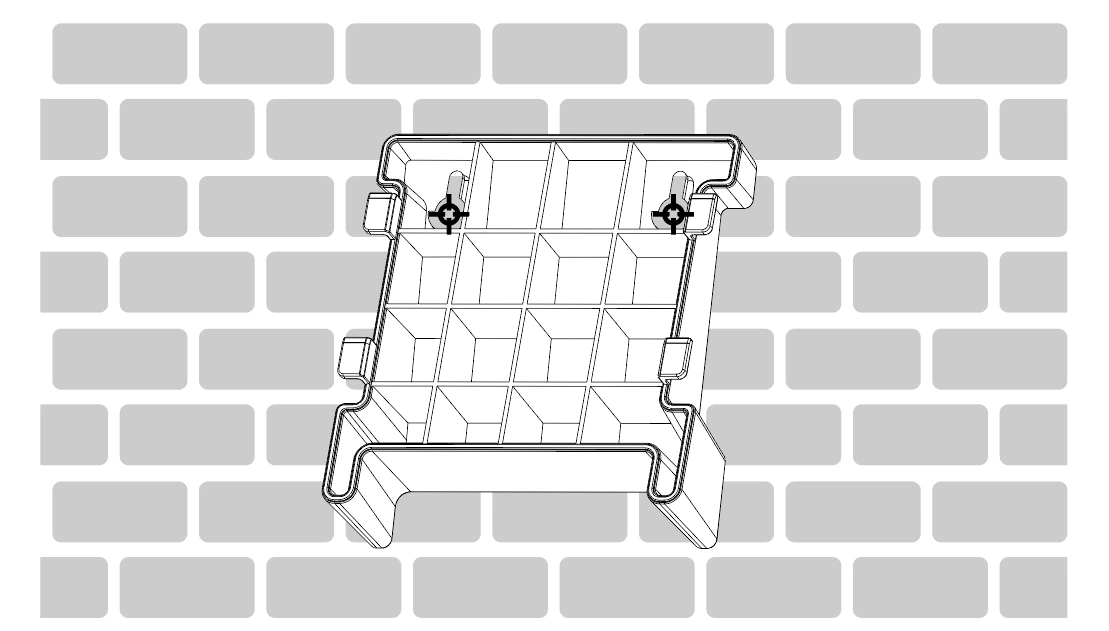
- Drill holes at the marked locations.
- Insert appropriate plastic wall anchors and screws (not provided), leaving enough space to attach the wall mount bracket to the wall.
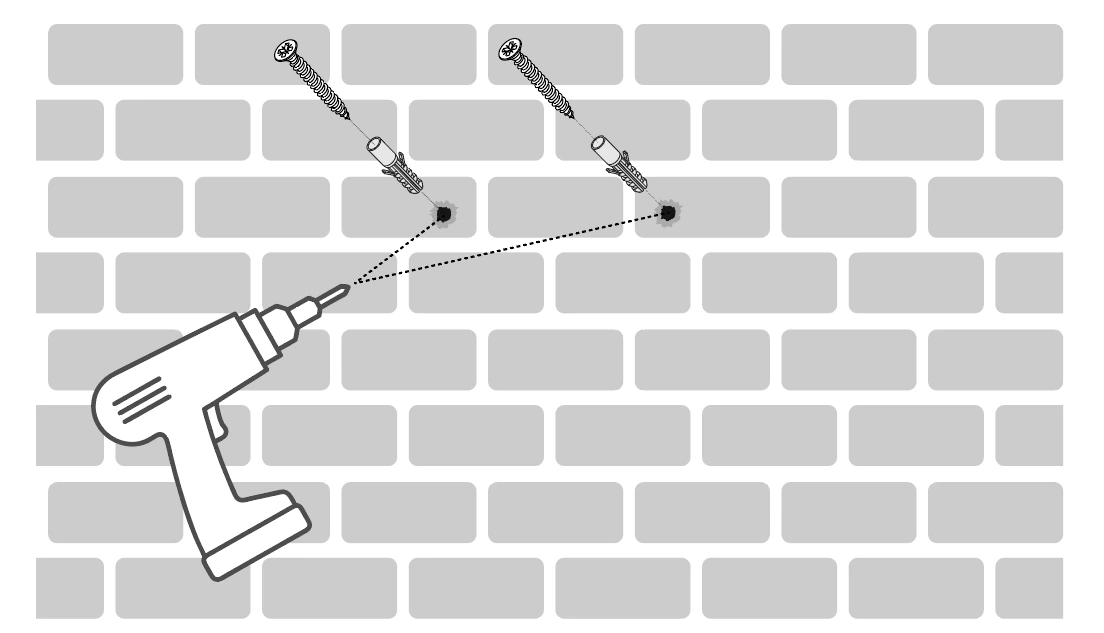
- Align the ribs on the wall mount bracket with the grooves on the back of the phone.
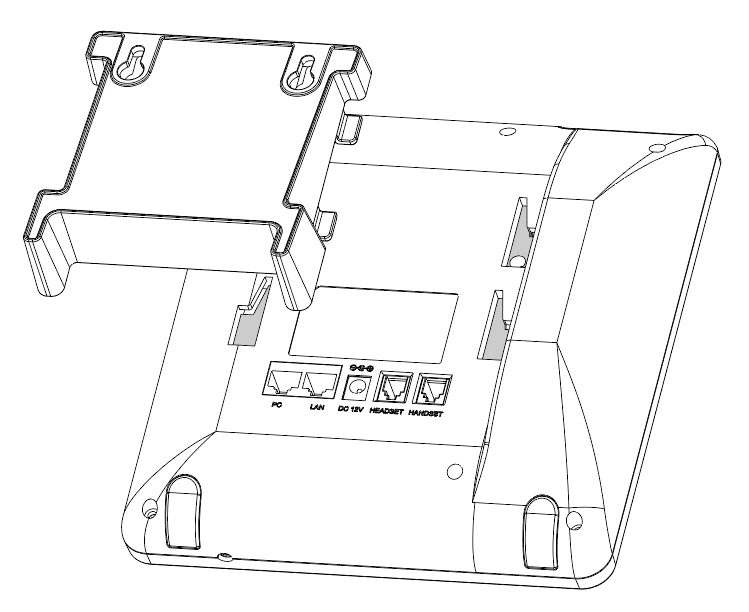
- Press the bracket firmly until it locks into place. Ensure it’s securely and properly attached to the phone.
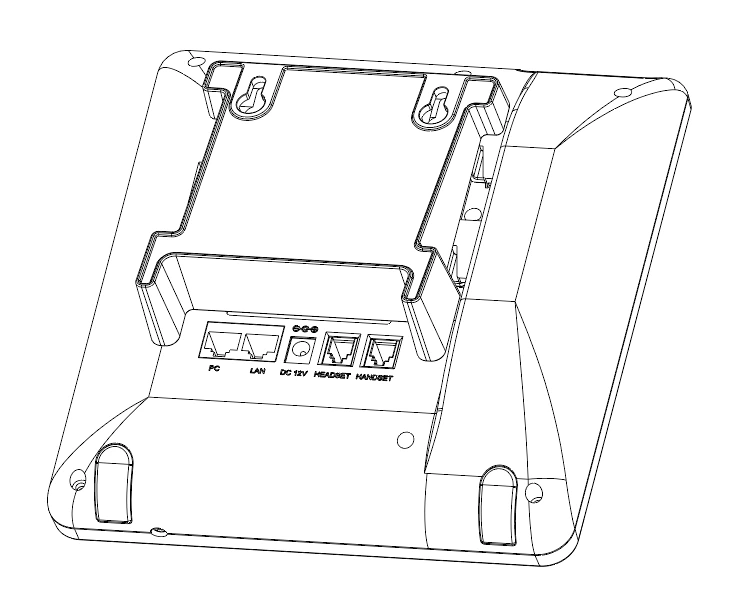
- Mount the GXP2130/GXP2135 phone, with the wall mount bracket attached, onto the wall by fitting it securely into the wall mount slots.