OVERVIEW
The WP856 is a high-end mobile computing device designed for users on the go who need access to reliable mobile scanning software. This powerful, portable device comes equipped with integrated dual-band 802.11a/b/g/n/ac/ax Wi-Fi support, satellite positioning, advanced antenna design, roaming support, and integrated Bluetooth for pairing with headsets and mobile devices. Excellent data scanning performance on 1D and 2D barcodes and NFC support for instant data communication, this device helps increase productivity with instant access to critical and real-time information. The WP856 is equipped with 20-hour talk time, 5.5-inch HD touch screen and IP65 dustproof, waterproof, and drop safe height of 1.5 meters this device is long-lasting and durable for any environment or user on the go. The WP856 is ideal for deployment scenarios such as healthcare facilities, retail locations, building security, logistic environments, and more.
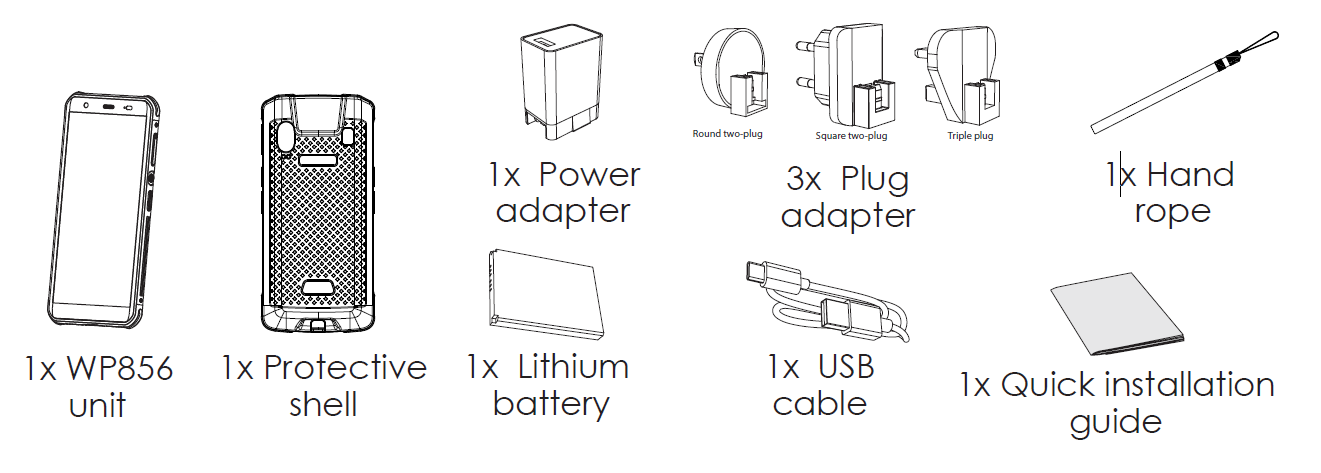
PACKAGE CONTENT
WP856 DESCRIPTION
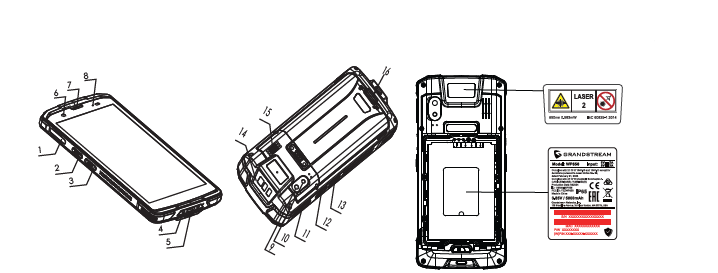
1 | TF card | 2 | PTT button | 3 | Left scan key |
4 | Dock connector | 5 | Charging port | 6 | Front camera |
7 | Earpiece | 8 | LED indicator | 9 | Camera |
10 | Flashlight | 11 | Volume keys | 12 | Power button |
13 | Right scan key | 14 | Scan window | 15 | Speaker |
16 | Battery back cover latch | ||||
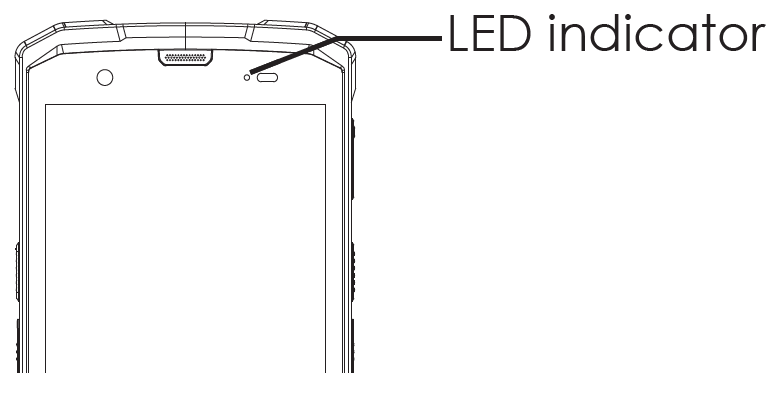
LED INDICATORS
- Solid Green: Charged (full).
- Solid Red: Charging (not full).
- Red Blinking: Low battery alarm
- Blue Blinking Once: Decode successfully
INSTALLING TF CARD
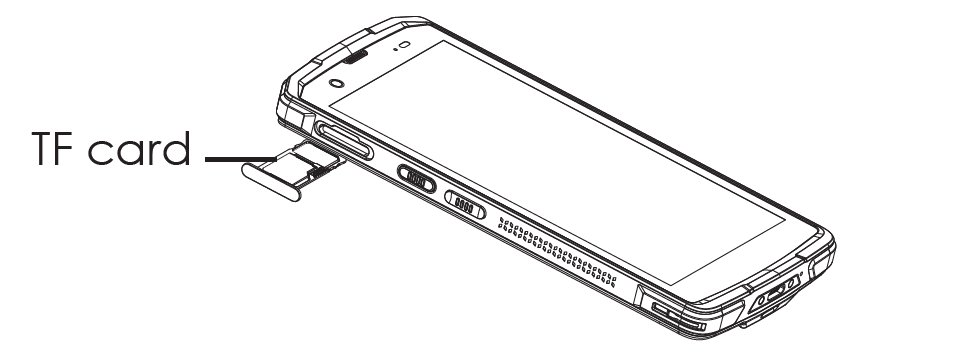
- Find the TF card slot on the left side of the collector/terminal and pull out the card holder.
- Put the TF card into the card holder and push the card holder inside.
BATTERY SET UP
CHARGING BATTERY
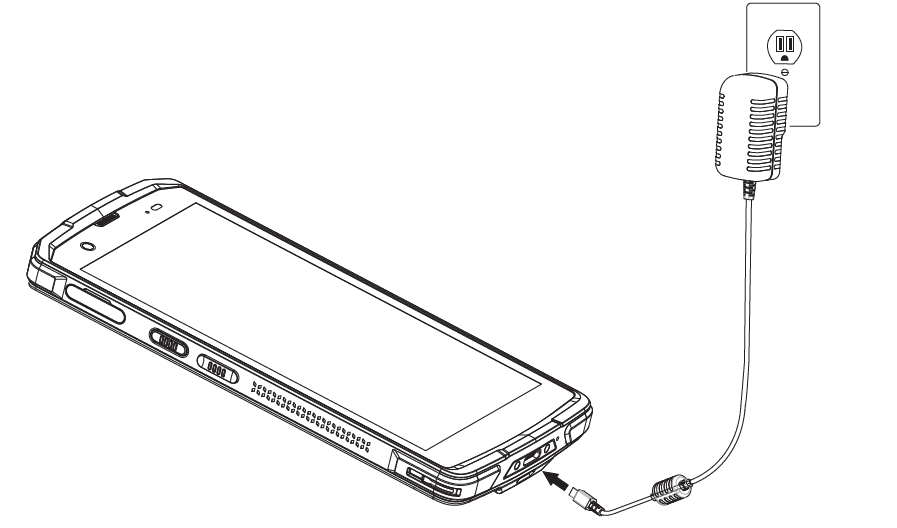
Connect the device to a power outlet using the included AC adapter and cable as shown on the figure:
INSTALLING THE BATTERY
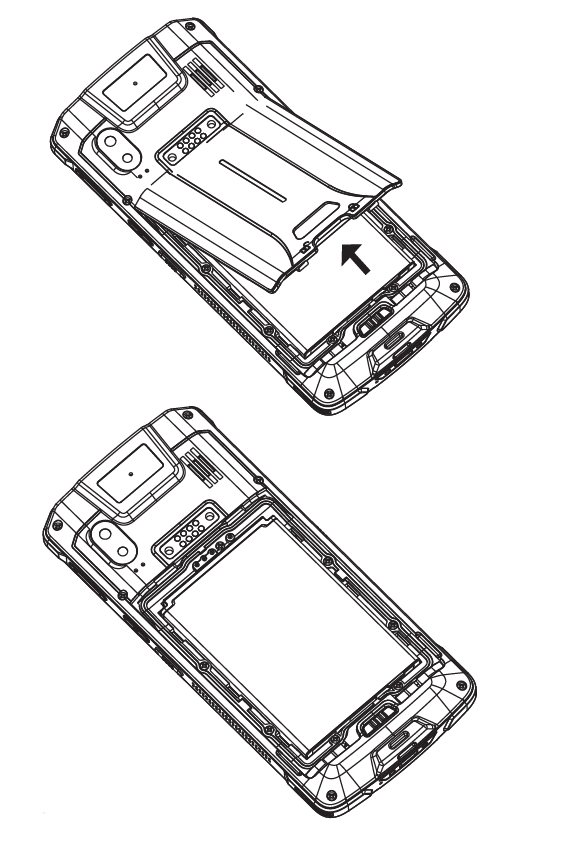
- Unlock the battery back cover and remove the back cover.
- Attach the top metal contacts of the battery to the metal contacts inside the body and press down firmly.
REMOVING THE BATTERY
- Press and hold the power button for 2 seconds, then click the shutdown option on the screen, then unlock the battery back cover to open the back cover.
- Remove the battery.
SCANNING BARCODE
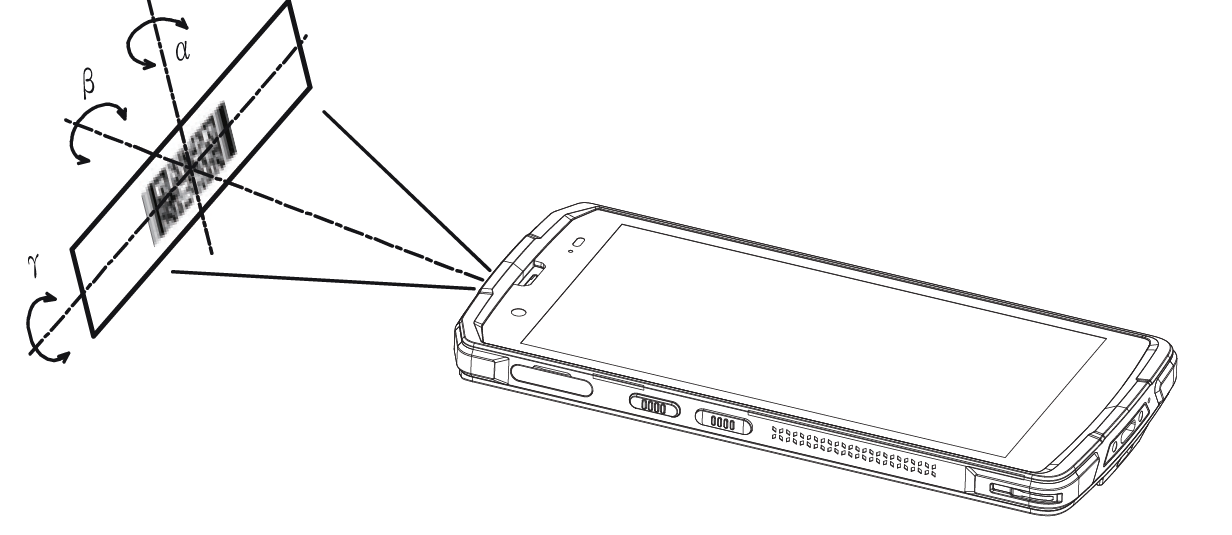
Adjust the scan angle and the distance between the device and the target barcode to make them fall into the following ranges:
- Point the Device’s focus lamp at the center of the barcode.
- Move the Device until you find the appropriate scan distance.
- Optimum scan angles:
- Skew(α)<45° (0° preferably)
- Pitch(γ )<45° (5°- 20° preferably)
- Roll(β)=0° – 360°
ACCESSING WP856 WEB GUI
- Access GS Settings → Advanced settings to set “Disable web login” to “No”.
- Go to GS Settings → Device information → Network status to check the IP address assigned to WP856.
- Type the phone’s IP address in your PC browser.
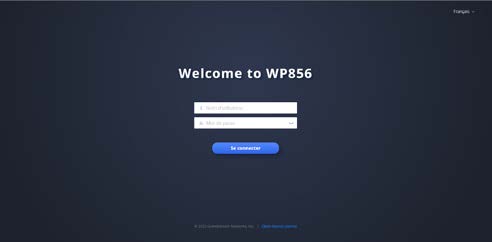
- Enter admin’s username and password to access the configuration menu. (The factory default username is “admin” and the password is a randomly generated string that is printed on a label in the battery compartment of the device.)