

This guide provides the steps to change the SIP Accounts using two methods:
Method 1: Change the SIP server
Step 1: Change DNS (SRV) or IP address for the SIP server
If the PBX server is a Grandstream UCM device or CloudUCM, you can refer to the user manual: https://documentation.grandstream.com/knowledge-base/ucm630x-series-user-manual/#network-settings
Step 2: Push the updated SIP account to the VoIP device through GDMS
- Log in to GDMS and change the SIP server.
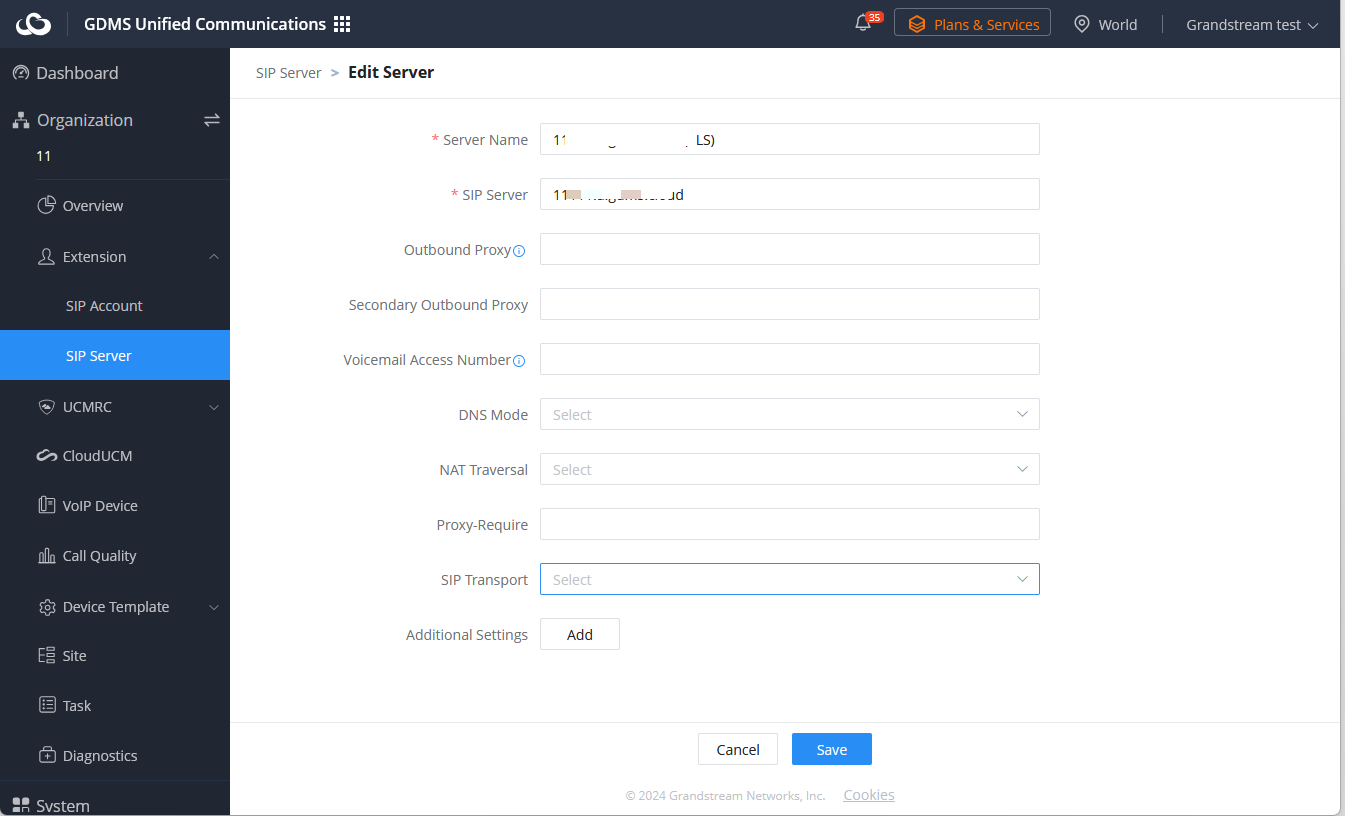
- After saving, GDMS will automatically push the SIP server’s new SIP account to the corresponding VoIP device.
Method 2: Change the password of the extension (SIP account)
Step 1: Change the password of the extension (SIP account) on the SIP server.
If the PBX server is Grandstream UCM device or CloudUCM, you can refer to the user manual: https://documentation.grandstream.com/knowledge-base/ucm630x-series-user-manual/#export-extensions
Step 2: Push the new SIP account to the VoIP device through GDMS
- Log in to GDMS and export the SIP account list of this organization.
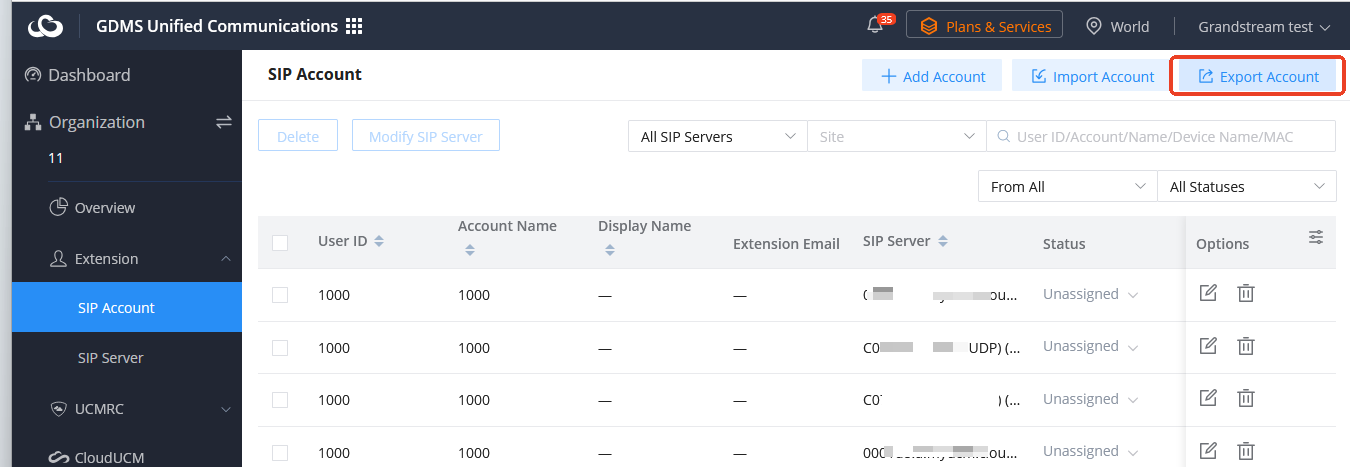
- In the exported file, change the information of the SIP account.

- Then click Import Account button to upload this updated file.
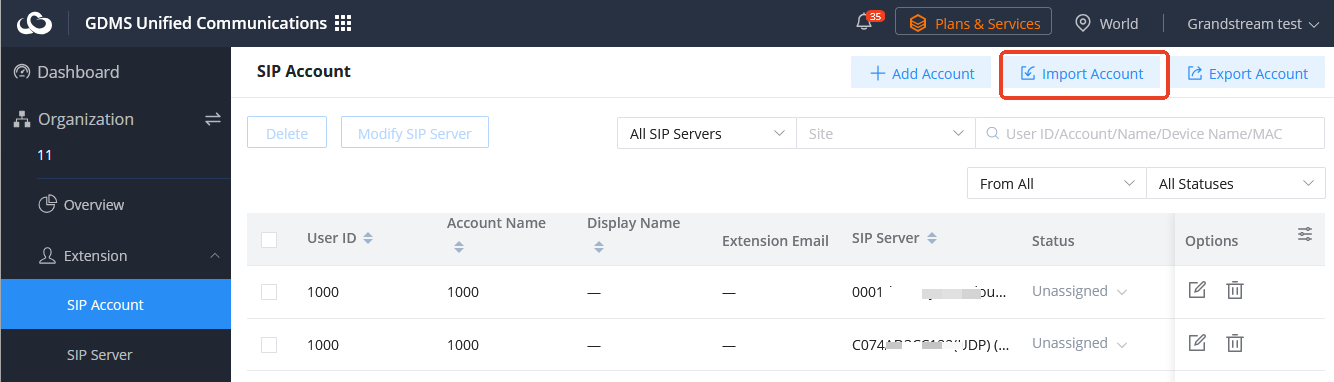
- After the SIP account is successfully imported, GDMS will automatically push the new SIP account to the corresponding VoIP device.
For details, please refer to:
https://documentation.grandstream.com/knowledge-base/gdms-user-guide/#extension