This document describes the basic concepts and steps to live stream your meeting using RTMP protocol on third party platforms. This configuration applies for both IPVT10 and IPVideoTalk Cloud.
RTMP (Real Time Messaging Protocol) is TCP based designed for transmitting audio and video over the Internet. It is used to stream multimedia content on demand and also supports live streaming.
Clients connect to the streaming server over TCP, typically using port 1935. The RTMP maintains persistent connections allowing low-latency communication in order to deliver streams smoothly and transmit as much information as possible, it splits streams into fragments, and their size is negotiated dynamically between the client and server.
LIVE ON THIRD PARTY PLATFORM CONFIGURATION
RTMP PUSH Server Configuration
During this guide we will be using the Nginx RTMP server on Ubuntu 20 machine along with IPVT10 on premise server inside the same LAN (the same steps apply when using IPVideoTalk Cloud):
- Starting with installing nginx and rtmp module:
sudo apt-get update
sudo apt-get upgrade
sudo apt-get install nginx -y
sudo apt-get install libnginx-mod-rtmp -y
- Edit nginx.conf
sudo nano /etc/nginx/nginx.conf
3. Scroll down the configuration file and add bellow example lines:
rtmp {
    server {
        listen 1935;
        chunk_size 4096;
        application live {
            live on;
            record off;
            push rtmp://127.0.0.1:1936/live;
        }
    }
}
4. Restart nginx server:
sudo systemctl restart nginx
Nginx and RTMP module setup test
During the active session, the host can select to share his desktop with the IPVideotalk’s attendees and then the host can procced like the following:
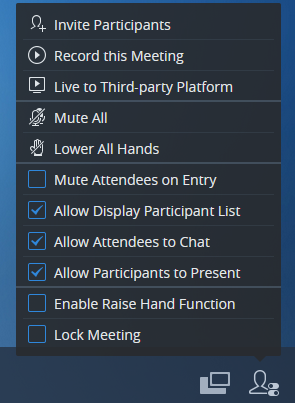
- Click on
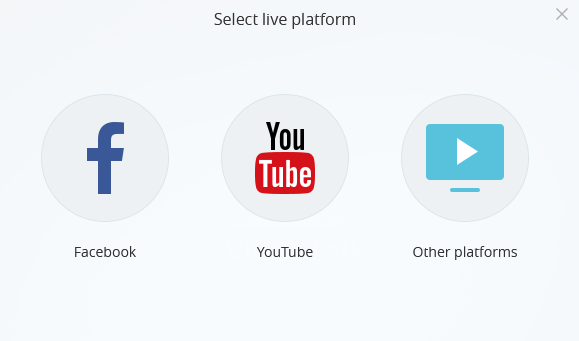
 then select the option Live to Third-Party Platform, then Other platforms.
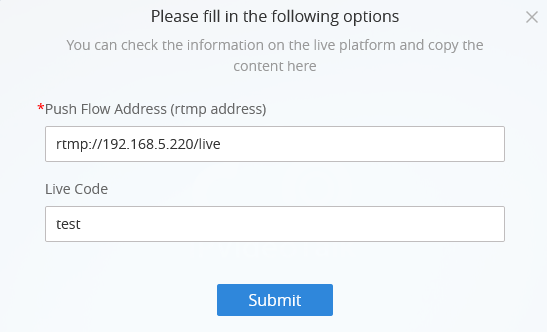
- Enter the RTMP’s Push URL, and live code, then click submit:
In our example: Nginx server address is: 192.168.5.220.
The following message below will indicate that the operation was successful:

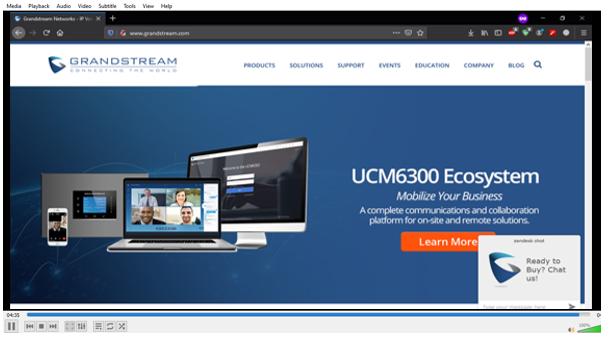
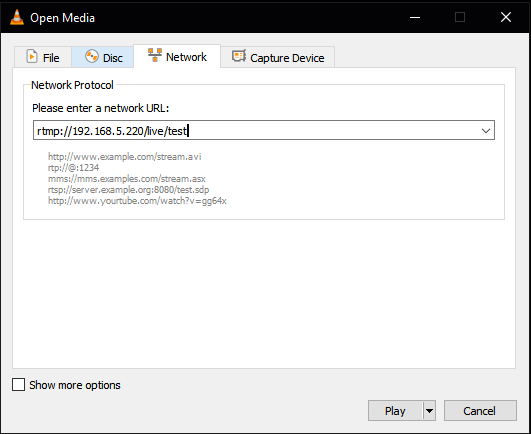
We will use VLC Media Player to view the RTMP live stream, so proceed as follow:
- Open VLC Media Player and proceed to Media 🡪 Open Network Flow, and enter the following URL:
rtmp://192.168.5.220/live/test
- Click on Start so that the Live stream can start displaying: