


Software Features
Audio and video calls
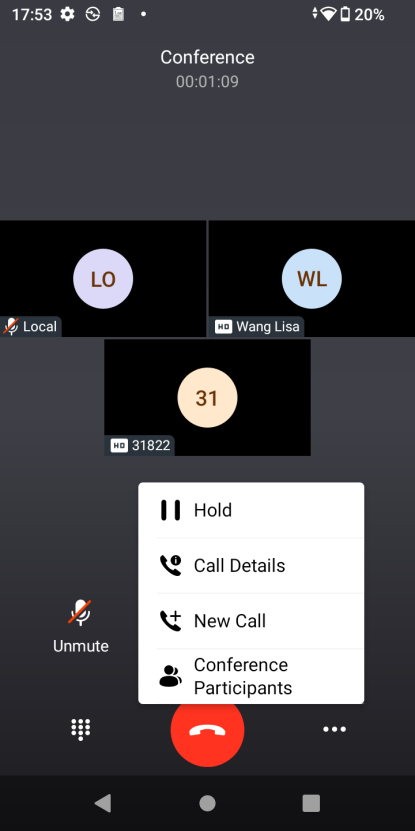
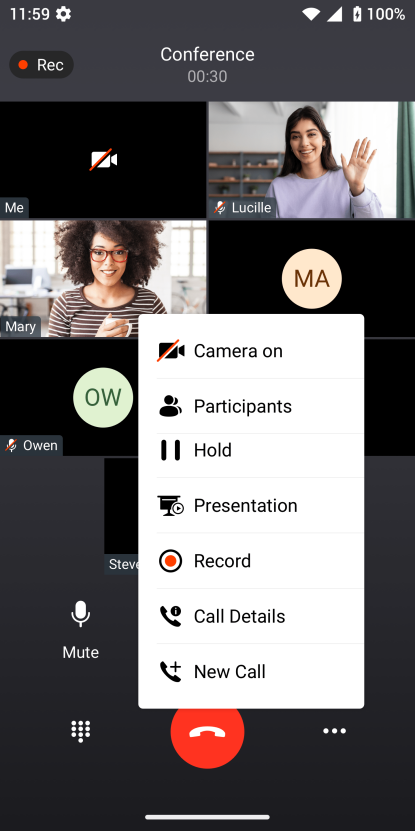
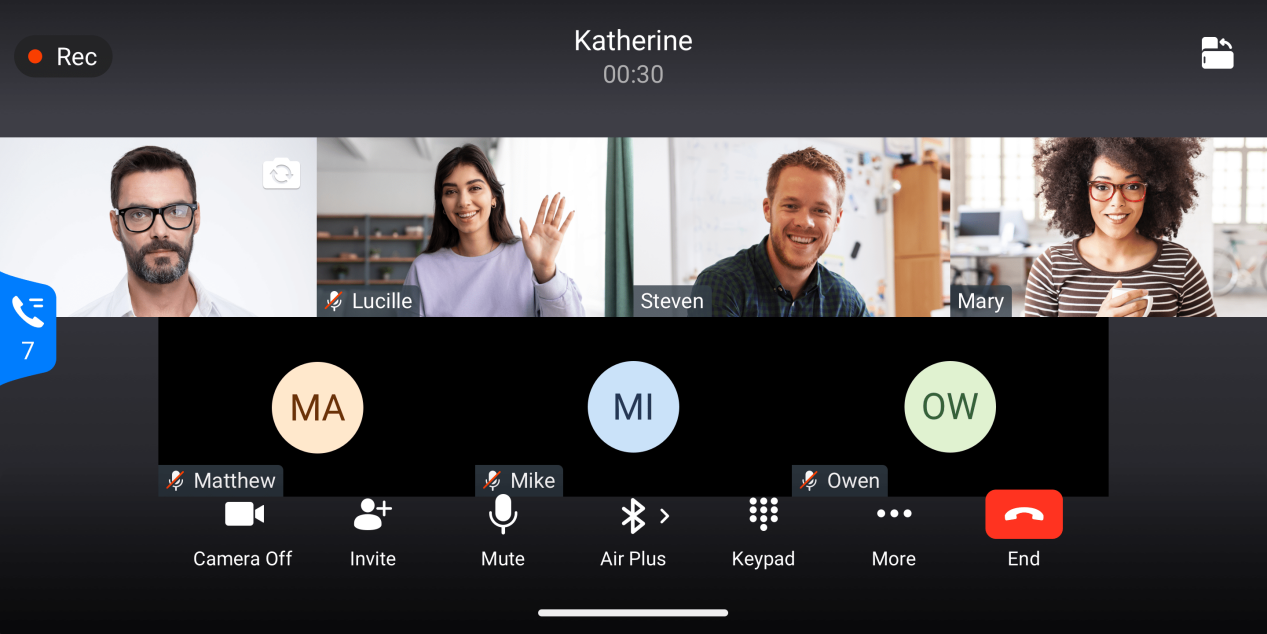
- Users can select multiple numbers in the dialing interface to establish a conference.
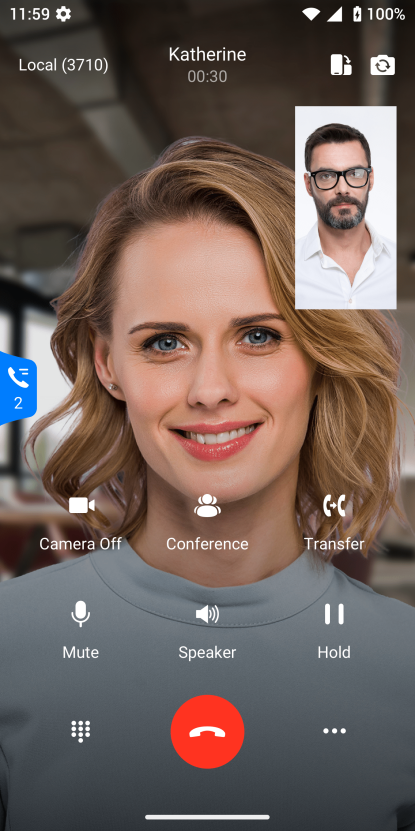
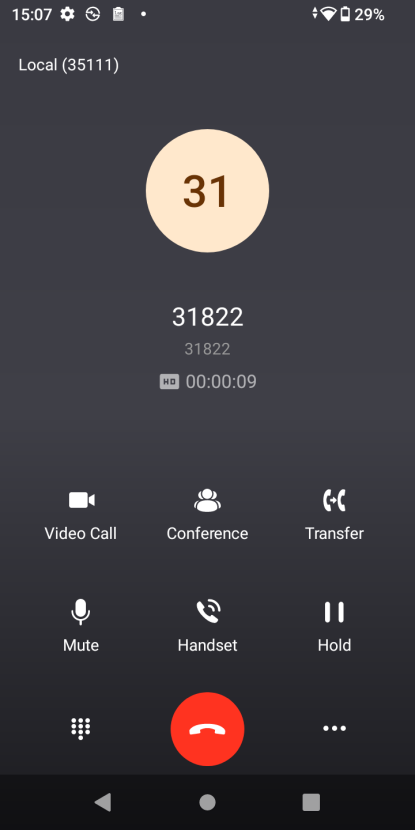
- Supports audio calls and video calls.
- Supports flipping the front and rear cameras, and switching between horizontal and vertical screens during video calls.
- Support viewing call details (packet loss rate, bit rate, audio codec, etc.)
- Supports up to 7-party audio conference, 3-party 720P@30fps video conference + 1 1080P@15fps presentation.
Voicemail
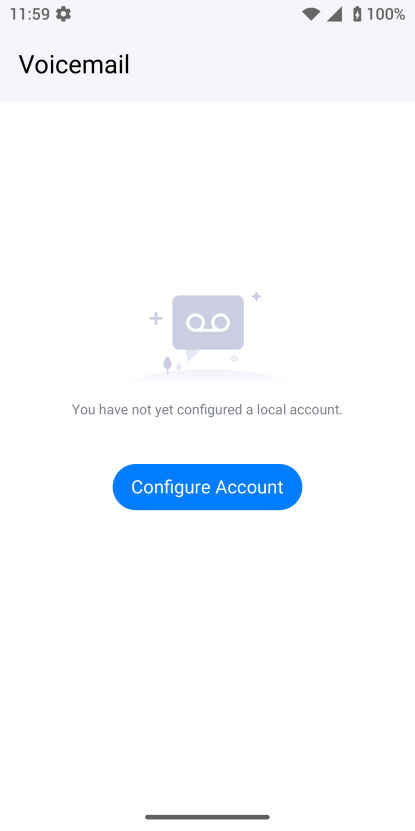
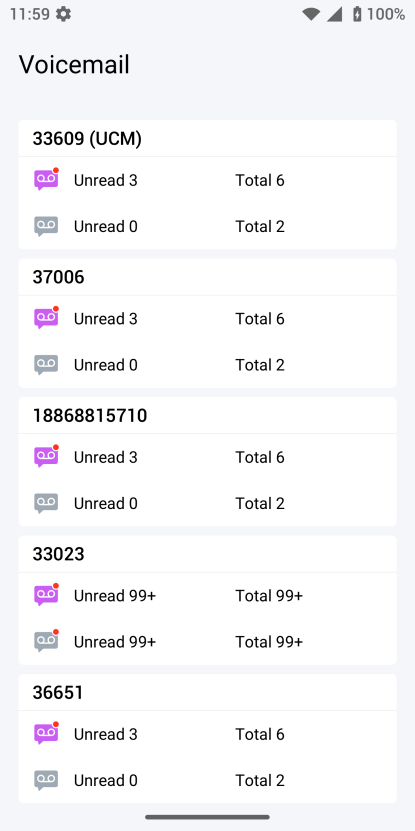
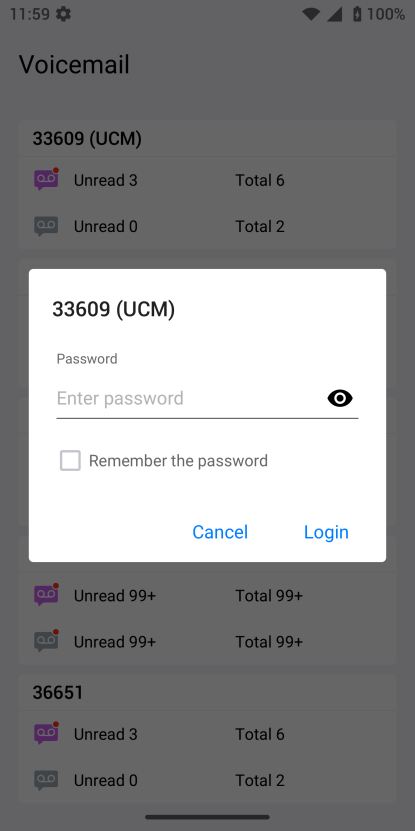
- For each account , when the account activation is enabled, and the server and User ID are configured, the account will be displayed in the voice mailbox . There can be up to 6 accounts.
- Configure an account voicemail access number, then this number will be dialed to access voicemail messages.
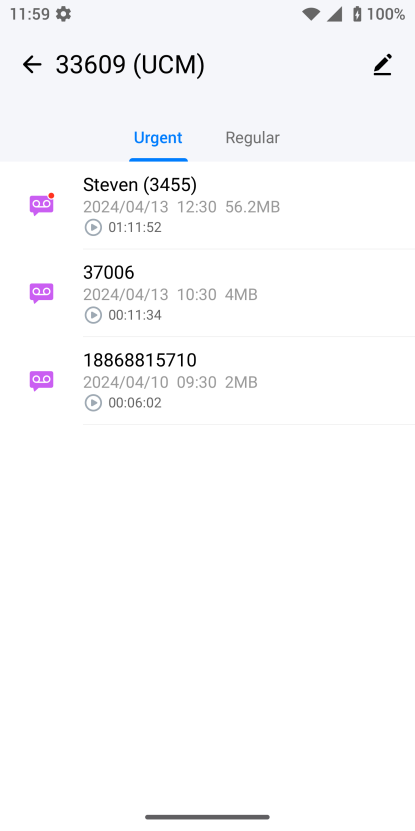
- Voicemail is categorized into normal and urgent
- When there is a new voicemail , the LED will flash red and will be displayed in the status bar.
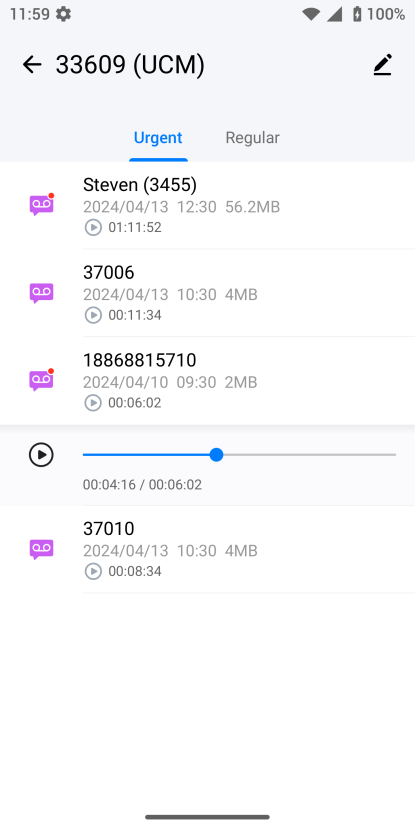
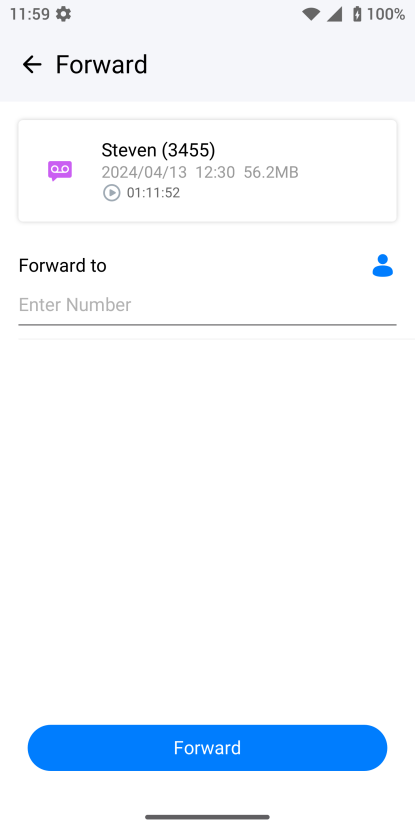
- WP856 supports UCM video voicemail. Users can access voicemails through the LCD and perform a series of operations such as viewing, listening, calling back, deleting, transferring, and modifying on a voicemail.
SIP SMS
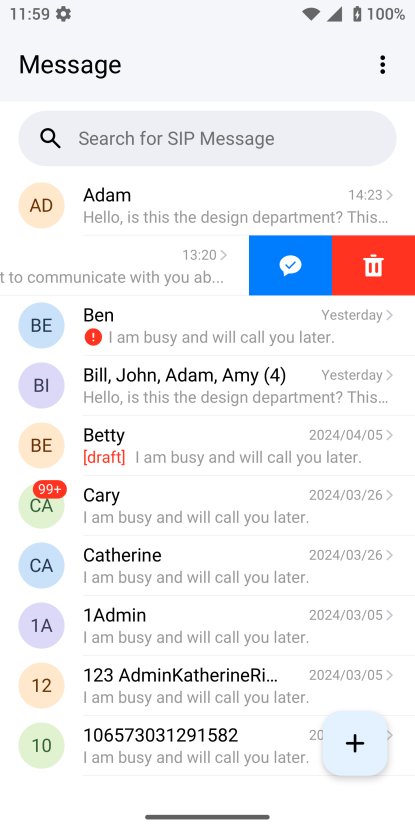
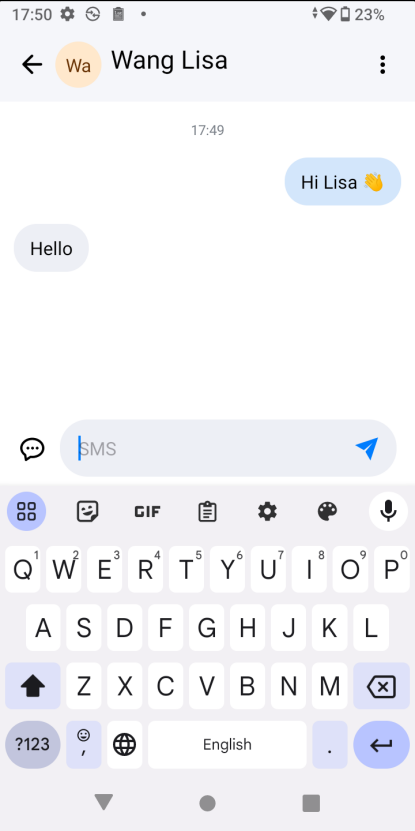
- For the same account and the same contact, all SMS are displayed in one conversation. When the same number sends SMS to different accounts on WP856, they will be separated into two conversations for the WP856 accounts.
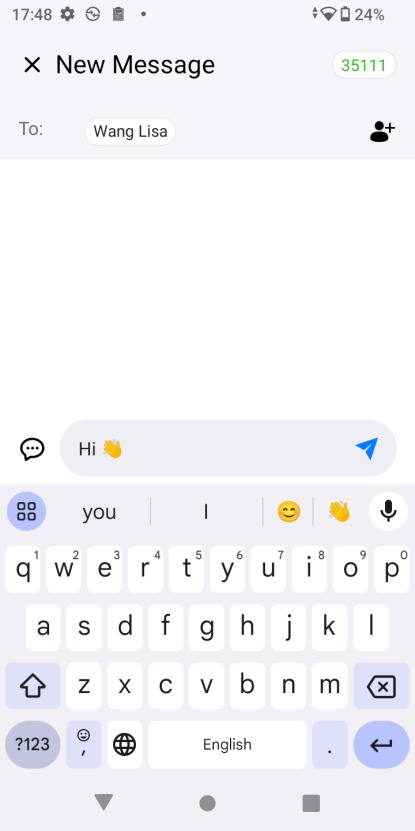
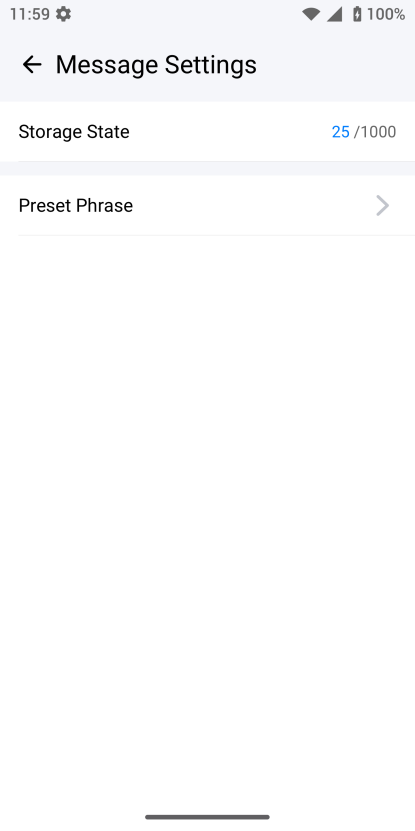
- Supports editing and sending text messages (the maximum number of characters in a single text message is 500)
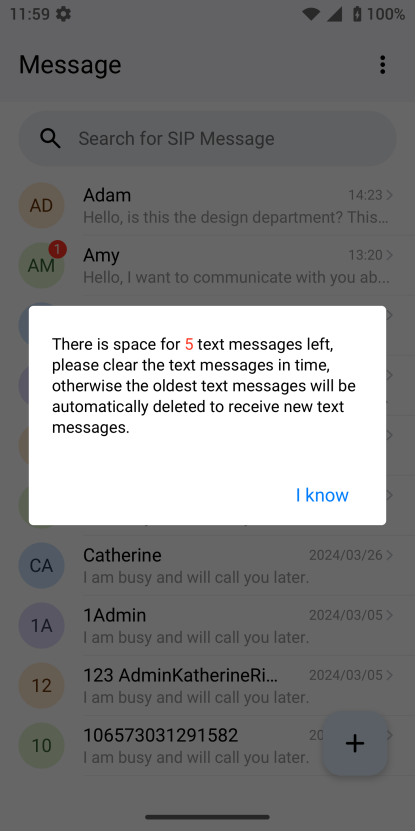
- The default maximum storage capacity is 1000. Support can change the maximum storage capacity through the nvram value. The maximum storage capacity range is 10~10000.
- When the SMS storage is full, a prompt will appear: “The SMS space is full. The oldest SMS will be deleted to receive new SMS.” and the oldest SMS will be deleted by default.
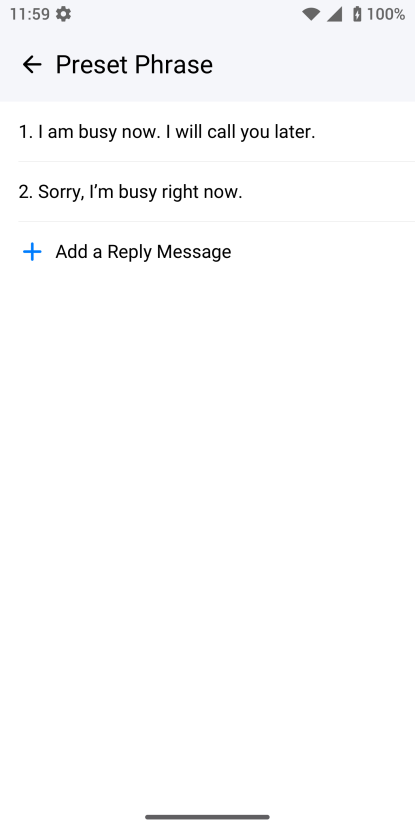
- WP856 supports setting quick reply SMS when a call is rejected, and includes 1 default phrase (I’m busy, I’ll call you later.)
GDS and other door system control
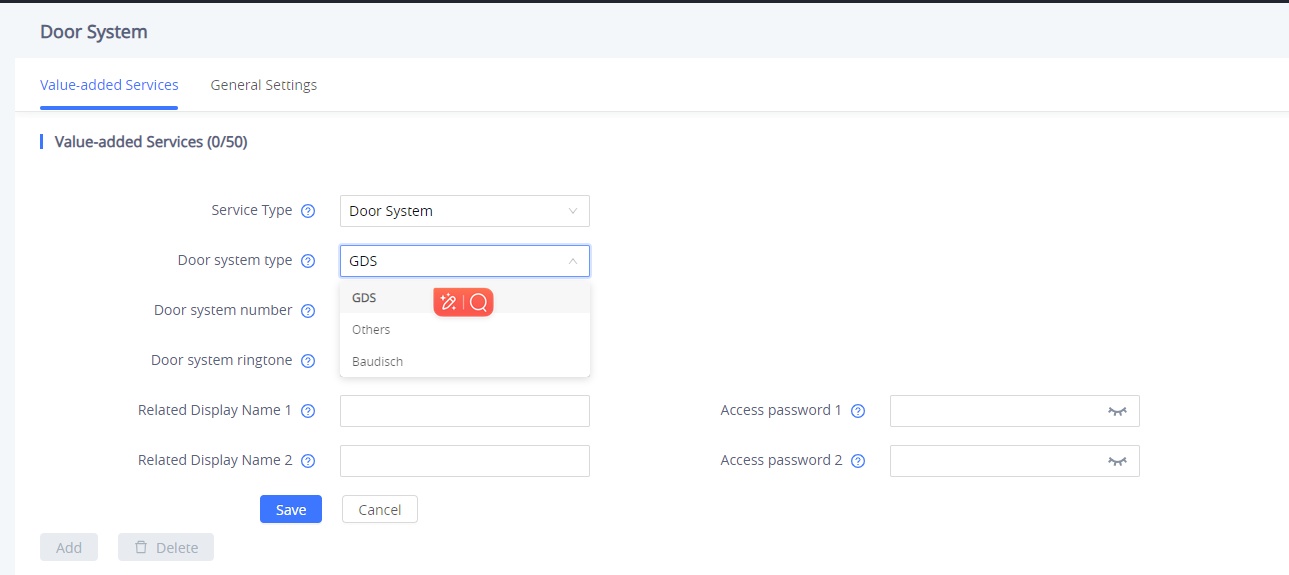
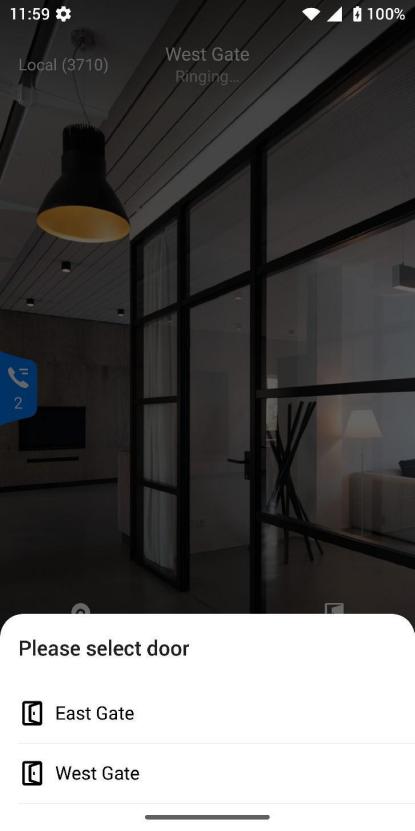
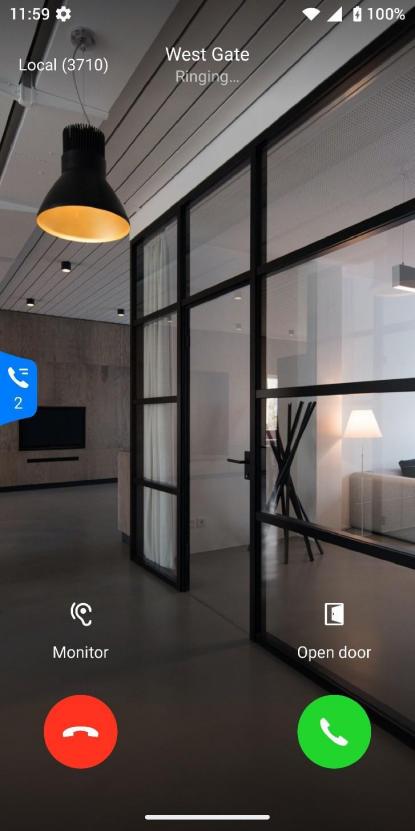
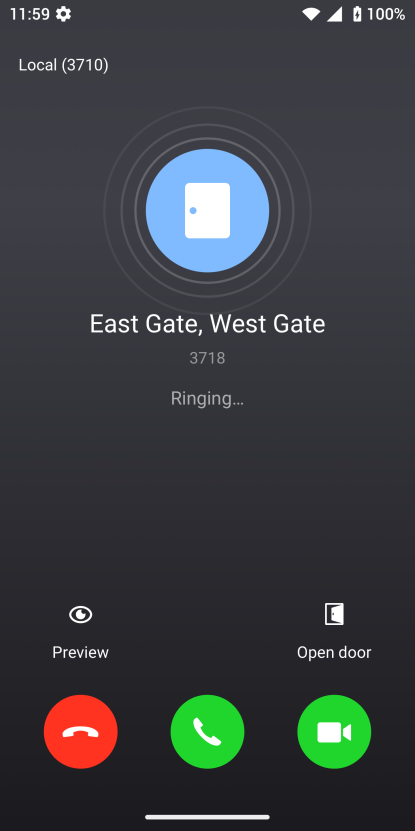
- The number being called needs to be the one configured via web UI. If it is a door system number, the incoming call and answering screens will automatically switch to door system mode. When a door system number is called, the door system ringtone will sound.
- Supports configuring GDS and other door systems, up to 10 in total.
- WP856 supports up to 2 GDS systems, Baudisch system up to 4, and other door systems up to 4.
- GDS, Baudisch and other access control modes, video preview is enabled when there is an incoming video call.
- The door system control function only exists as a two-way call and cannot initiate a conference or be invited to a conference call.
- If there is an ongoing video call, when a door system call comes in, the video preview will be automatically disabled, and a door system picture will be displayed.
PTT/Paging
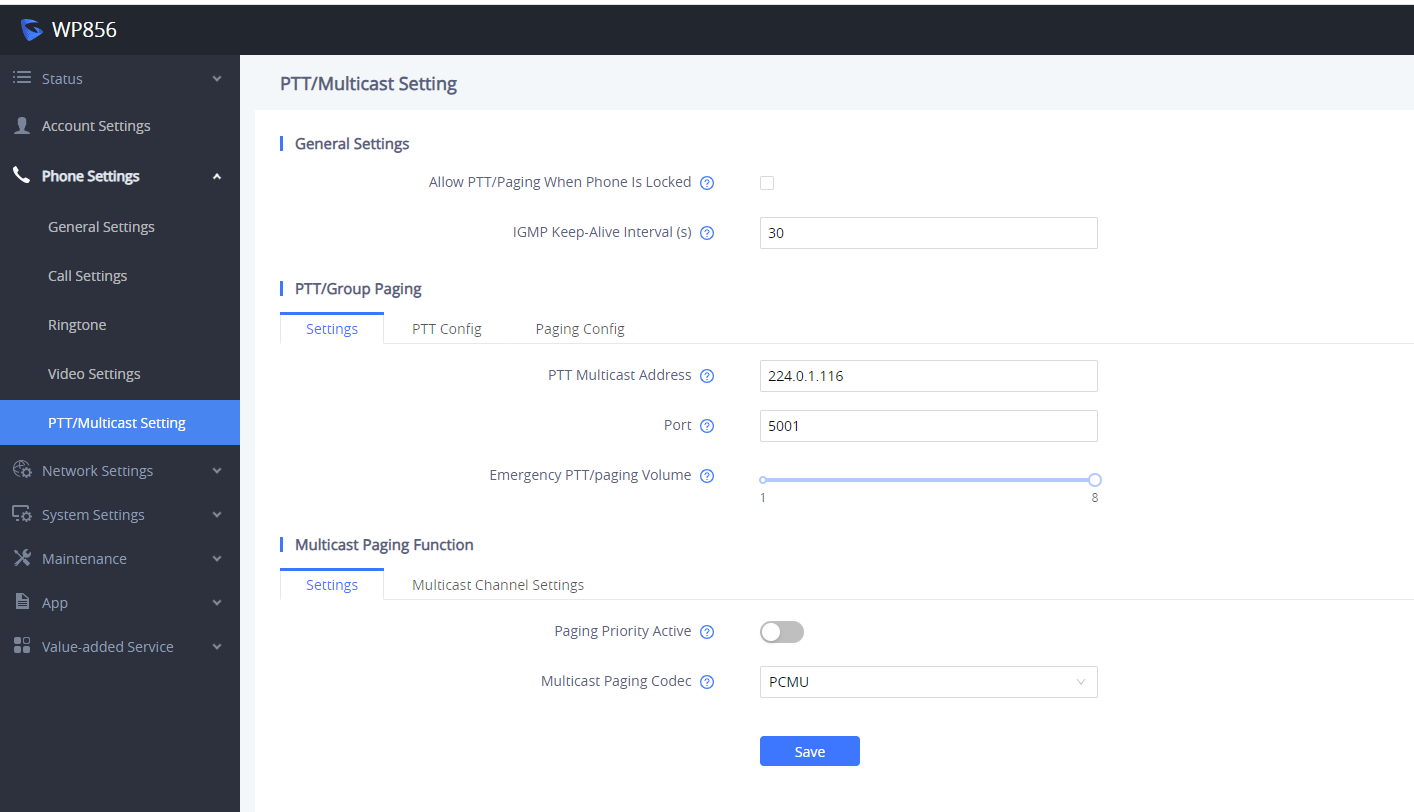
WP856 supports push-to-talk (PTT) function, which is based on the instant communication technology commonly used in mobile phone services. A button is designed to switch between voice transmission mode and voice reception mode. This function is similar to the use of “walkie-talkie” .
When the custom button of the device is set to PTT function:
- In non-PTT/Paging page, short press the button to enter the PTT/Paging interface.
- In non-PTT/Paging page, long press the button to directly initiate paging on the default channel.
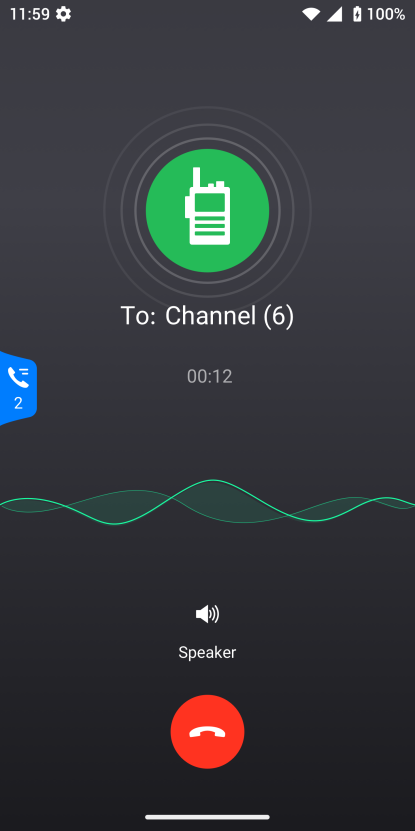
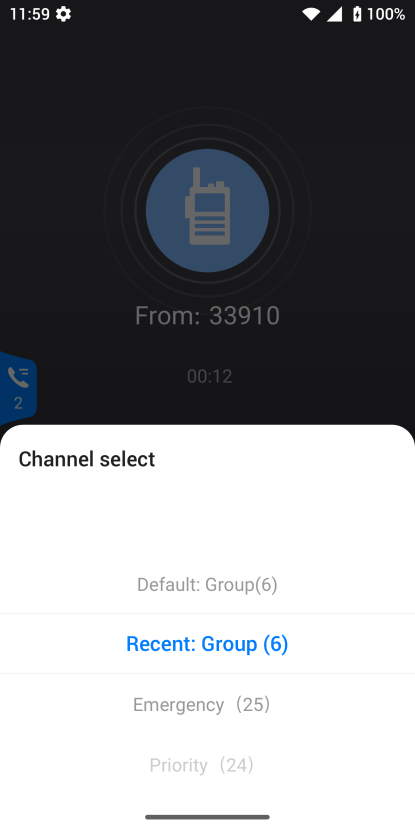
- On the PTT/Paging page, after selecting a channel, long press the button to initiate a talk.
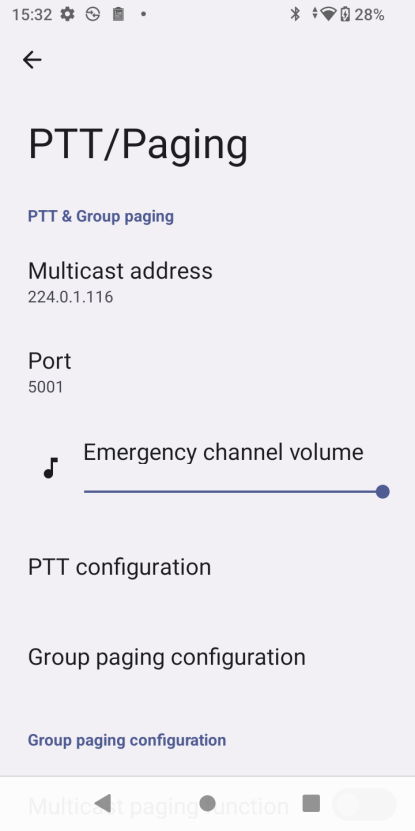
- From LCD: GS Settings -> Advanced Settings -> PTT/Paging -> PTT Intercom Configuration
- From web UI: Phone settings -> PTT/Paging
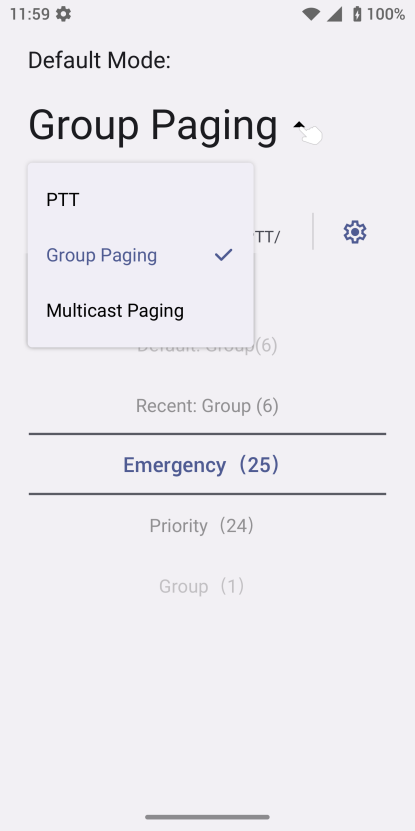
- Supports 50 channels, divided into two groups: PTT (1-25) and Paging (26-50) . Each group of channels is divided into three types according to priority: Normal, Priority, and Emergency.
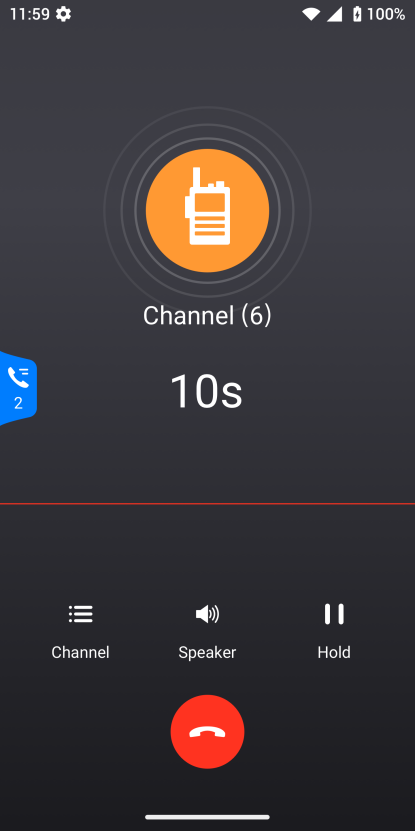
- To send PTT: Press and hold the PTT button and the channel status will change to Send PTT to indicate that a conversation is in progress . Devices in the same channel will receive the PTT call. After the conversation is completed, release the PTT button. The channel will be released in 10 seconds.
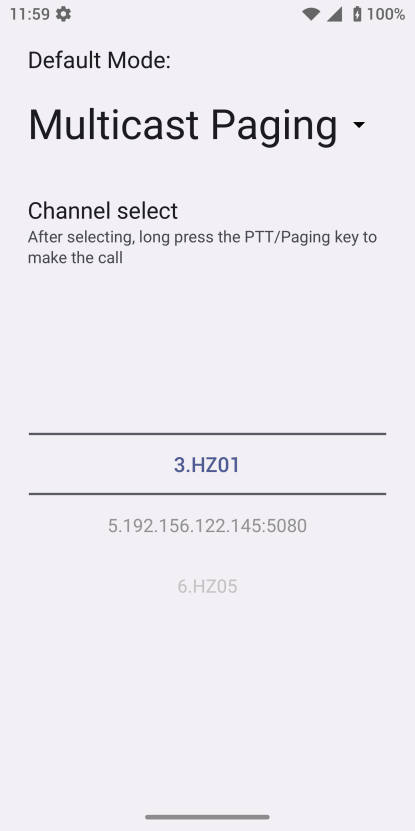
- To send a paging: After setting the “Default Mode” to multicast, select the channel to send multicast in the channel selection area, press and hold the PTT/Paging button to enter the multicast sending interface, and start speaking. All devices set to the same group can receive the multicast paging.
- Both support the “Auto answer while busy” function. When the user is on a call or intercom, if there is a PTT/multicast call of the same level, it will be automatically answered.
Scanning Demonstration
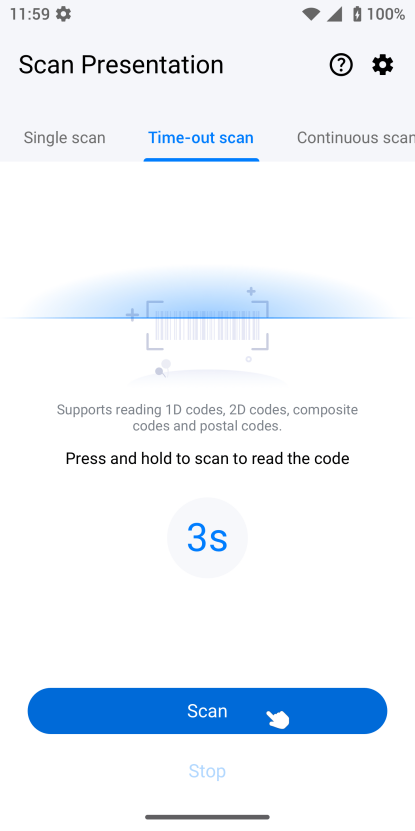
WP856 scans one-dimensional and two-dimensional codes, as well as other information, using its hardware scanning head. The decoded content is then displayed in the scanning demonstration app or the corresponding scanning application app (which can also be a third-party application).
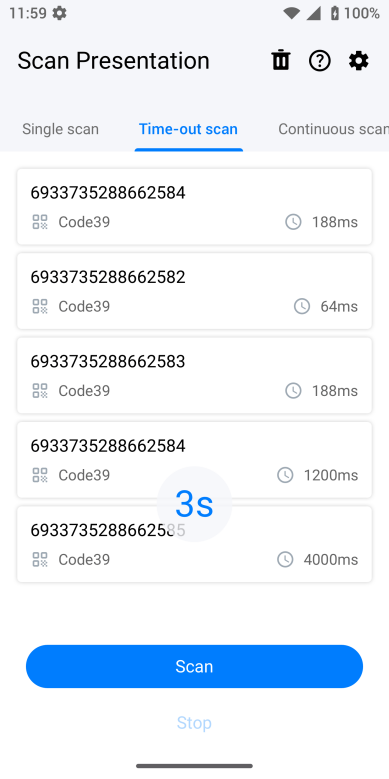
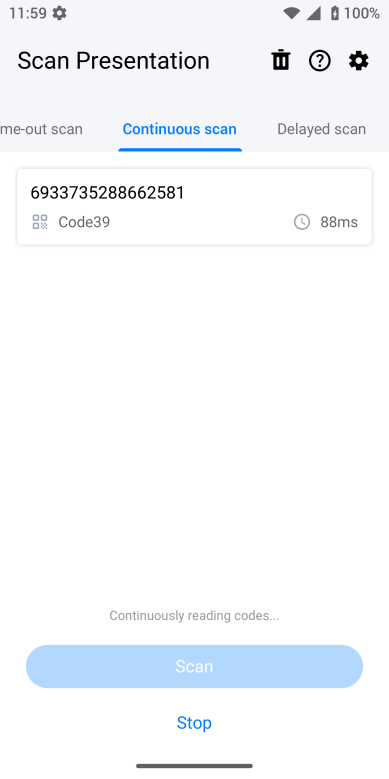
- Users can scan barcodes, QR codes, composite codes, and postal codes by pressing the scan button or clicking the scan button on the LCD. After a successful scan, the corresponding barcode information will be displayed in the APP.
-
Supports code scanning mode switching :
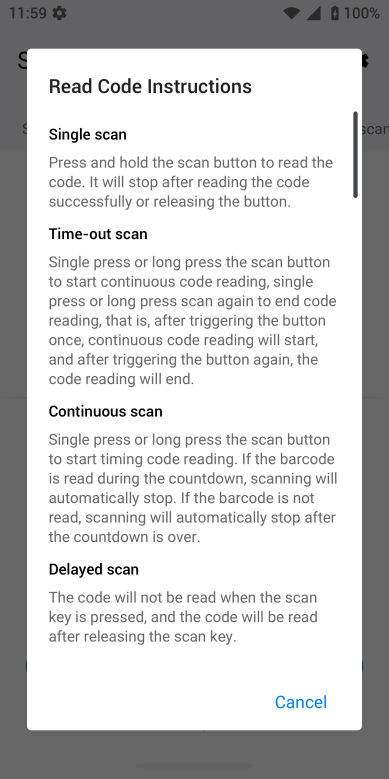
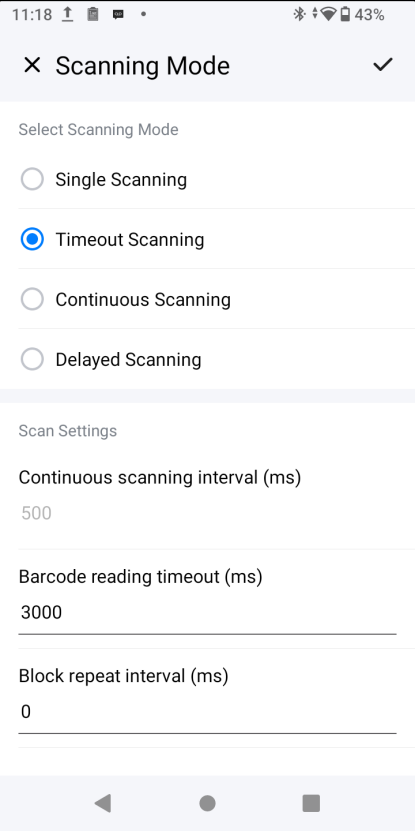
- Single code scanning: Long press the scan button to read the code, the code reading will stop after successful or releasing the button.
- Continuous code scanning: Press the scan button once or long to start continuous scanning, and press it again or long to end code reading. Continuous code reading starts after the button is pressed once. Then the device scanner is on until the button is pressed again to end.
- Read code until timeout: Press or hold the scan button to start the countdown. If a barcode is read before the timeout, scanning will automatically stop. If no barcode is detected, scanning will automatically stop after the timeout.
- Delayed code reading: Device does not read the code when you hold down the scan button, and read the code after releasing the scan button.
Scan settings
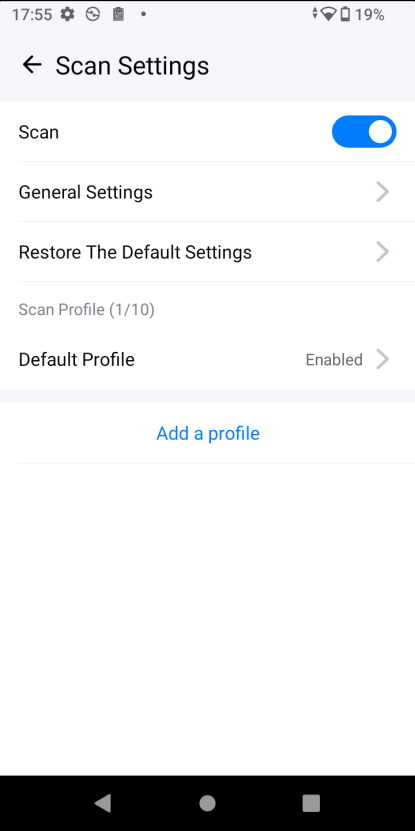
- From LCD: GsSetting —> Advanced settings —> Scan settings
- Supports creating multiple scanning profiles for use in different scenarios. The system includes the “Default profile” by default, and users can modify the setting parameters in the file, but the default profile cannot be deleted.
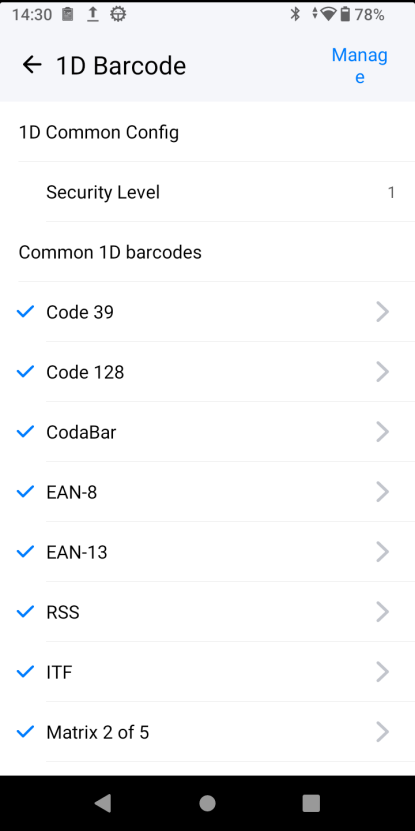
- You can set the barcode formats supported by the current profile. If a barcode format is disabled, the barcode of this type will not be recognized and there will be no response after scanning.
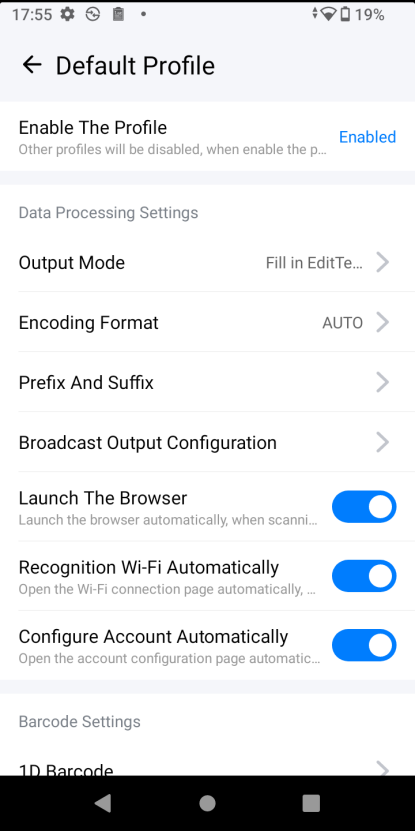
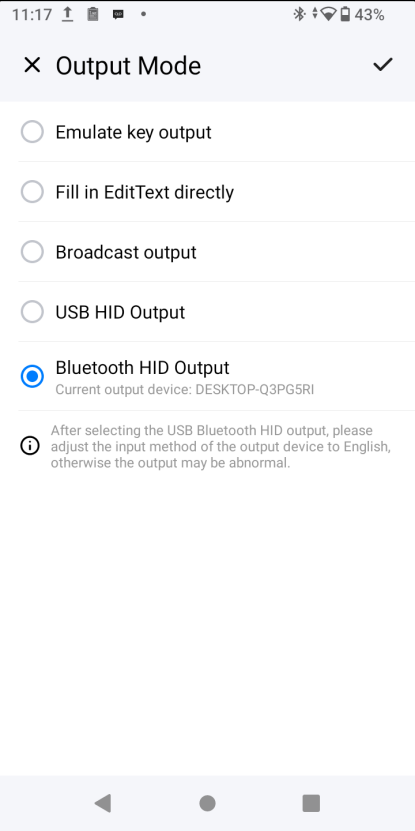
- Supports 5 output modes: analog key output, direct fill, broadcast output, USB HID output , Bluetooth HID output. Therefore, the device can be used as a USB or Bluetooth barcode scanner to achieve seamless switching and docking of the current warehousing and logistics system.
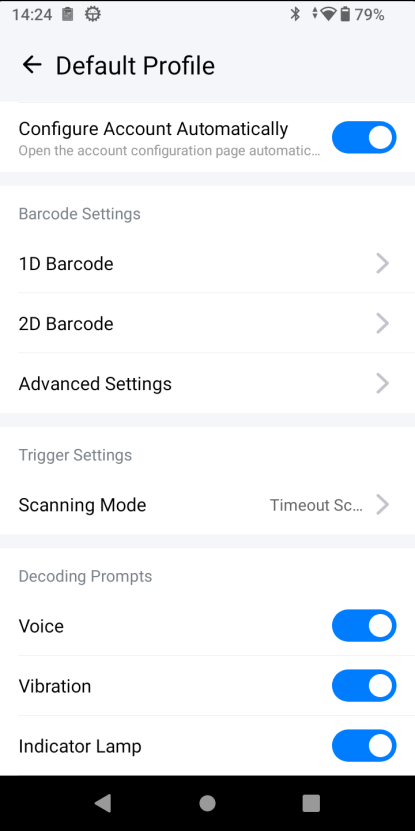
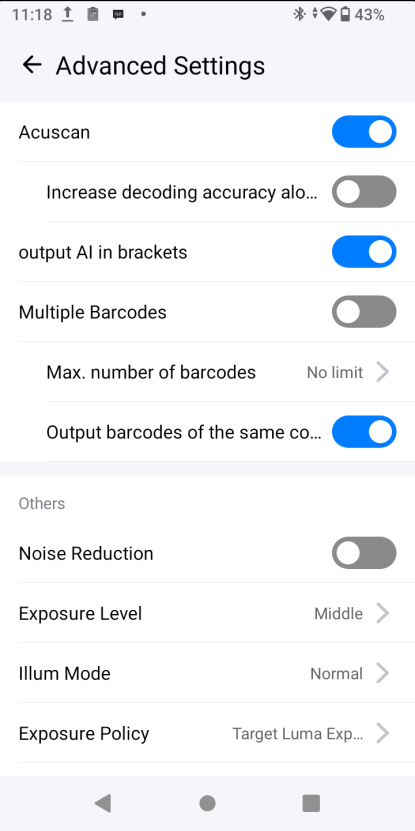
- Supports enabling scanning noise reduction, brightness exposure, scanning flash, and power saving mode of the scanner.
- Support OCR document recognition: including passport, Visa A, Visa B, ID card, etc.
- Contains three decoding prompts: prompt tone, vibration, LED indicator light (blue light turns on after successful decoding)
Bluetooth HID Output
- From LCD: Scan settings -> Profile -> Output Mode
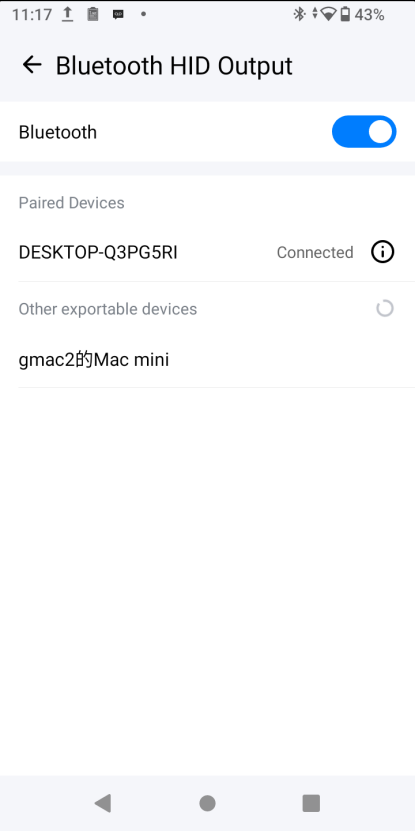
- Bluetooth HID output: After selecting Bluetooth HID output, you need to select a pairable device in the output device list and connect it.
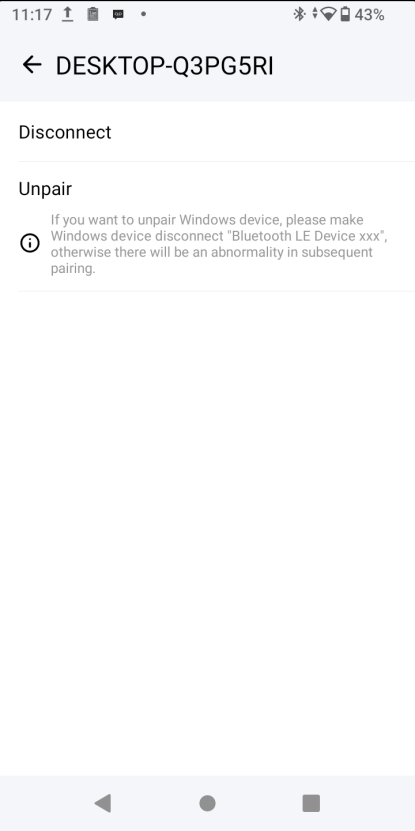
- Click the device details in the paired device list to disconnect the device or cancel pairing. Note: If you cancel pairing with a Windows device, you also need to disconnect “Bluetooth LE Device ec74d7229485 (Bluetooth MAC address)” on the device. Otherwise, subsequent pairing attempts may not function correctly.
- After selecting Bluetooth HID at the same time, the notification bar will display the current output mode and output device. Click to directly enter the output mode selection page;
-
After selecting Bluetooth HID output, when scanning code is abnormal
- Bluetooth HID output, Bluetooth is not turned on/not connected to a Bluetooth device. After scanning the code, a toast prompt appears: ‘Bluetooth is not turned on, please turn on Bluetooth’, ‘Bluetooth device is not connected, please check Bluetooth settings’.
- Bluetooth HID output, the Bluetooth device is connected. After scanning the code, it is judged as a Bluetooth device type that cannot be output. The toast prompts “The current Bluetooth device cannot be output. Please connect a Bluetooth device such as a mobile phone or computer.”
USB HID Output
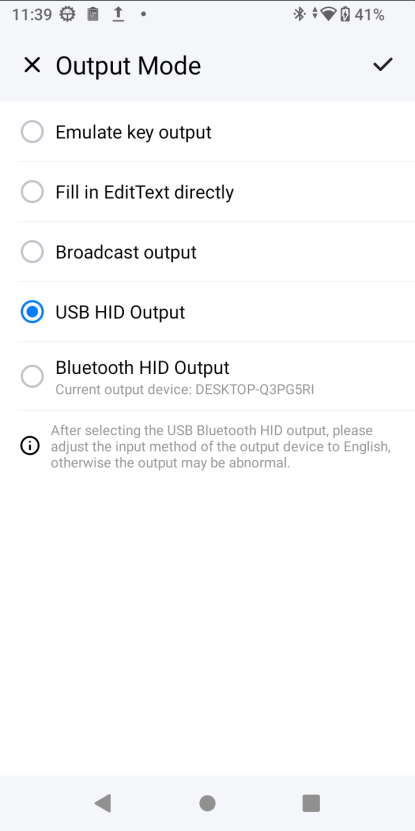
- From LCD: Scan settings -> Profile -> Output Mode
- USB HID output: To use USB HID output, you need to connect output device via USB port;
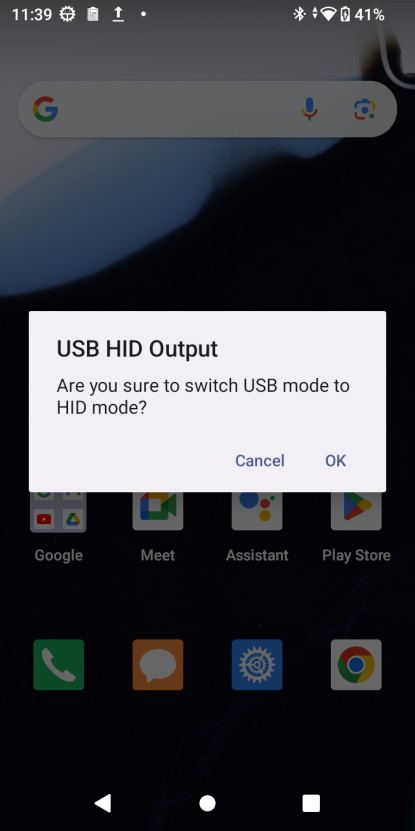
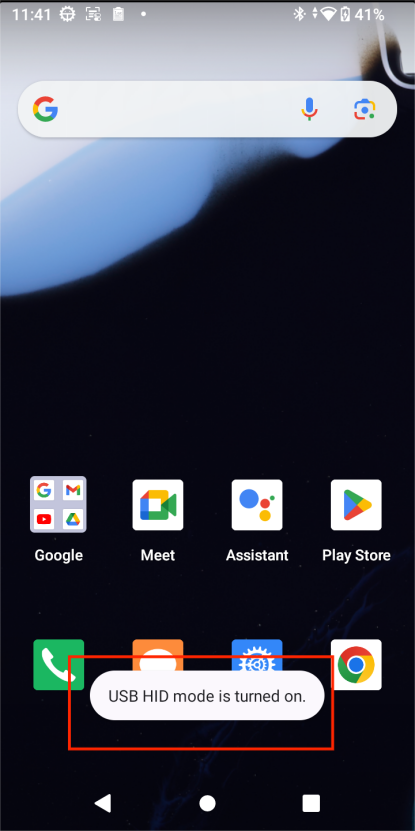
- After selecting USB HID output, each time you connect a USB, a prompt will pop up to ask to switch the USB mode to HID mode. Note: If you do not switch to HID mode, you will not be able to output.
- After unplugging the USB, it will automatically restore to the previous USB mode.
- After selecting USB HID, the notification bar will display the current output mode. Click it to directly enter the output mode page.
Simulate the Enter key
- From LCD: Scan settings -> Profile -> Output Mode
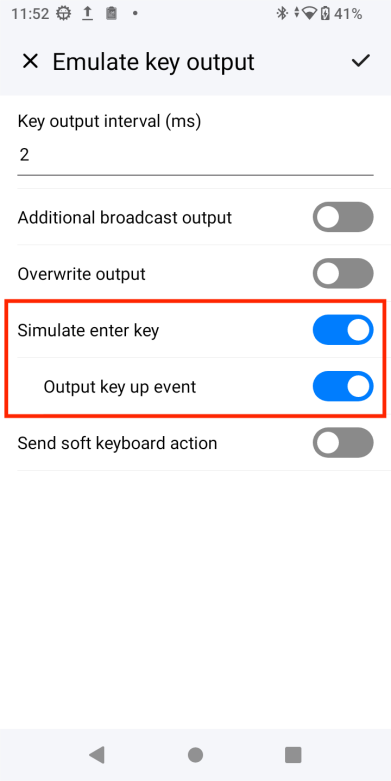
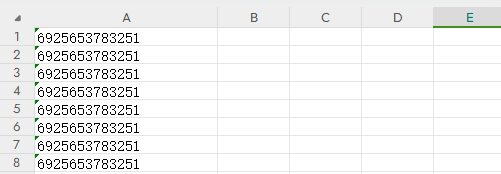
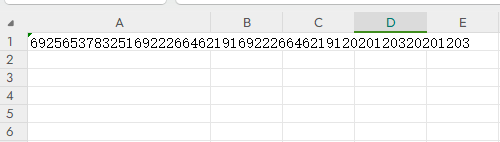
- This function is effective for simulating key output, USB HID or Bluetooth HID output. It is used to realize automatic jump after scanning the code and pressing Enter. Please turn this function on or off according to actual needs.
WiFi roaming mode
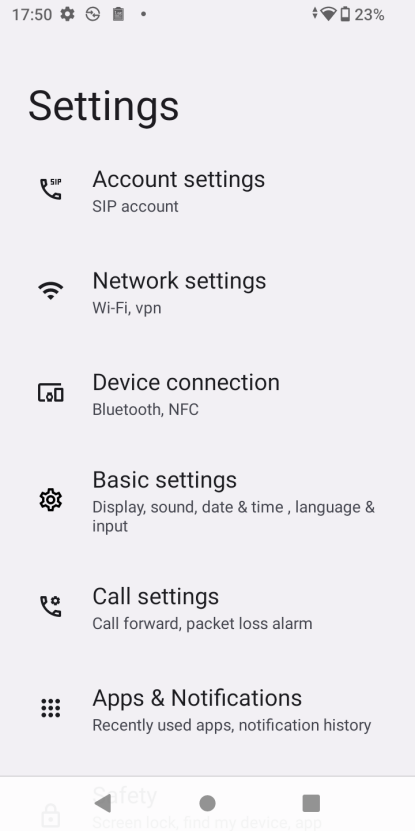
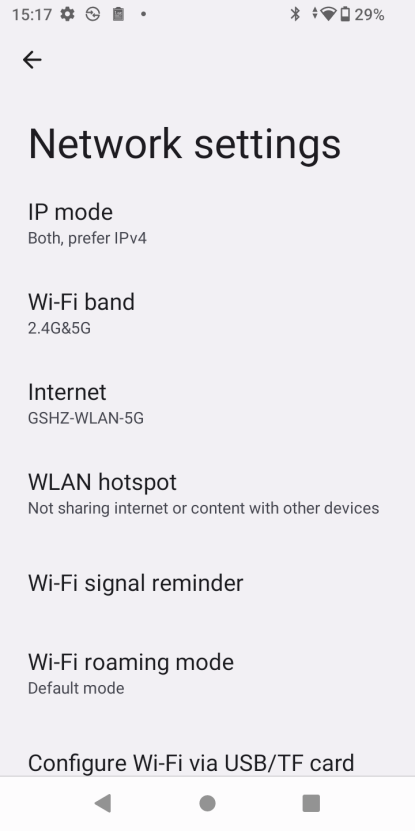
- From LCD: GsSetting——>Network settings——>WiFi roaming mode
-
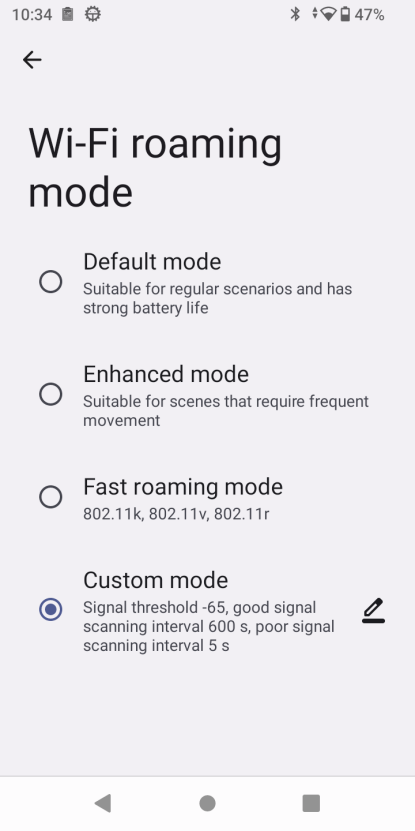
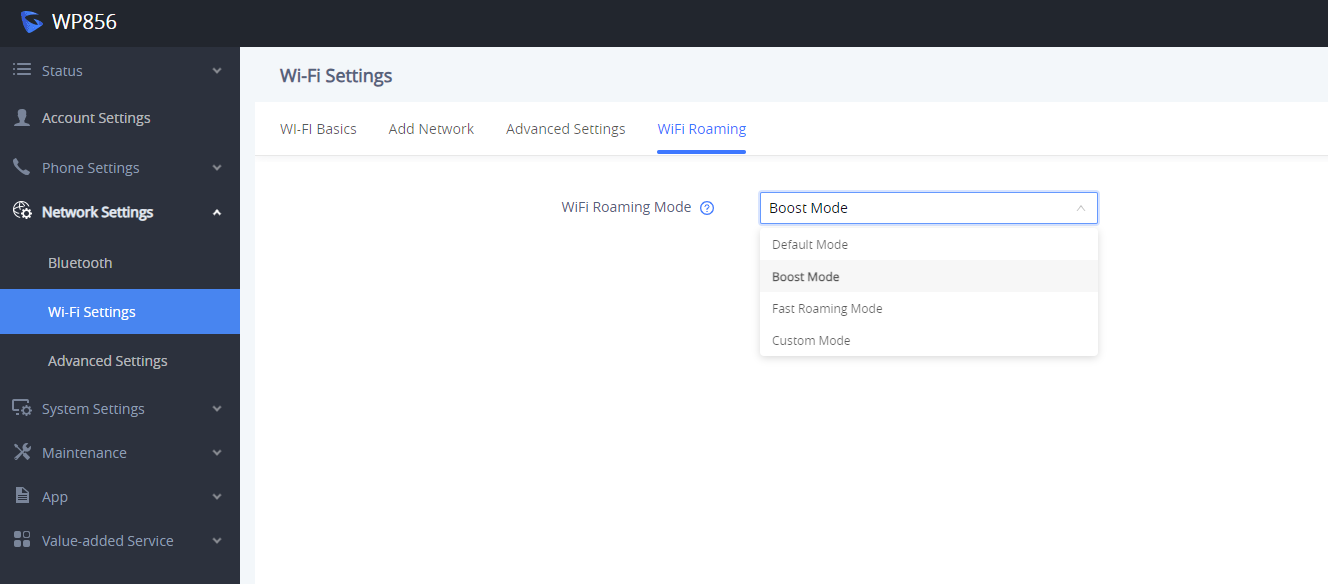
Supports 4 modes to choose from (can be switched on both LCD and Web UI):
- Default mode: suitable for common scenarios, with strong battery life.
- Enhanced mode: suitable for scenarios where you move around frequently.
- Fast roaming mode: supports 802.11k, 802.11v, 802.11r;
- Custom mode: You need to manually configure ‘Signal threshold’, ‘Roaming gain value’, Good signal scanning interval’, and ‘Poor signal scanning interval’
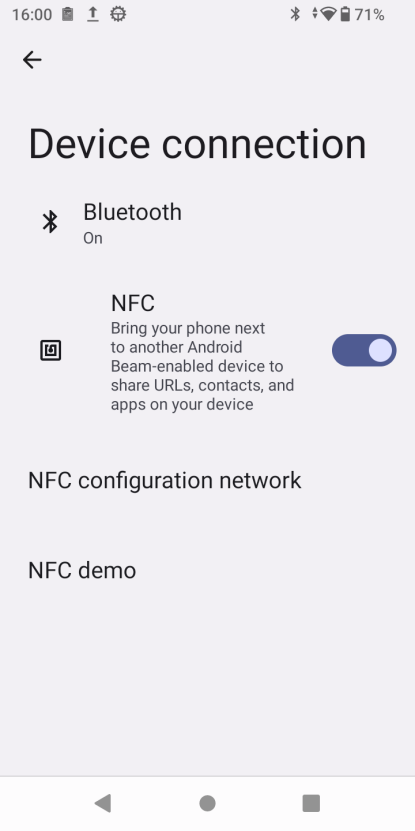
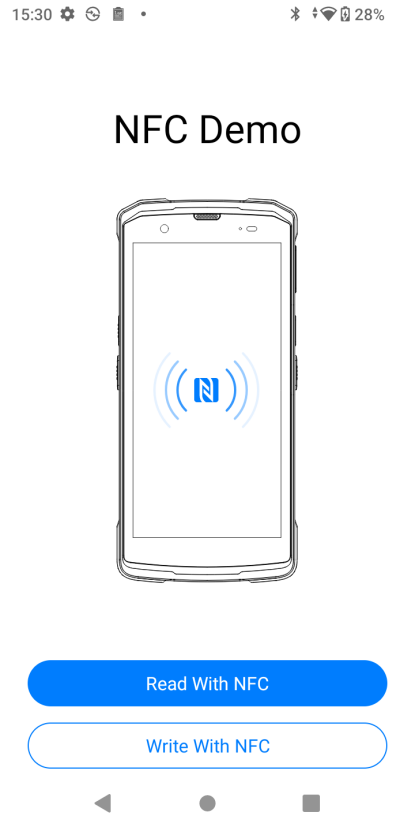
NFC demo
- Entry: GsSetting——>Device connection——>NFC demo
- This demo can only be enabled after turning on the NFC switch in the settings.
-
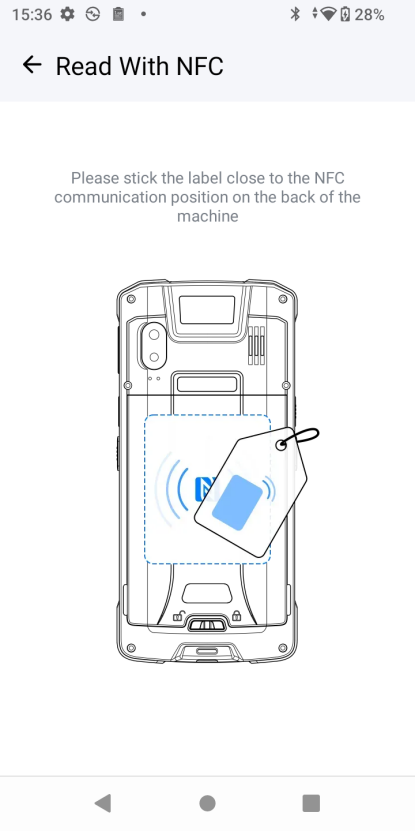
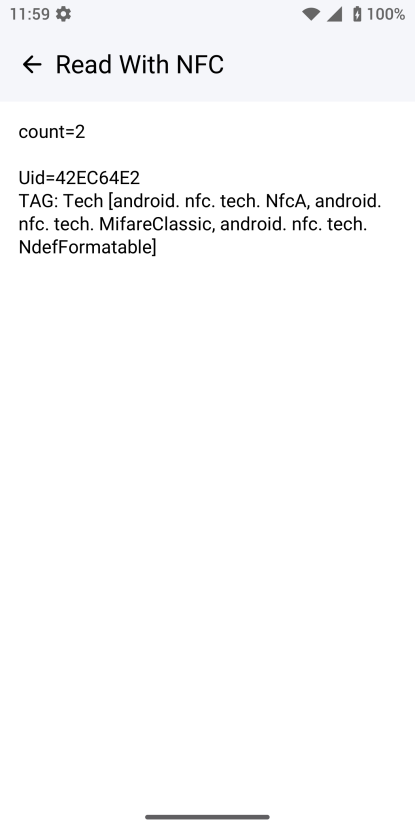
Read NFC tags
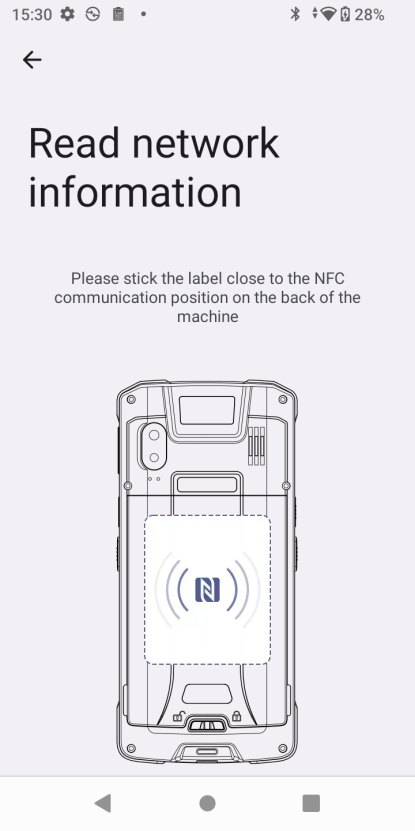
- Place the induction tag close to the NFC communication position on the back of the device.
- After reading the content of the tag, it will be displayed on the app ; successful reading will be prompted by sound and vibration.
-
Writing to NFC tags
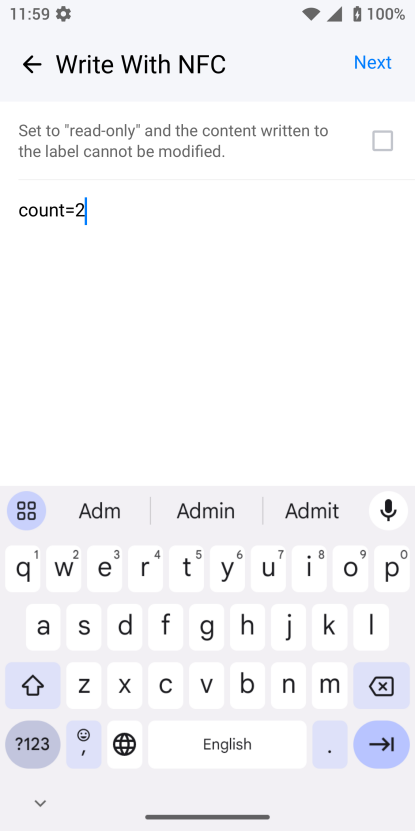
- Edit the tag content, write text information, and choose whether to set the sensor tag to “read-only” (the content written to the tag cannot be modified). Click Next when completed.
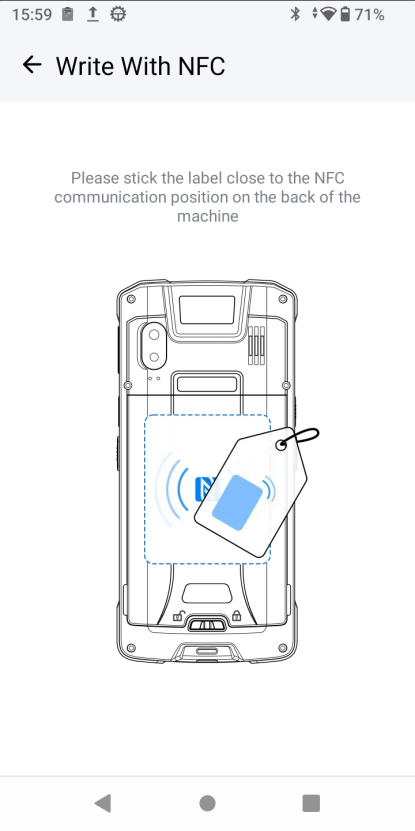
- Place the NFC tag close to the back of the phone and start writing. If the tag cannot be detected, it will always stay on this page ;
- The tag is detected, a beep sounds, and writing starts automatically;
- Depending on the verification result, the write success/failure will be prompted.
Scan QR code/NFC to configure network
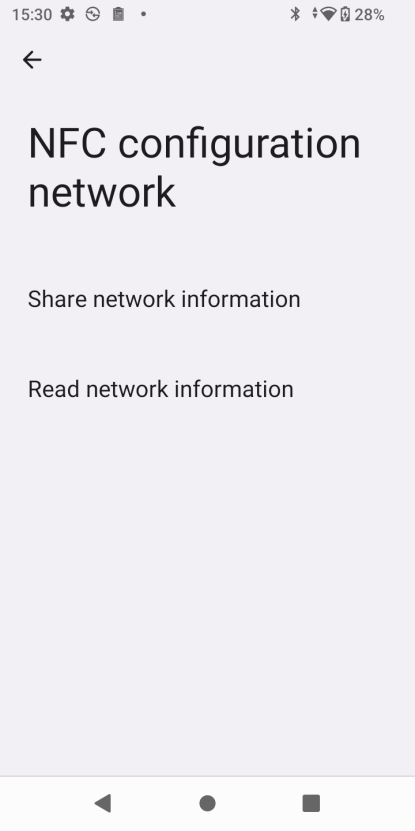
NFC configuration network:
- From LCD: GsSetting —>Device connection —> NFC demo
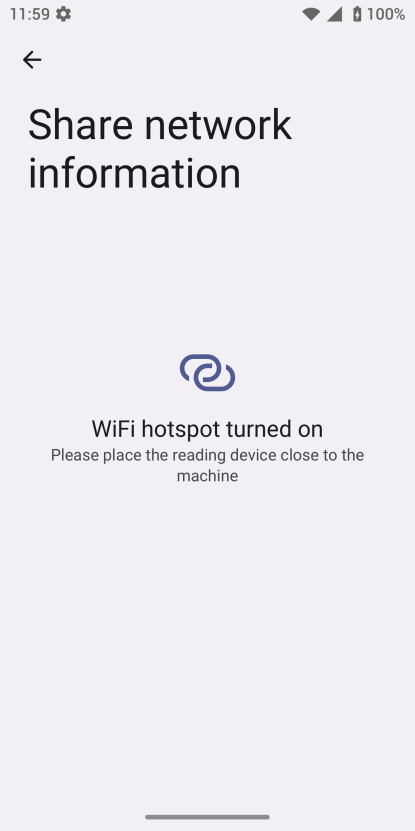
- If the wireless hotspot supports the hotspot sharing function, the mobile network can be converted into a wireless hotspot. The hotspot name and password can be transmitted to the device via the NFC chip. After the receiving device obtains the connection information through NFC, it can navigate to the WiFi connection page and connect to the hotspot network.
- At the same time, the phone’s NFC supports reading WiFi NFC sensing tags. For example, the phone’s NFC function can read the NFC tag on a router. The tag contains the router’s wireless SSID name, password, and automatic connection instructions. When you touch the tag with WP856, it will automatically navigate to the WiFi connection page using the provided SSID and password and connect to the WiFi.
Scan the QR code to configure the network:
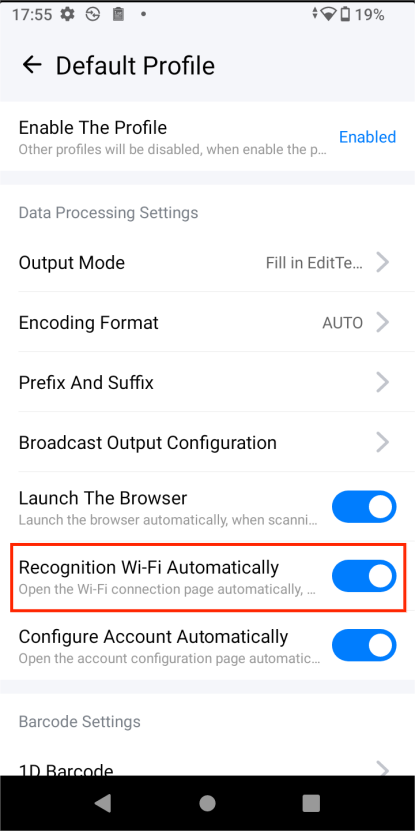
- From LCD: Scan Settings —> Profile —> Recognition WiFi Automatically
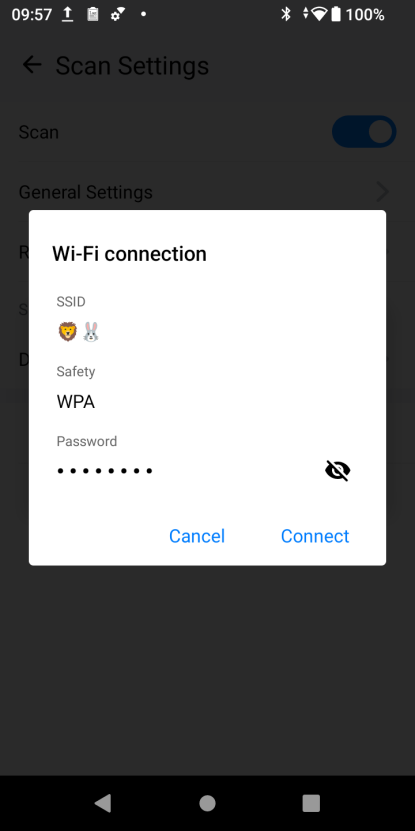
- When [WiFi Identification] is turned on, the QR code will be automatically identified as a WiFi QR code when you scan the code, and a pop-up window with WiFi SSID, password and encryption method will be displayed . After confirmation , the phone will connect to the Wi-Fi.
Scan the UCM QR code to quickly configure SIP account
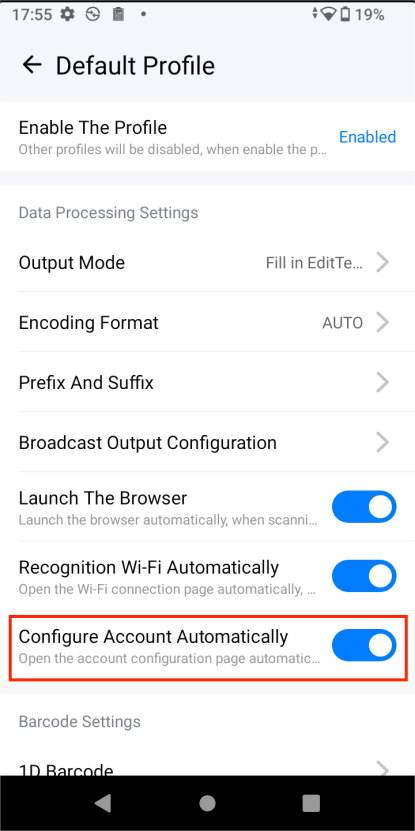
- From LCD: Scan Settings —> Profile —> Configure Account Auto
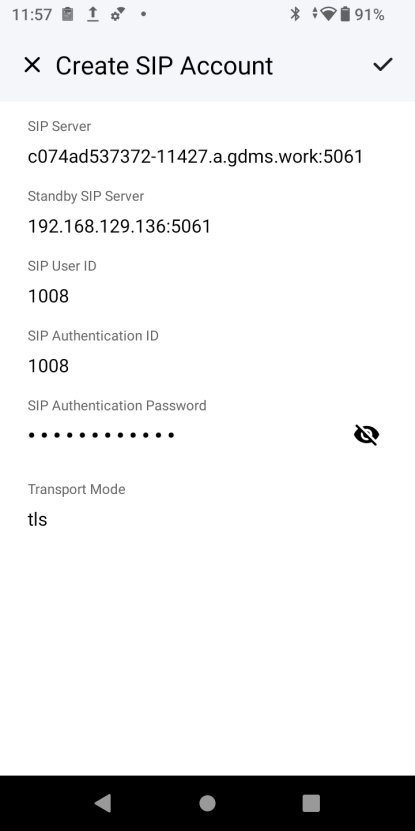
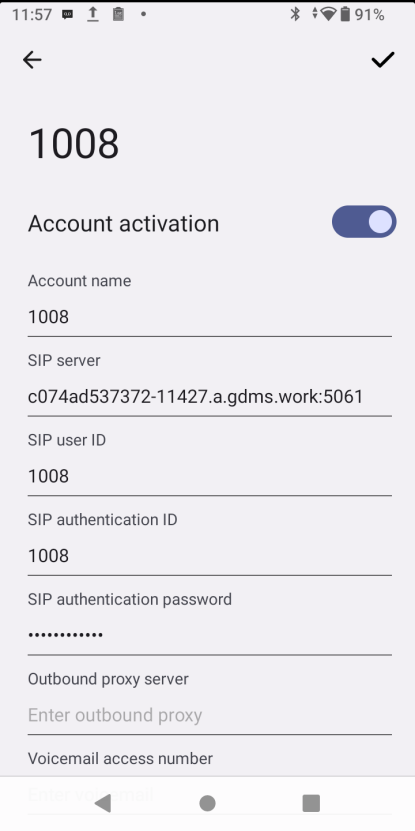
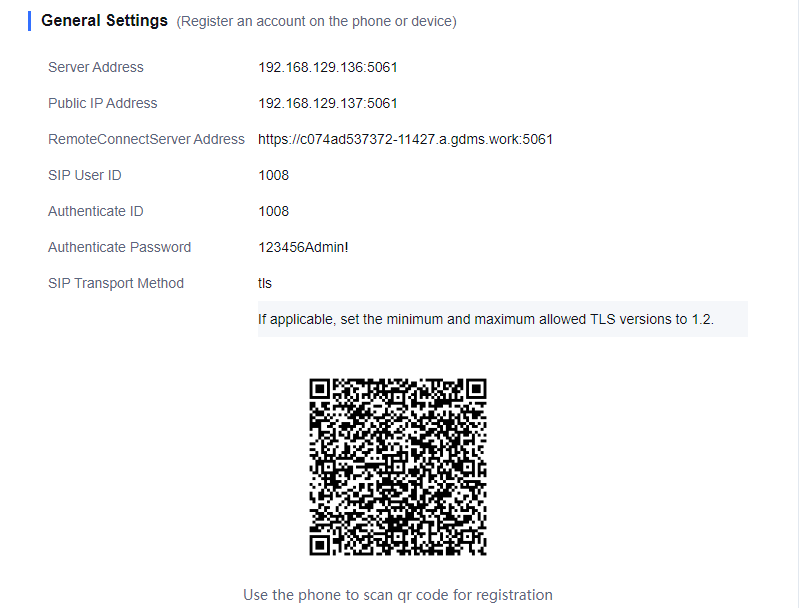
- When [Configure account automatically] is enabled, scan the QR code sent by UCM to automatically identify the SIP server address, backup SIP server address, SIP user ID, SIP authentication ID, and SIP authentication password.
- Then WP856 will navigate to the settings page of an empty account, automatically fill in the recognized information, and complete the account configuration.
- If all accounts have been configured, users can choose which account information to replace .
Automatic deployment of GCC identity code
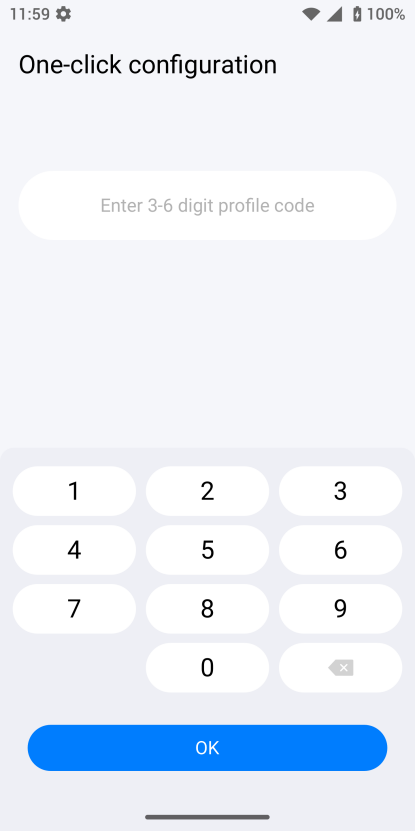
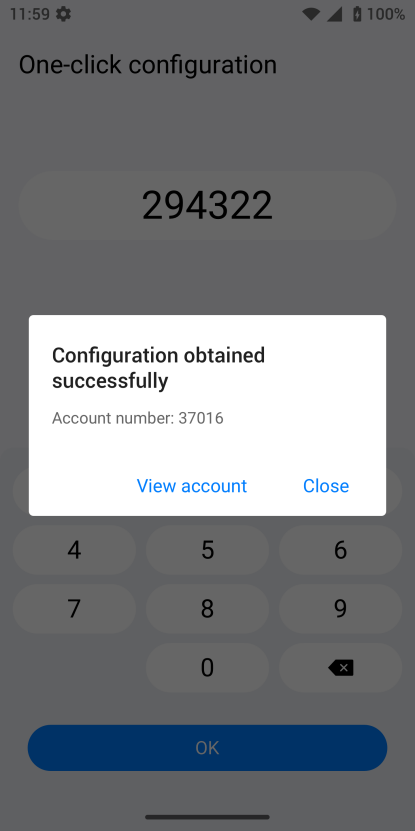
- A unique 6-digit identification code is automatically generated by the GCC601X device.
- Employees can quickly configure extension accounts and log in by entering their own identity codes on WP856. By default, the account is configured to the unconfigured “Account N” (the one with the smallest number N). If all accounts have been configured, the account is configured to replace the last account.
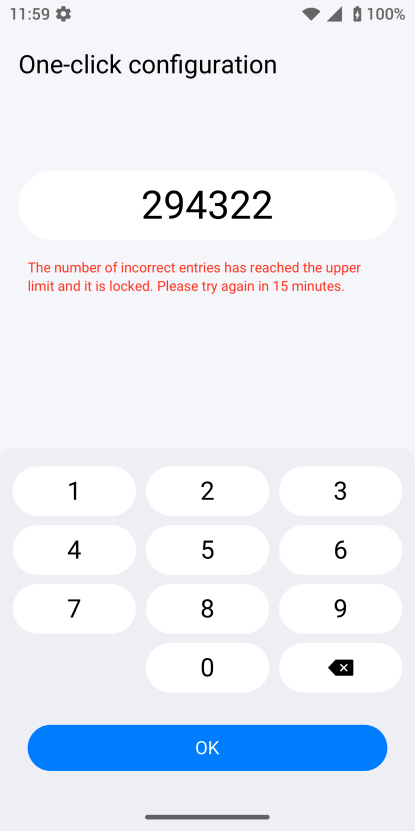
- By default, if the user enters an incorrect or invalid ID code 5 times, the ID code will be locked. If it is locked, the user needs to try again after 15 minutes. (The specific number of times and lock time can be determined by GCC)
Diagnostics
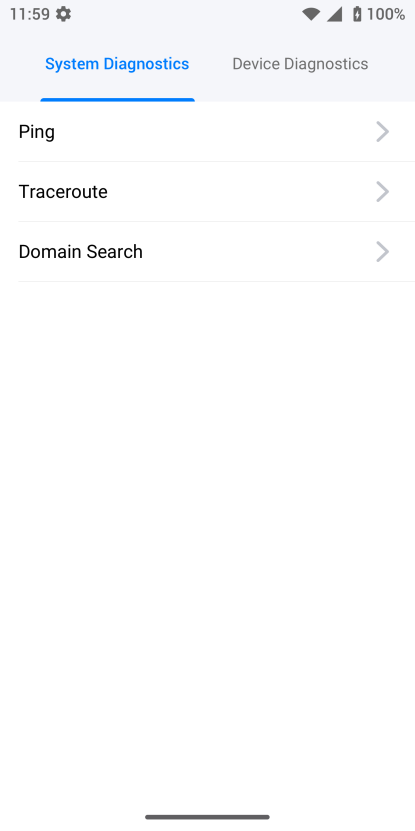
The diagnostic function is divided into two aspects: system diagnostics and device diagnostics. System diagnostics mainly includes Ping, route tracking, and domain name query. Device diagnostics is ATE diagnostics, which mainly includes LCD diagnostics, LED diagnostics, button diagnostics, audio loopback, headphone diagnostics, vibration diagnostics, proximity sensor, acceleration sensor, light sensor, and gyroscope sensor detection.
System Diagnostics:
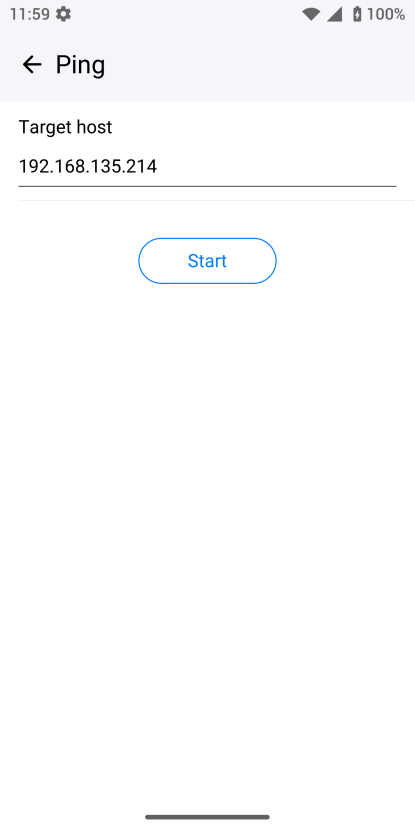
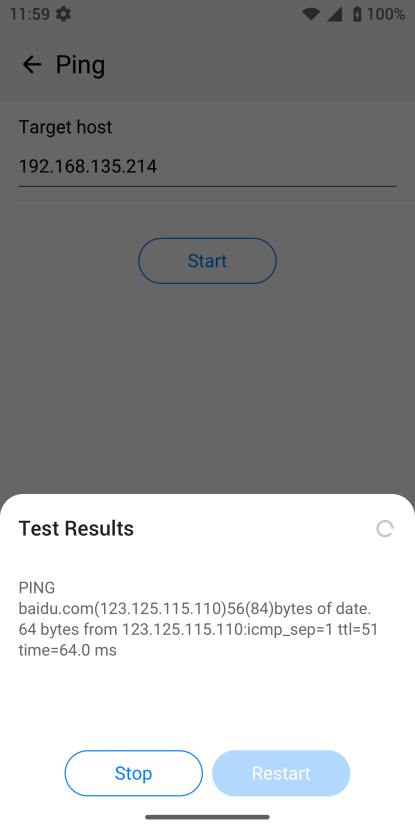
- Ping: Check whether the phone can ping the target host normally.
- Traceroute: Check whether the device traceroute to the target host is normal.
- Domain name query: Enter the target URL to generate the return field of the domain name query result; support stopping the generation before the generation is completed.
Device Diagnostics:
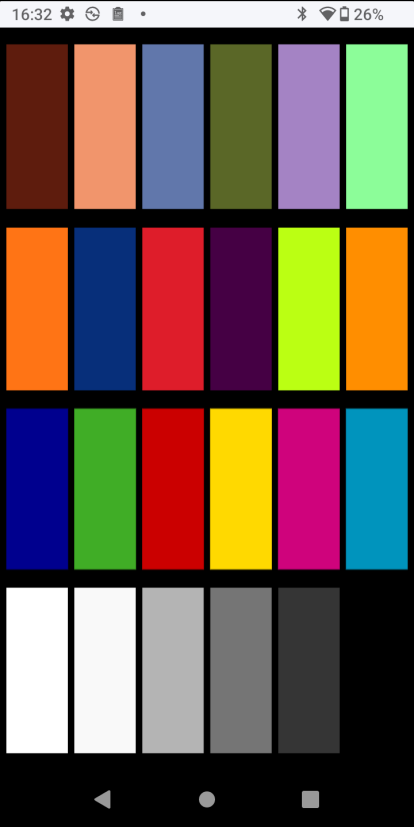
- LCD diagnostics: Supports switching LCD picture colors by clicking the screen. Picture colors include red, green, blue, black, white, purple, grayscale and other colors and gradients.
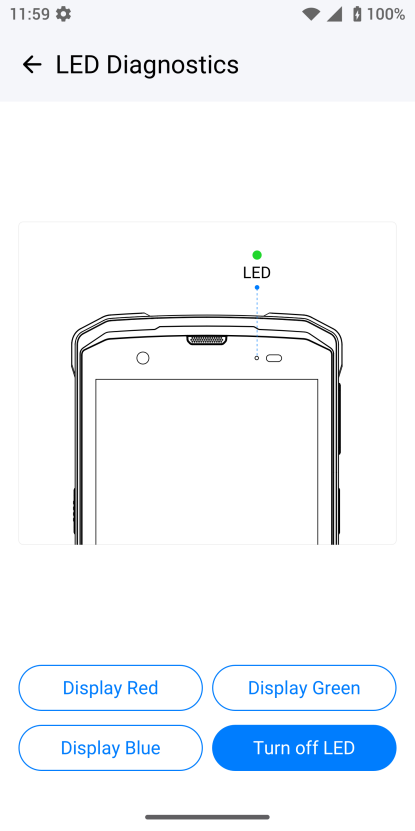
- LED diagnostics: Click “Display Green”, ” Display Red”, ” Display Blue”, “Turn off LED”, and the phone LED light will respond correctly.
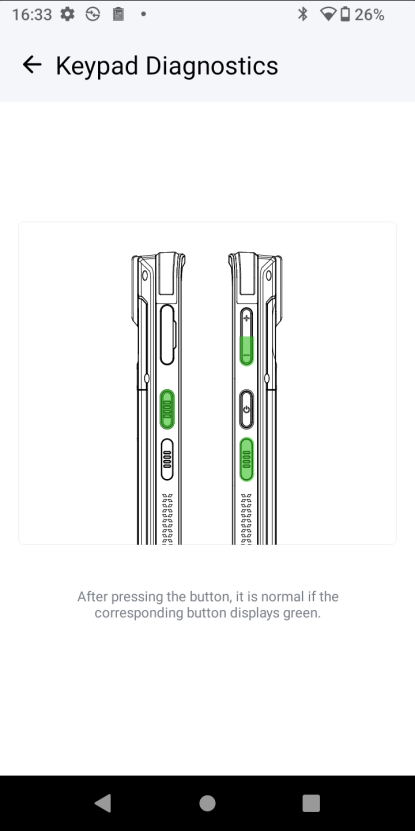
- Key diagnostics: Check whether the hard keys are normal, including the power key, multi-function key, scan key, and volume key.
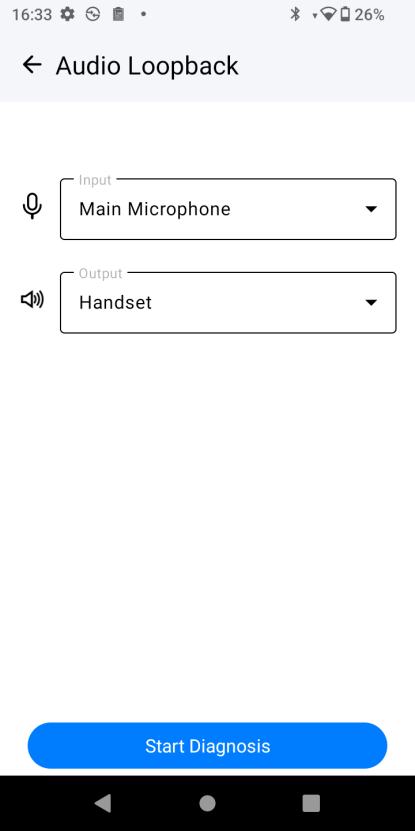
- Audio loopback: Select the sound channel, and the user points the voice input to the corresponding microphone, and then the audio is output from the selected channel to perform an audio loopback test; Input: main mic, noise reduction mic; Output: earpiece, speaker
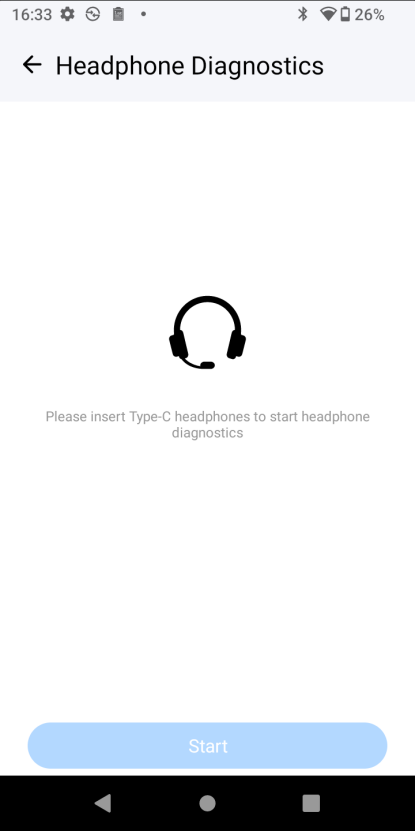
- Headphone diagnostics: Detect the headset (if there is a headset). If the connected headset has no microphone, a test tone will be played automatically to test whether the headset can be used for listening.
- Vibration diagnostics: Press the vibration button and the phone will vibrate for 10 seconds, which can be stopped during the period.
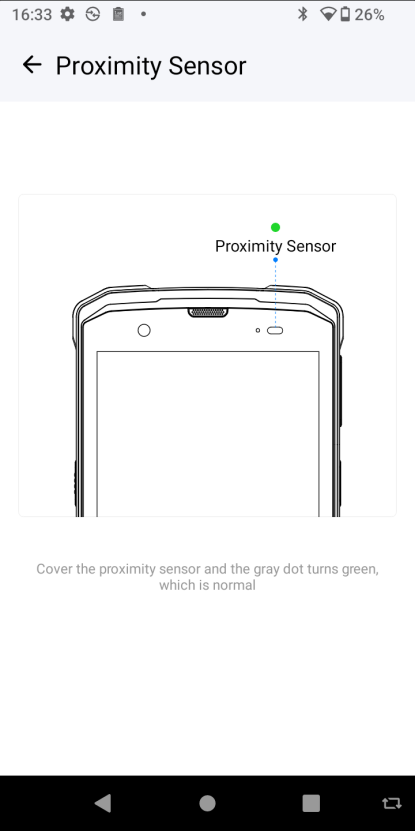
- Proximity sensor: Move close to the top proximity sensor and a green light will be on in the screen.
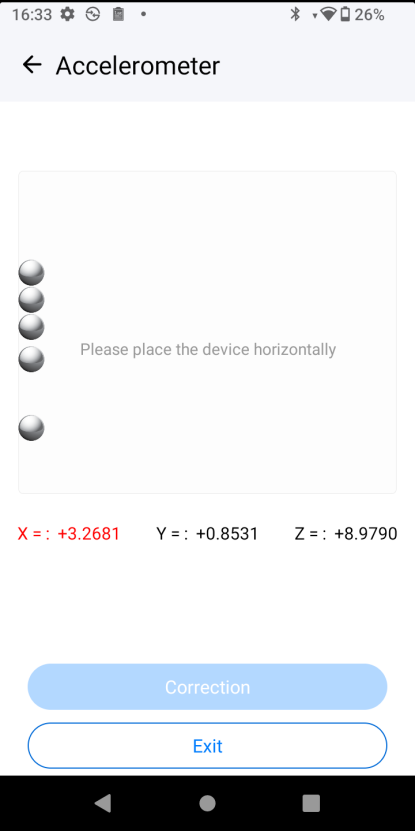
- Accelerometer: Displays the current acceleration values of the X, Y, and Z axes. The acceleration values change when the device is shaken. When the phone is placed horizontally, calibration data is supported.
- Gyroscope sensor: Rotate or tilt the phone and observe whether the direction of rotation is consistent with the above animation (observe the X, Y, and Z axes)
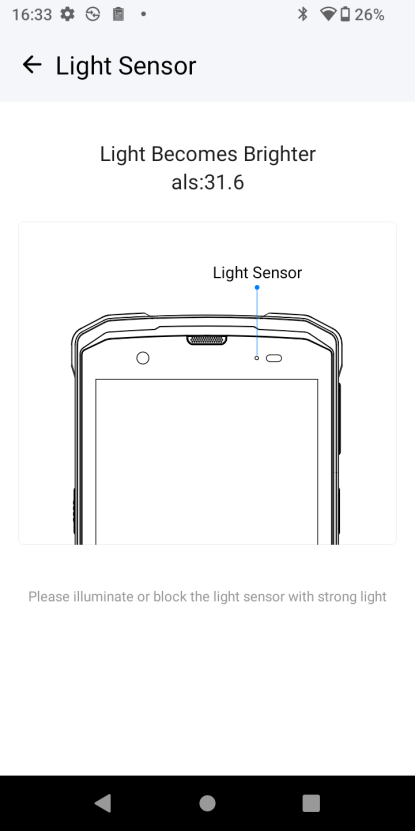
- Light sensor: In strong light or when you cover the light sensor with your hand, “Light becomes darker” and “Light becomes brighter” as well as the light intensity are displayed based on the feedback from the light sensor.
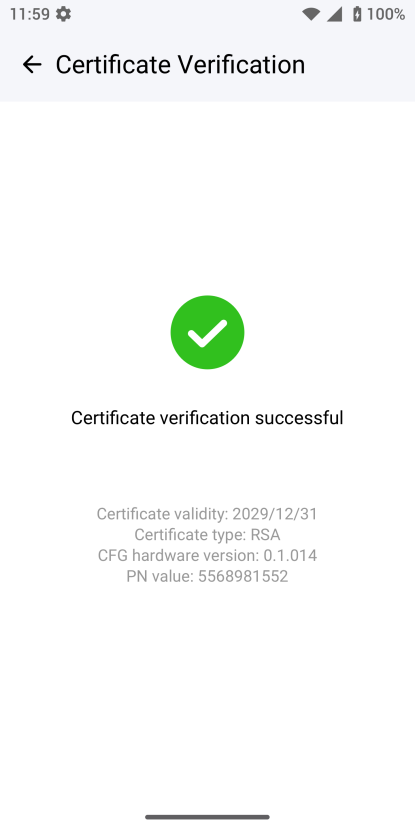
- Certificate verification: Automatically start verification to verify whether the private key burned into the phone and the CA-issued certificate (user certificate) are valid and available.
State Inspection
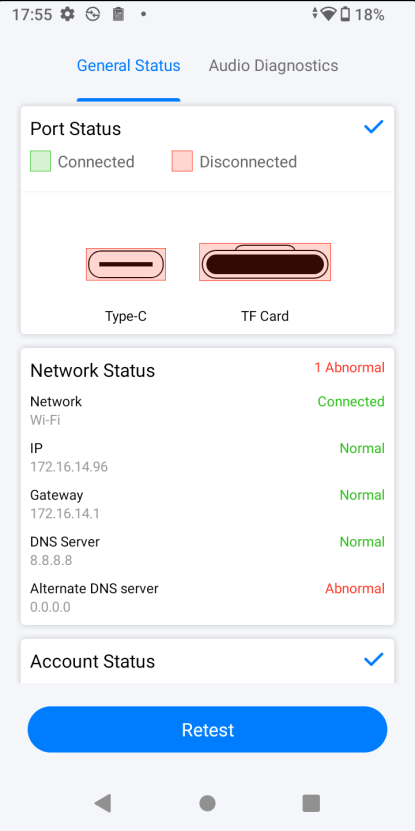
- Get the device’s network status, account registration status, interface status , and sound channel in a visual way.
- WP856 offers one-click inspection, including interface detection, network detection and account detection.
- WP856 offers interface inspection includes Type-C port and TD card interface.
- Network inspection includes wireless network, IP address, gateway, DNS server, and alternative DNS server.
- Check the SIP account status of 1 – 6 and the outbound proxy.
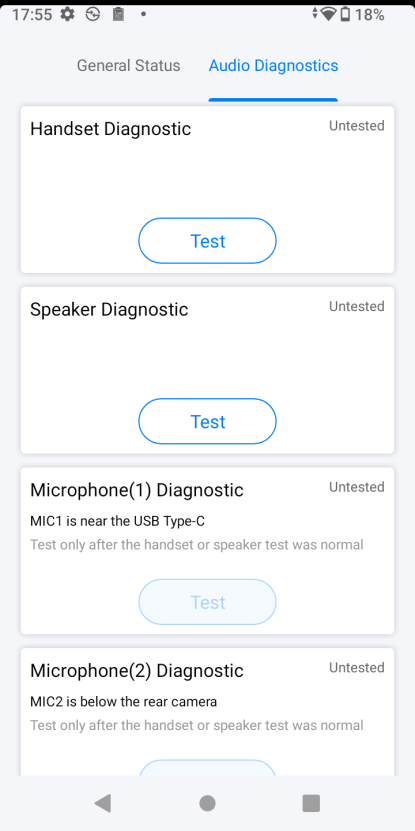
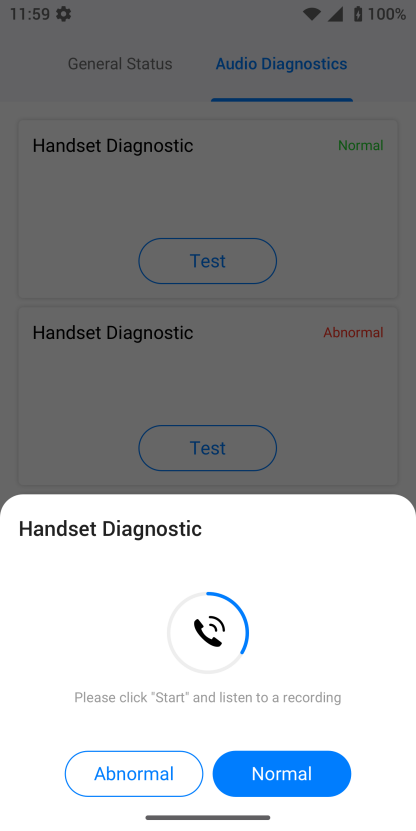
- Audio inspection includes the detection of the receiver, speaker, Mic 1, and Mic 2 (noise reduction Mic). The receiver and speaker are detected by playing the default recording, and the user can judge whether the sound can be heard or whether there is noise. The detection of microphones 1 and 2 is done by recording, prompting the user to record a sound first, and then playing the previously recorded sound after the recording is completed.
USB/TF card firmware upgrade, Provision configuration, WiFi configuration
Firmware upgrade via USB/TF card:
- Put the firmware in the root directory of the USB drive/ TF card or in the warehouse directory, and the version number is different from the current firmware version.
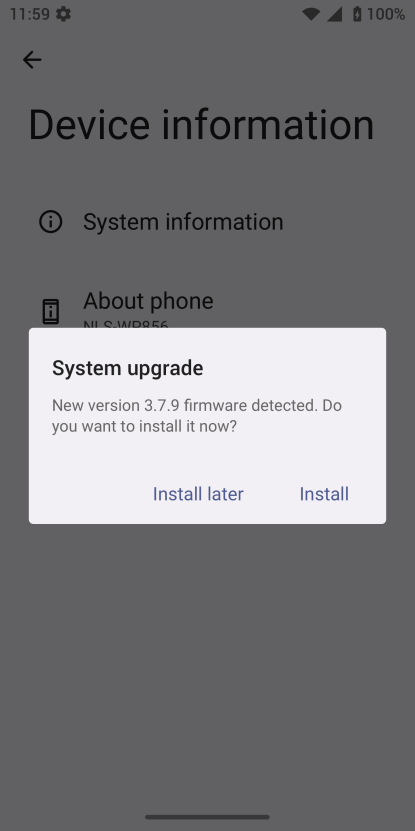
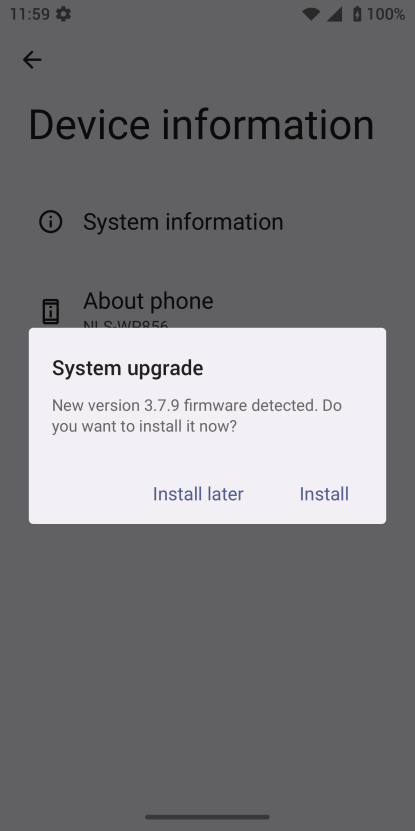
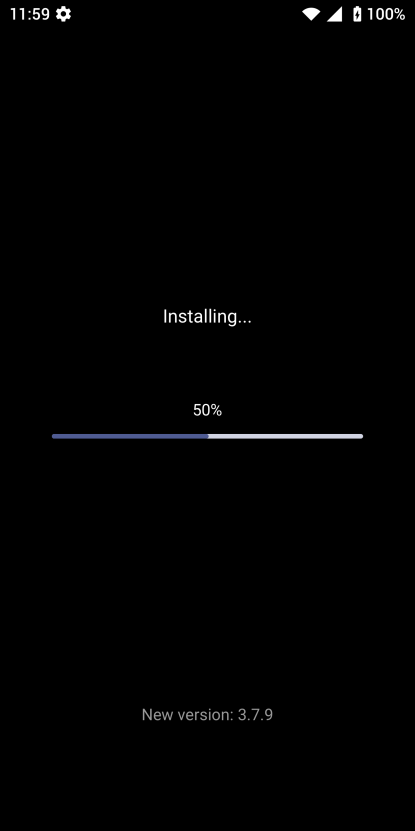
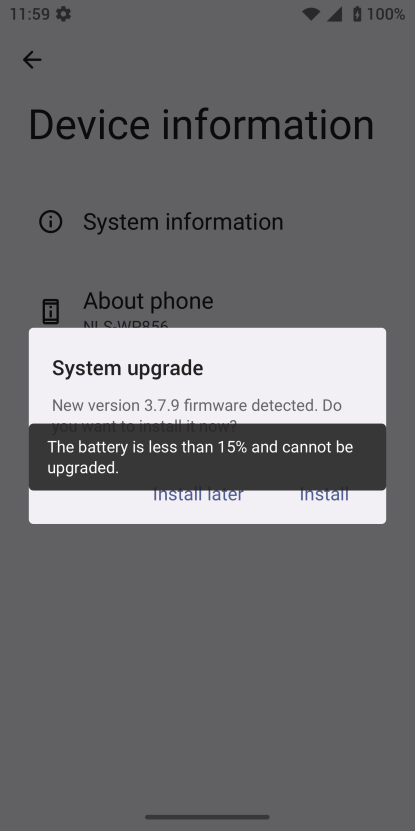
- On LCD, after the new version is detected, a pop-up window will appear to confirm whether to upgrade.
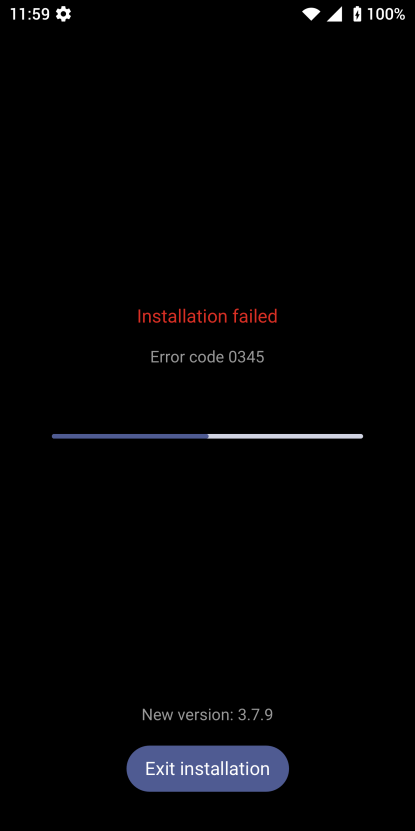
- If you pull out the USB disk/TF card during the download process, the upgrade will be interrupted. You can insert it and restart the upgrade normally again.
- Unplug the USB drive/TF card during the installation process, and the upgrade can be completed normally.
- Note: Upgrading will not perform if the battery level is below 15%.
USB/TF card configuration file :
- Entry: GS Settings -> Advanced Settings -> System Upgrade -> USB/TF Card Upgrade Configuration File
- When the USB/TF card is connected, after clicking “USB/TF Card Upgrade Configuration File”, the root directory will be traversed to see if the CFG configuration file in the root directory is recognized.
- After the configuration file is detected, the user confirms to upgrade the cfg and starts automatic configuration . After applying all CFG files, it asks whether to reboot immediately to take effect.
USB/SD card Wi-Fi configuration :
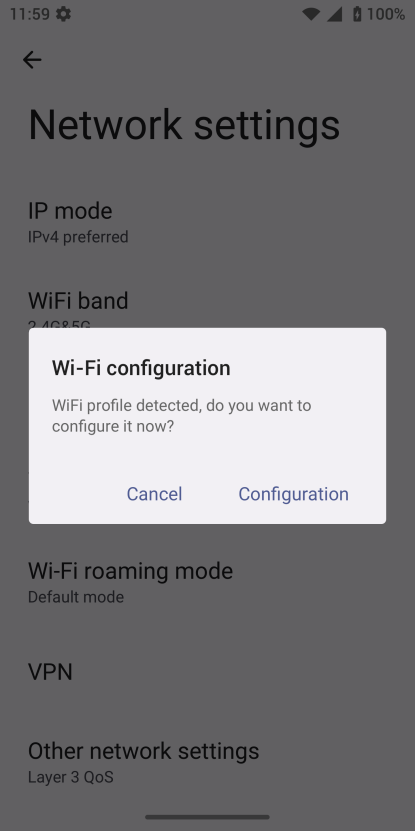
- Entry: GS Settings -> Network Settings -> Configuration Wi-Fi via USB/TF Card.
- Place the Wi-Fi configuration installation package wifiAutoConfig.zip in the root directory of the USB drive/SD card.
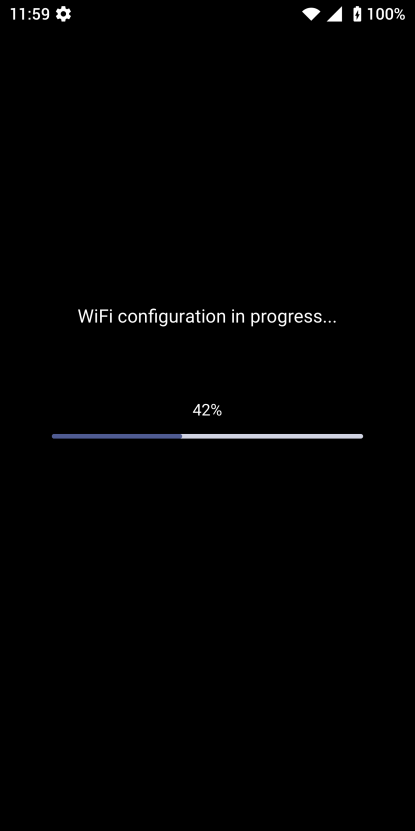
- When the USB/TF card is connected, click “Configuration Wi-Fi via USB/TF Card” to start detecting the configuration file and automatically configure the Wi-Fi.
Business code triggers Wi-Fi quick configuration (batch configuration of Wi-Fi)
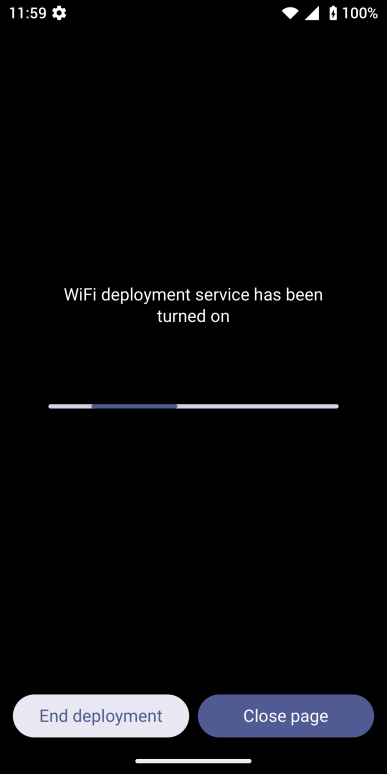
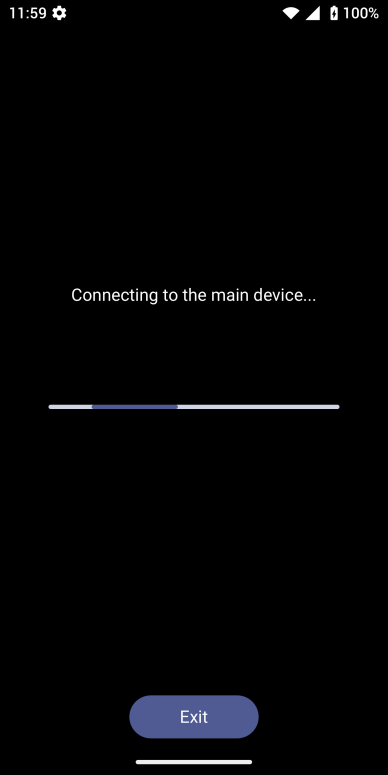
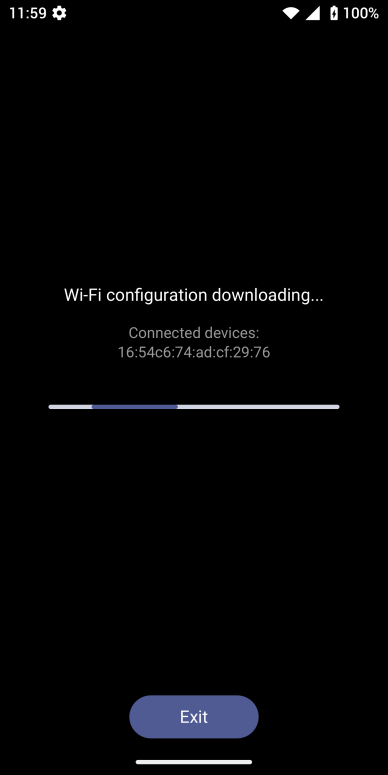
- Select one or more devices as the main device, enter the key code ( ***800* ) to enter the host mode , in which the device hotspot will be automatically turned on.
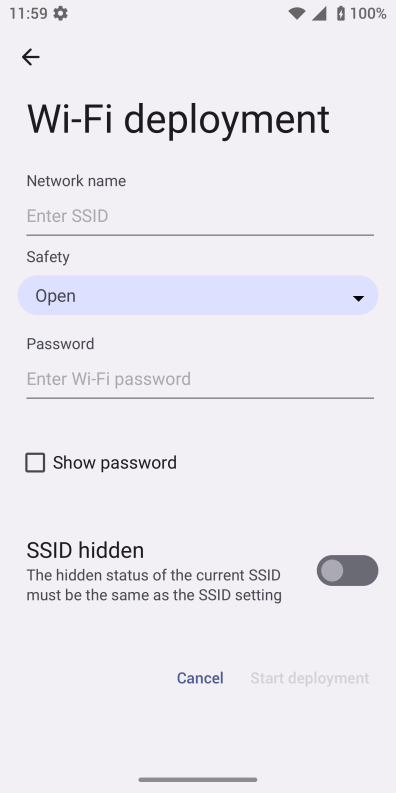
- The master device needs to fill in the Wi-Fi information ( SSID, security, password ), and then start the deployment.
- Other devices dial the key code ( ***801* ) to enter the slave mode, and they automatically find the hotspot of the master device and establish a connection. Then download the Wi-Fi configuration parameter file, and automatically exit the slave mode after completing the Wi-Fi configuration.
Google GMS Suite Services
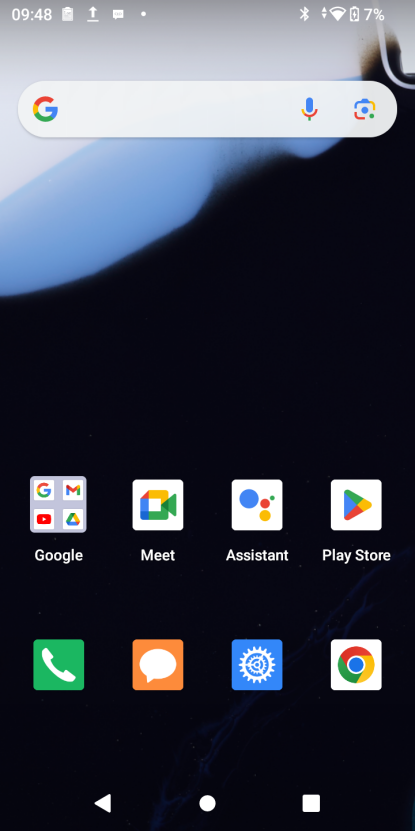
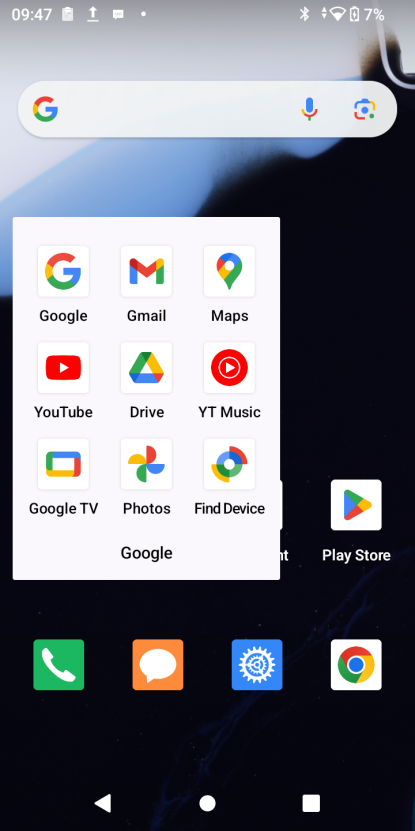
Google GMS suite services refer to Google Mobile Services, which is a collection of Google applications and services provided for Android devices. GMS provides users and developers with a series of Google applications and services, including but not limited to:
- Google Play Store: A platform for downloading and updating apps.
- Google Maps: Provides map and navigation services.
- Gmail, YouTube, Google Drive, etc.: Google’s communication and cloud storage services.
- Google Photos: A photo and video backup and management service.
- Google Files: is a file management application used to clean up storage space and manage files.
SDK interface
Please refer to: https://documentation.grandstream.com/knowledge-base/wp856-gs-android-sdk/