Introduction
The SoftwareUCM disk expansion is a crucial configuration for users needing to have more space for storage, the storage can be elated to store recorded video and audio calls, as well as storing troubleshooting and debugging files, the disk expansion upgrade process in this guide will be done on the VMware workstation.
VMware Workstation is a powerful desktop virtualization software that allows users to run multiple operating systems on a single machine. It’s primarily used for testing, development, and running virtual machines (VMs) for various purposes like software testing, network configuration, or learning. In disk expansion, VMware Workstation can allocate more disk space to a VM by expanding the virtual disk through its settings and using disk management tools within the guest OS.
In this guide, we will configure expanding the memory of the SoftwareUCM solution on the VMWare Workstation.
Disk Expansion Configuration
Increase Disk Size on VMware Workstation
On your VMware Workstation, please apply the following to expand disk space:
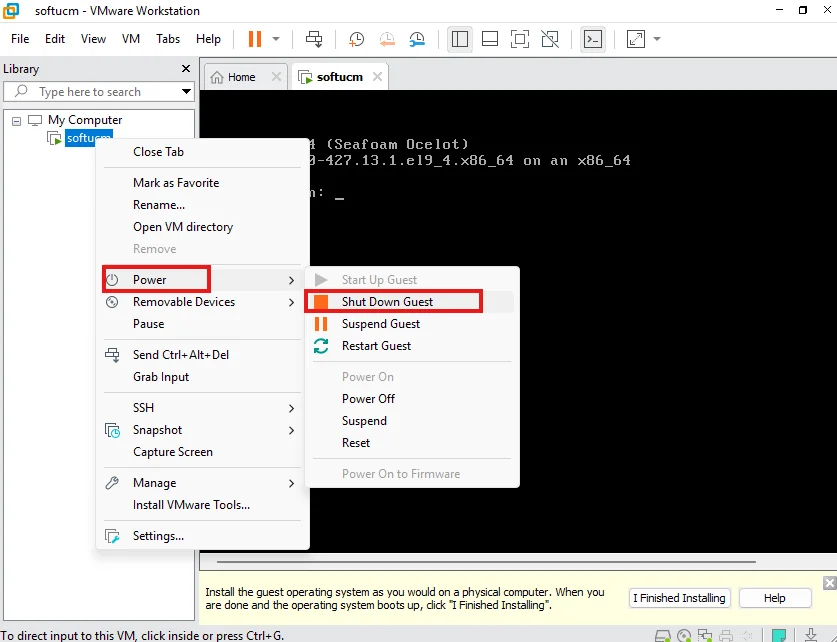
- Right-click the SoftwareUCM Virtual machine, Click Power → Shut Down Guest, to shut down the virtual machine
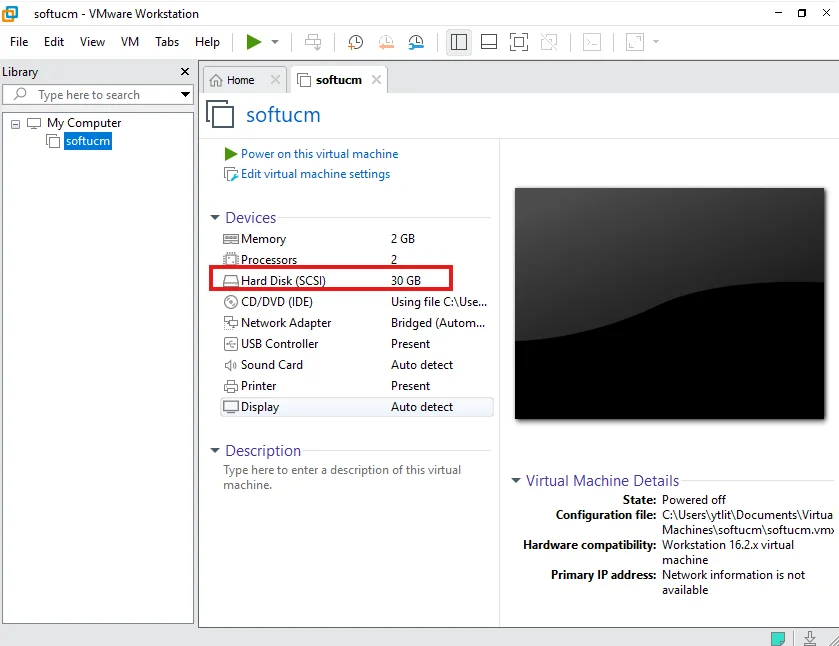
- Once the shutdown is completed, Click on Hard Disk, as highlighted below:
- Click on Expand.
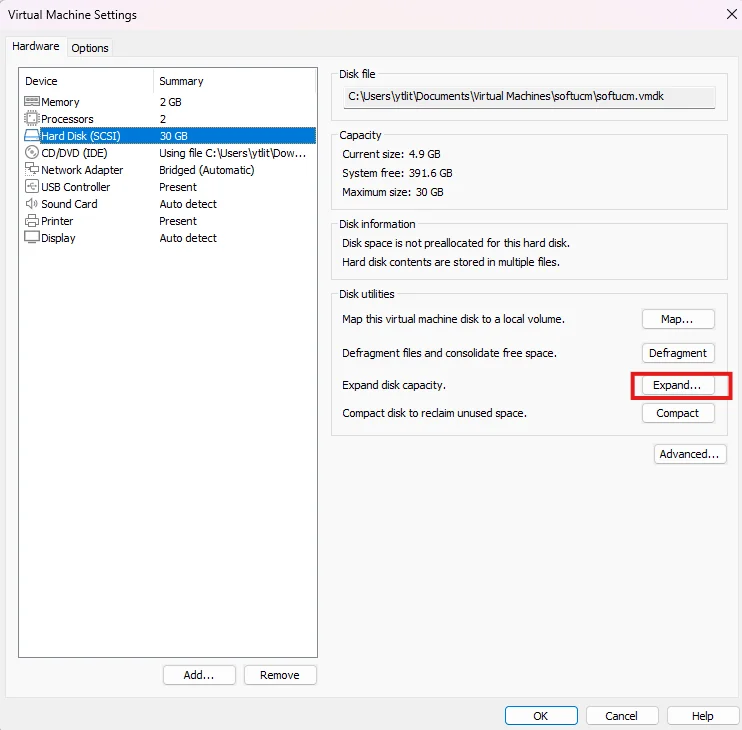
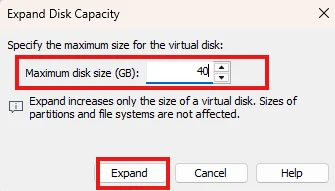
- Set the disk size you would like to configure, then click on Expand.
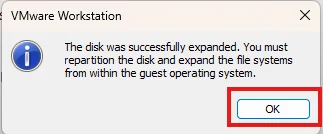
Expand the Partition in The Virtual Machine
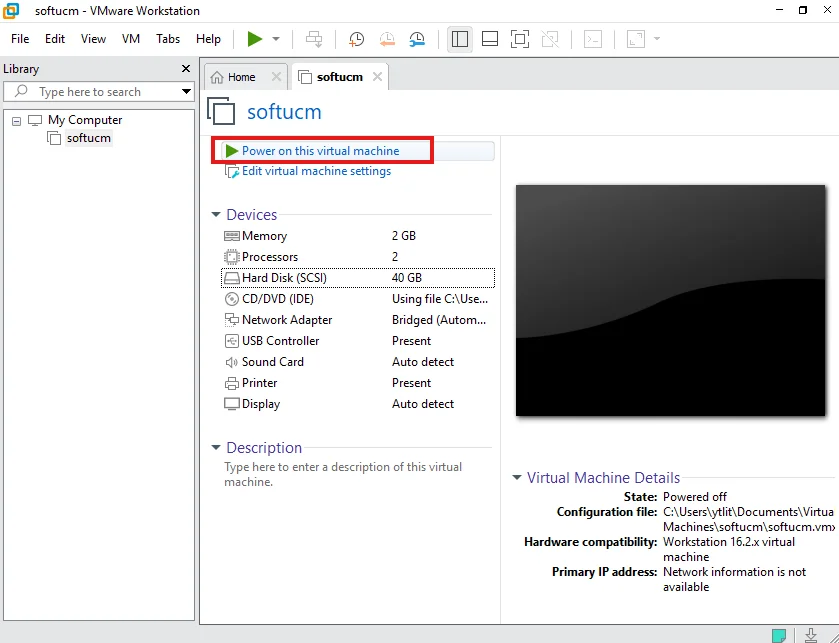
- Start the SoftwareUCM virtual machine.
- Log in with the credentials of the user “support”
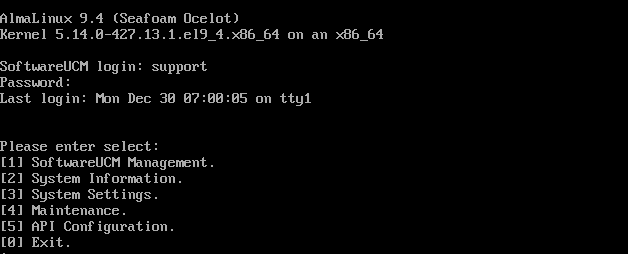
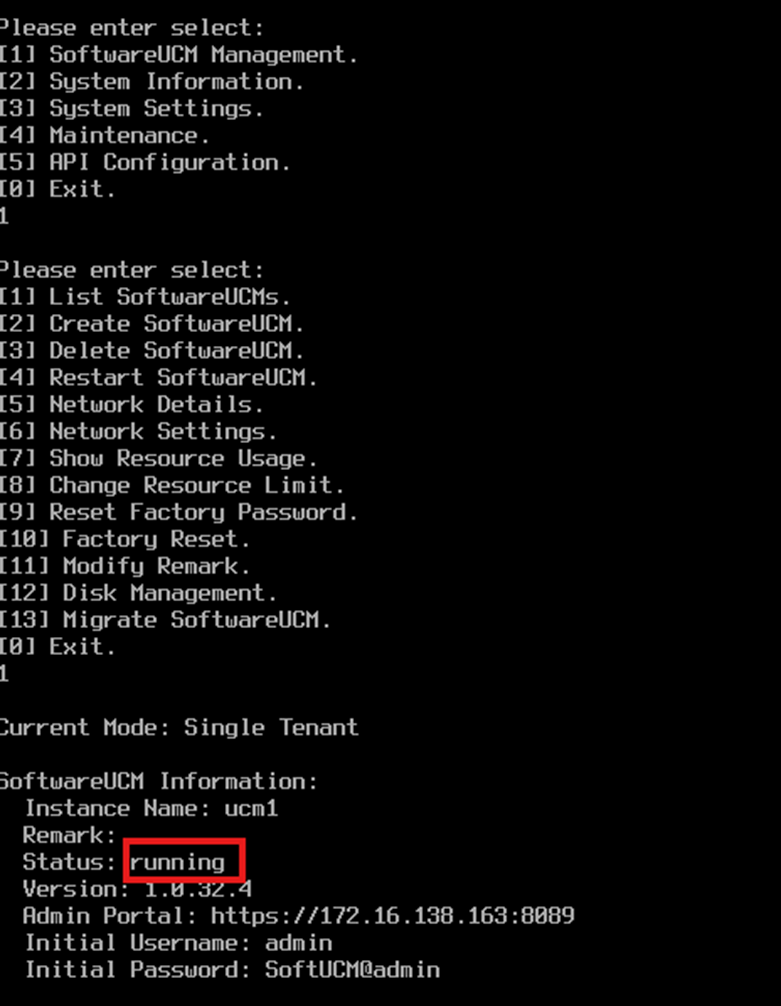
- In single-tenant mode, wait for the instance to be initialized, then select SoftwareUCM Management → List SoftwareUCMs to view the instance status.
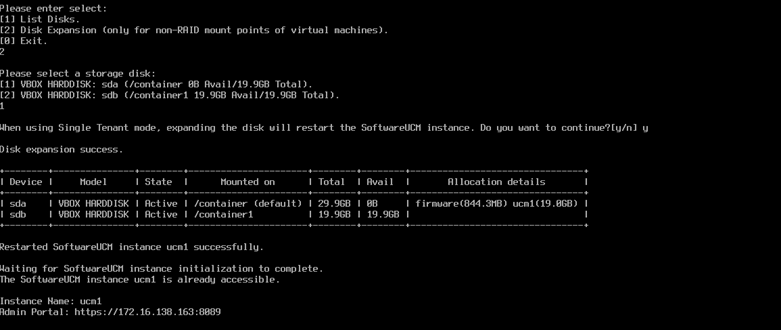
- Select Maintenance → Disk Expansion to expand the partition. Ensure you are logged in as the “support” user.
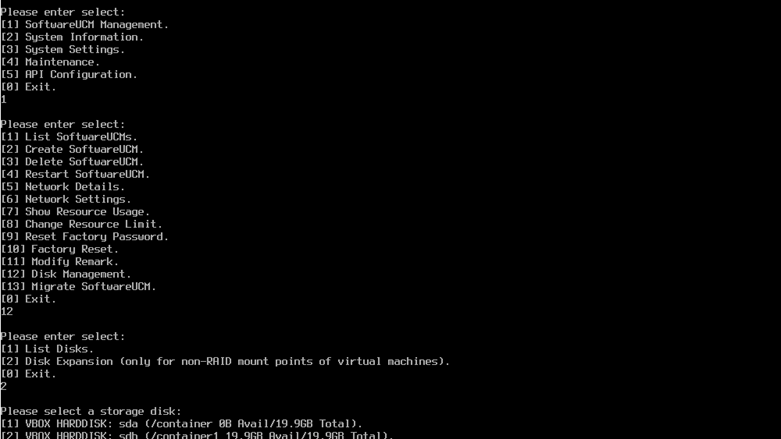
- Select the disk that requires expansion.