The UCM62xx and UCM65xx support HTTP & WebSocket for web browser to register to the UCM and establish calls and participate in web video conferences with other endpoints in real time via WebRTC. With the UCM you can easily create, schedule, manage, and join video conference calls, from your desktop or laptop computer.
UCM Video conferencing uses WebRTC technology, so all the participants don’t have to download and install any additional software or plugins.
This document introduces the user portal features and offers step by step instructions to use them.
SPECIFICATIONS
- Up to 4 video feeds in a conference call (one 1080p, others being QVGA) and one screen share feed.
- Up to 100 WebRTC users can be logged into the Grandstream Wave page at the same time.
-
Participant limit:
- UCM62xx: 8
- UCM6510: 15
- Audio: PCMU, PCMA, GSM, iLBC, G722.1, G722.1C, G729, G723.1, G726, OPUS
- Video: H264, VP8
- Framerate: 15 FPS video stream, 5 FPS screen share
- Firefox v61 issue: Caller cannot hear the callee when Firefox is used to answer the call.
WEBRTC CONFIGURATION
Web audio and video calls and conferencing can now be achieved through the UCM’s new WebRTC page.
UCM Video Conferencing must be enabled by the administrator for the concerned extensions under the extensions level by following below steps:
- Navigate to Value-Added Features 🡪 WebRTC and enable WebRTC support.

- Select the extensions that would use WebRTC and enable WebRTC support on them under Features section.

VIDEO CONFERENCE CONFIGURATION
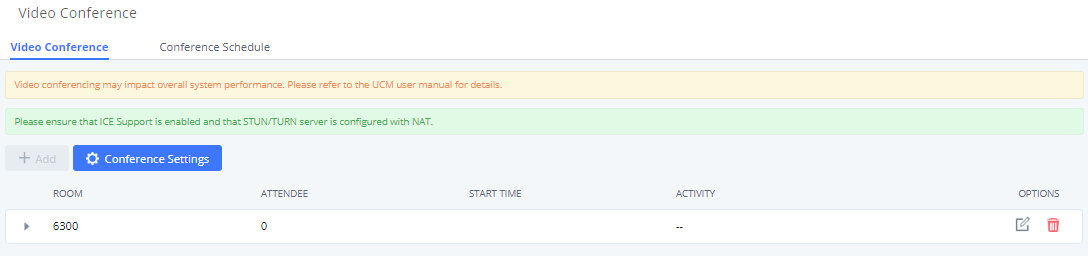
The video conference configurations can be accessed under Web GUI🡪Call Features🡪Video Conference. In this page, users could enable, set the Basic setting, create, edit, view, manage, delete conference rooms and edit the Conference Schedule.
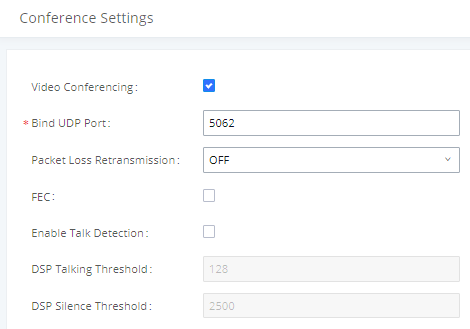
Conference Settings
Basic Settings | |
Video Conferencing | This option should be enabled to activate the Video Conference feature. |
Bind UDP Port | Configure the UDP port number for MCM. The standard UDP port for MCM is 5062. |
Packet Loss Retransmission | Configure the Packet Loss Retransmission. If enabled, the NACK or NACK+RTX Packet Loss Retransmission will be activated. The default setting is “OFF”. |
FEC | If enabled, the Forward Error Correction (FEC) will be activated. The default setting is “No”. |
Enable Talk Detection | If enabled, the AMI will send the corresponding event when a user starts or stops talking. |
DSP Talking Threshold | The amount of time (ms) that sound exceeds what the DSP has established as the baseline for silence before a user is considered to be talking. This value affects several operations and should not be changed unless the impact on call quality is fully understood. Default is 128. |
DSP Silence Threshold | The amount of time( ms) that sound falls within what the DSP has established as the baseline for silence before a user is considered be silent. This value affects several operations and should not be changed unless the impact on call quality is fully understood. Default is 2500. |
Video Conference room Configurations
Click on the Video Conference tab and create a new video conference room. In this tab, you can:
- Click on “Add” to add a new conference room.
-
Click on
 to edit the conference room.
-
Click on
 to delete the conference room.
Extension | Configure the conference number for the users to dial into the conference. Note: Up to 64 characters. |
Password | When configured, the users who would like to join the conference call must enter this password before accessing the conference room. Notes:
|
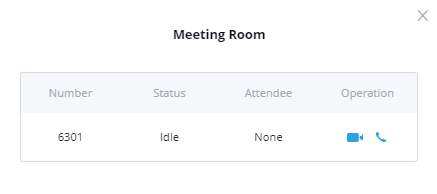
When configured, the Conference Room number is the number to dial to join the conference as shown in screenshot below:
Schedule a Conference
Conference Schedule can be found under UCM6510 Web GUI 🡪 Call Features🡪Video Conference 🡪 Conference Schedule. Users can create, edit, view and delete a Conference Schedule.
- Click on “Add” to add a new Conference Schedule.
- Click on the scheduled conference to edit or delete the event.
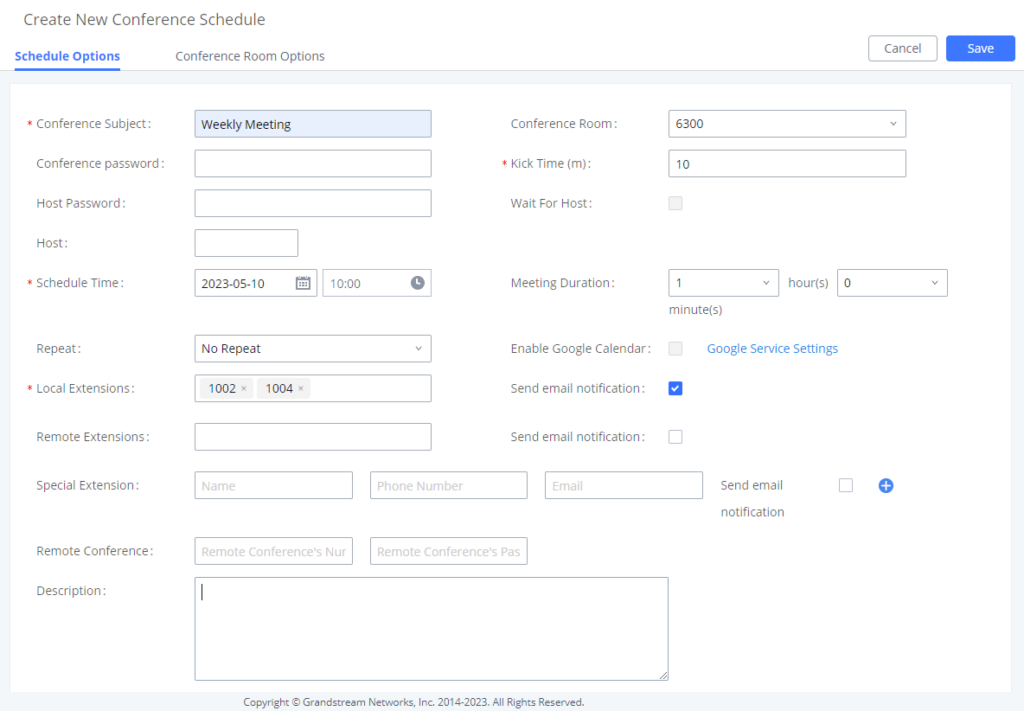
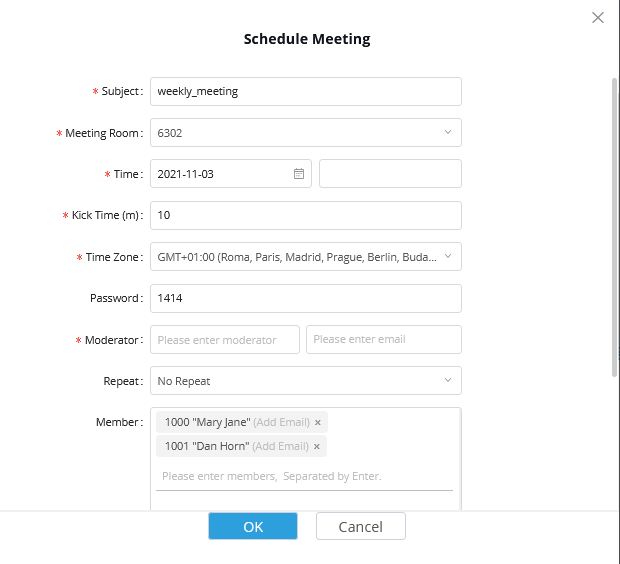
Schedule Options | |
Conference Subject | Configure the name of the scheduled conference. Letters, digits, _ and – are allowed. |
Conference Room | Select a conference room for this scheduled conference. |
Start Time | Configure the beginning start/end date of scheduled conference. Note: Please pay attention to avoid time conflict on schedules in the same conference room. |
Kick Time(m) | Configure the time before the scheduled conference. When this time is reached, a warning prompt will be played, and all attendees currently in the scheduled conference room will be kicked after 5 mins. The conference room will be locked until the scheduled conference begins. Default value is 10 min. |
Time Zone | Defines the time zone of the scheduled conference |
Conference Password | Configure conference room password. Please note that if “Public Mode” is enabled, this option is automatically disabled. |
Host | Set the admin of this scheduled conference from the following list of members. Host Email address can be set in the adjacent field. |
Repeat | Choose when to repeat a scheduled conference:
|
Local Extensions | Select available extensions from the list to attend scheduled conference. |
Remote Extensions | The remote extension in the peer PBX connected to the local PBX via LDAP sync. |
Special Extension | Add extensions that are not in the list (both local and remote list). If the user wishes to add the special extension, please match the pattern on the outbound route. |
Description | Set a description of scheduled conference. |
Once created, the Web GUI will display scheduled conference in Conference Schedule. Please see figure below:
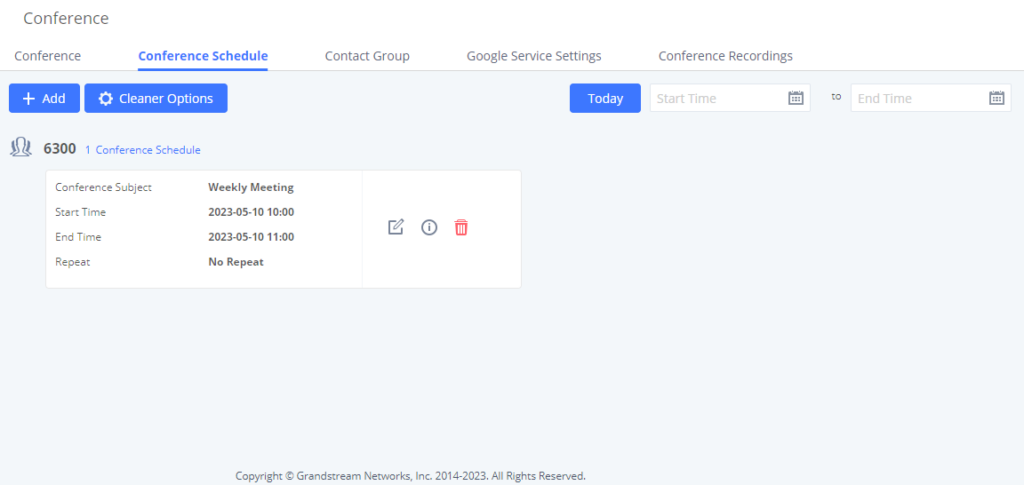
Once the conference room is scheduled, at the kick time, all users will be removed from conference room and no extension can join the conference room anymore. At the scheduled conference time, UCM6510/UCM62xx will send INVITE to the extensions that have been selected for conference.
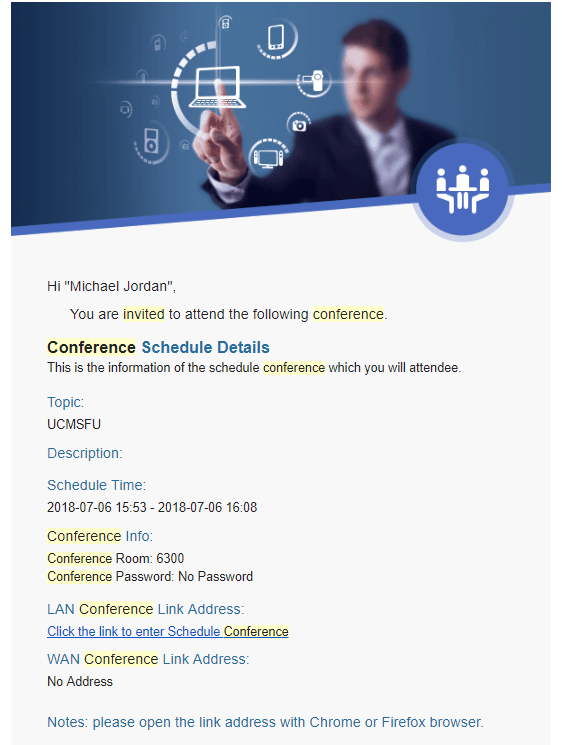
Upon scheduling the conference, invites will be sent out to the host and selected participants. These invitations will include the conference details and a link to the conference. Upon clicking the link, participants will be prompted to enter their Grandstream Wave portal passwords to log in and join the conference.
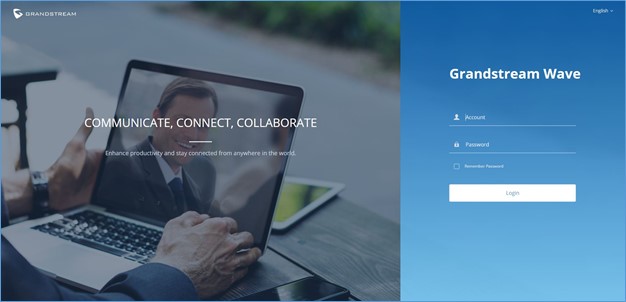
LOGIN TO GRANDSTREAM WAVE PORTAL
After Enabling WebRTC and creating Conference Rooms, users will be able now to establish WebRTC Calls, and participate/host conferences.
The UCM offers the possibility to login to an extension via Grandstream Wave Portal, where it offers a sleek interface to host conferences; manage contacts and share presentation.
Access the page by adding “/gswave” after the UCM’s server address and port.
(e.g. https://my.ucm.com:8089/gswave).

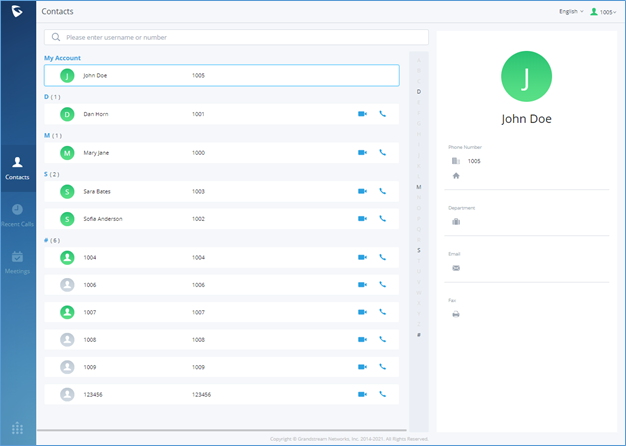
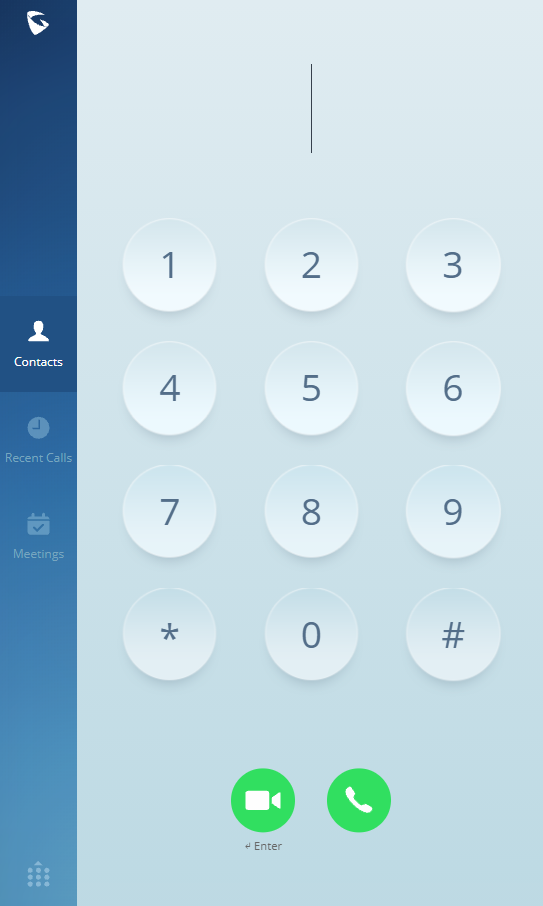
Enter an extension number and its SIP or user portal password. Once logged in successfully, the following page will appear:
WEBRTC FEATURES
Initiate a Call
From here on, users can initiate an audio or video call to individual extensions and conference rooms. If starting a call for the first time on a browser, users may be asked to allow the web page to use the device’s mic and/or webcam. Users may be required to drop and re-establish the call after allowing webcam/microphone access. Users can initiate a call either by either selecting a contact, a recent call or entering the destination number.
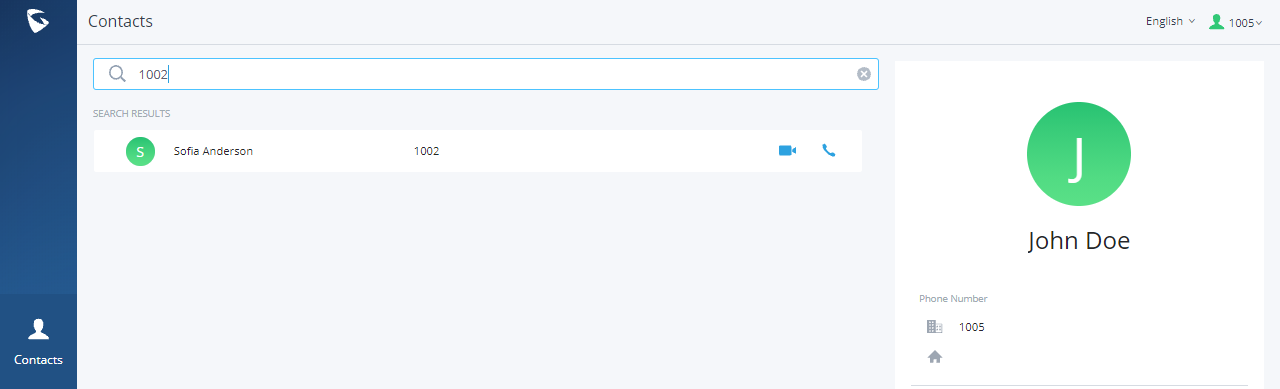
Users can also search for a specific contact or a specific number to dial under Contact Tab and Recent Calls Tab.

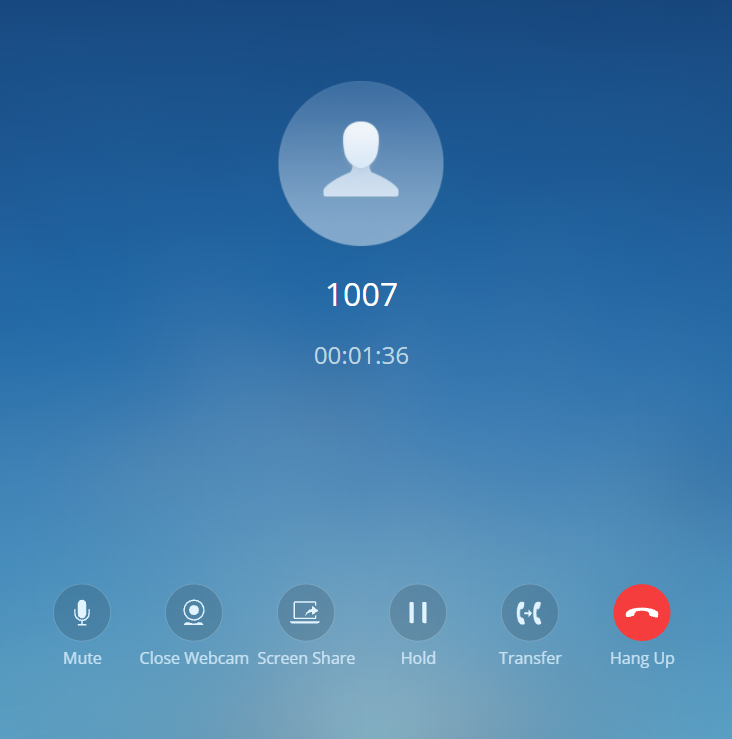
Once the call is established, users can mute themselves, enable and disable their video feed, screen share (Video calls only), and transfer the current call.
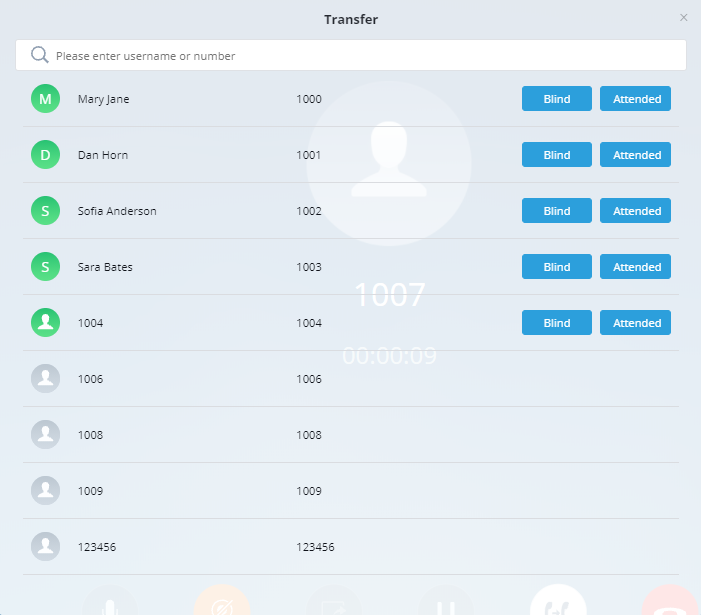
Transfer
The call can be transferred using the Transfer button to either custom numbers or to already existing extensions. In order to be able to use transfer feature, make sure to set the following:
Access Web UI as admin 🡪 Call Features 🡪 Feature Codes and set “Blind Transfer” and “Attended Transfer” to “Allow Both” as shown in figure below.

Blind Transfer
-
During a call, press
 button
- Enter destination number (extension or custom number).
-
Press
 button to complete blind transfer.
 button
Attended Transfer
-
During a call, press
button.
- Enter destination number (extension or custom number)
-
Press
 button to initiate attended transfer.
- Press hang up button to complete the transfer.
 button.

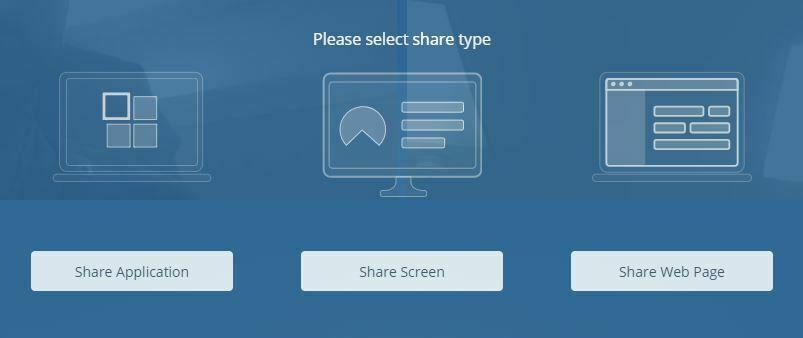
Screen Sharing
Screen sharing allows users to share their whole screen or a specific browser tab to all participants:
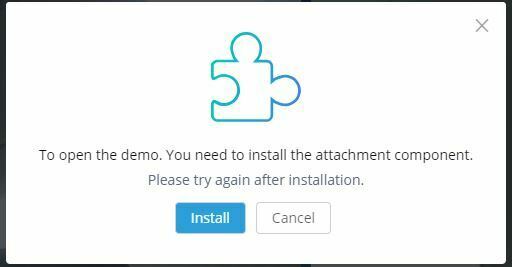
Screen sharing requires the IPVT Screen Capturing browser extension/add-on to work properly. If the browser does not have it, a prompt will appear asking to install or allow it. Users may need to disable their ad-blockers to have the prompts appear.
Chat
Video conference attendees via WebRTC can chat directly through the chat section on the upper right corner of the conference page as shown on the figure below:
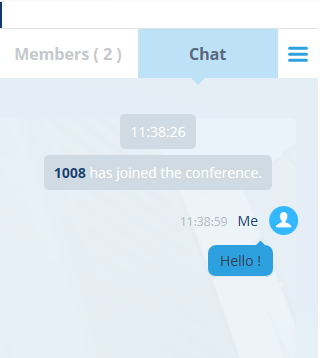
Users can access the chat window by clicking on the conference members icon on the right lower corner of the conference page
![]() and then clicking on the Chat tab.
and then clicking on the Chat tab.
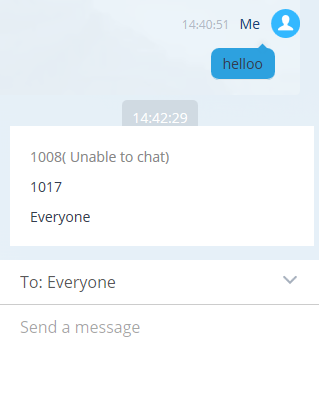
The chat messages can either be transmitted to a specific member or to all the members of the conference
VIDEO CONFERENCE FEATURES
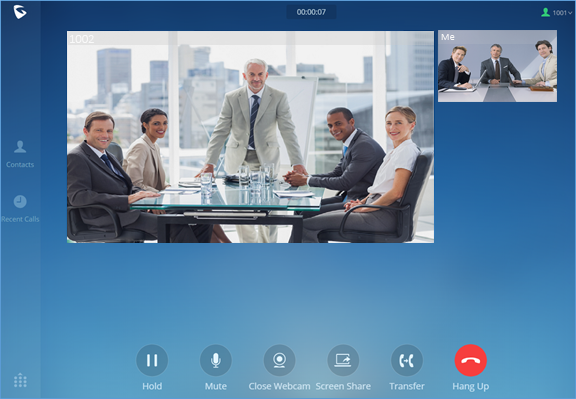
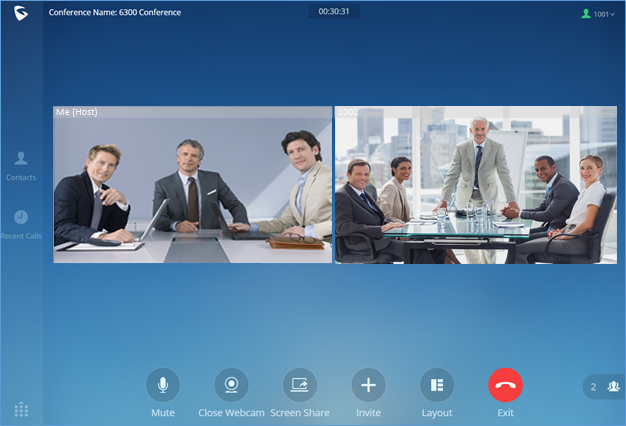
Join a Video Conference Room
Users can join a video conference room by dialing the room number. Once this is established, users can mute themselves, enable and disable their video feed, screen share, invite other people to the conference, and change the video layout. Currently, only Equal (grid) and Focus video layouts are available.
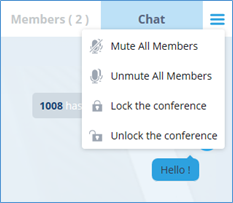
Host Privileges
The host of a conference has the following privileges:
- Lock and unlock conferences to control access to it.
- Mute and unmute conference participants
- Transfer host privileges to one of the participants.
Schedule a Video Meeting from WebRTC
Users can schedule new a video meeting using their meeting room from “Meetings” Page by clicking on
![]() button.
button.
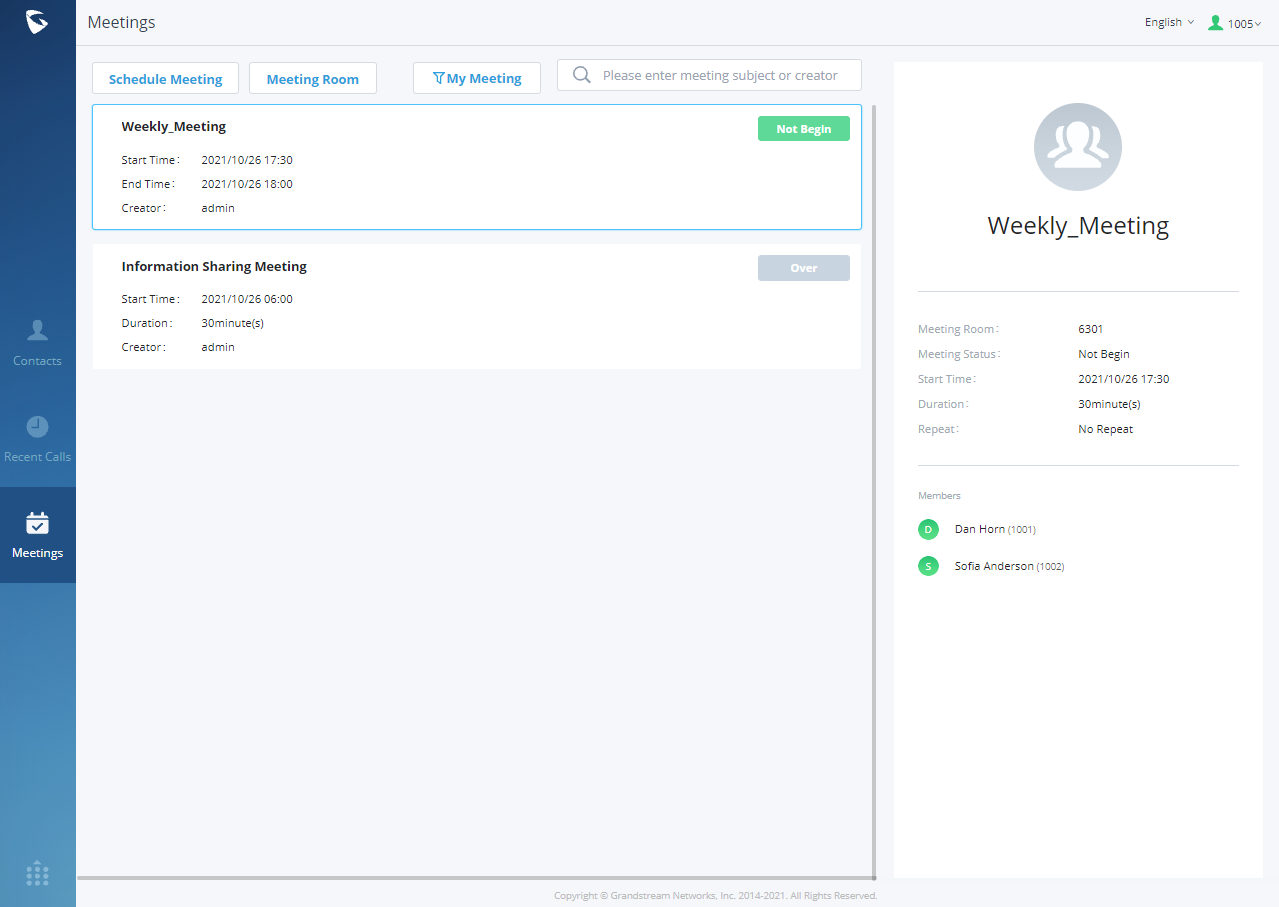
Meeting List
Users can view the list of the available meetings and check their status and information from the Meetings tab. By toggling between
![]() &
&
![]() buttons users can choose to display the list of all meetings or only the list of meetings specific to the user.
buttons users can choose to display the list of all meetings or only the list of meetings specific to the user.
Access Video Meeting Room
Users can access the video meeting room from WebRTC either by dialing the meeting room number or by taping on
![]() . Users will need to enter the password before accessing to the room if it is required.
. Users will need to enter the password before accessing to the room if it is required.