Customer relationship management (CRM) is a set of practices, strategies and technologies that companies use to manage and analyze customer interactions and data throughout the customer lifecycle, with the goal of improving business relationships with customers.
The UCM6XXX series can be integrated with different CRMs including ACT! CRM allowing users to get full information about their contacts and save call information details to specific table history for further usage.
This guide contains a step-by-step configuration needed to set up ACT! CRM with the UCM6XXX.
Supported Devices
The following table shows the UCM6xxx series supporting ACT! CRM integration:
| Model | Supported | Firmware |
|---|---|---|
UCM620x | Yes | 1.0.19.21 or higher |
UCM6510 | Yes | 1.0.19.21 or higher |
UCM630x | Yes | 1.0.2.25 or higher |
UCM630xA | Yes | 1.0.7.9 or higher |
ACT! CRM Configuration
To integrate ACT! CRM with UCM6XXX, we need firstly to respect the following 2 main steps:
- Generate Developer Key
- Generate API Key
Generate Developer Key
To generate Developer key, do the following:
- Enter https://actcloud.3scale.net/ into your browser address field.
- Create an account.
- Log in using the account created and click on Give me my developer key now! and a developer key will be generated as shown in the figure below
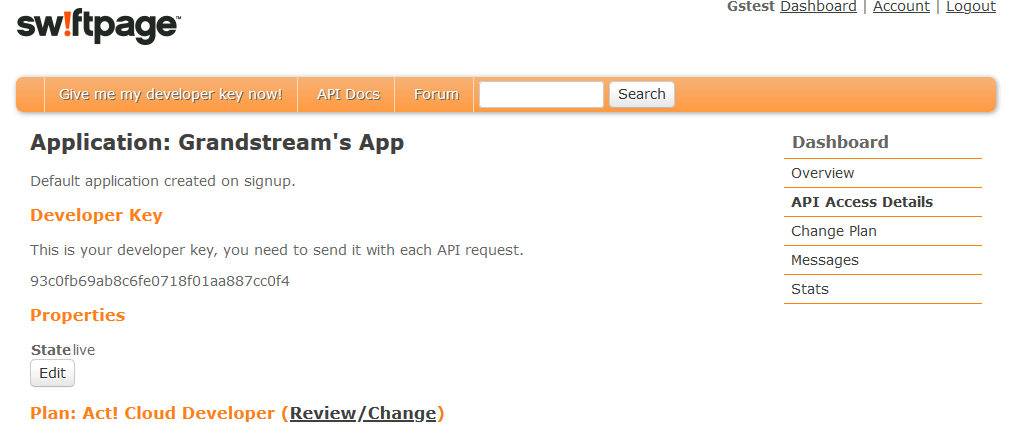
In our example, the Developer Key generated is 93c0fb69ab8c6fe0718f01aa887cc0f4
Generate API Key
To acquire the API key, please follow the steps below:
- Log into your ACT! 365 account at https://app.act365.com
- Navigate to Profile 🡪 Apps&Integrations and look at the API Key field. If no key is found, click on the Regenerate API Key button to create one. This is the API key that will be used.
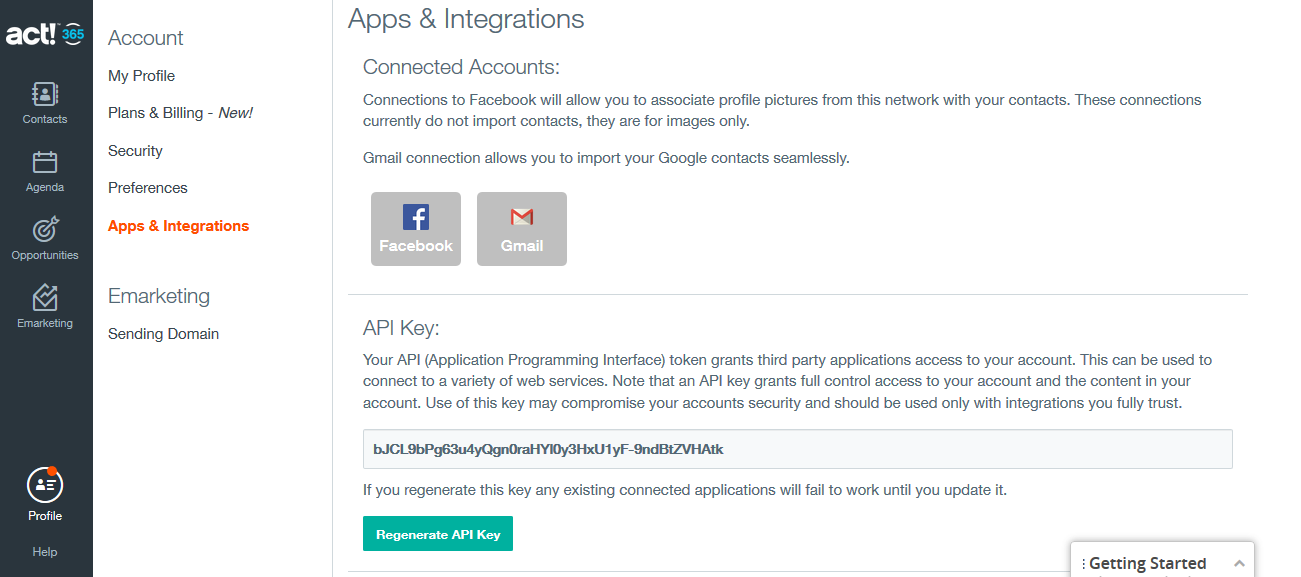
The API Key generated in our example is bJCL9bPg63u4yQgn0raHYl0y3HxU1yF-9ndBtZVHAtk
UCM6XXX Configuration
To configure UCM6xxx with ACT! CRM, two steps are required
- Admin Configuration.
- User Configuration.
Admin Configuration
This step is required to configure and integrate the UCM6xxx with ACT! CRM so that it will apply to all UCM6XXX users that will be start using the ACT! CRM accounts.
ACT! CRM configuration page can be accessed using the admin credentials and navigate Web GUI🡪Value-Added Features🡪CRM.
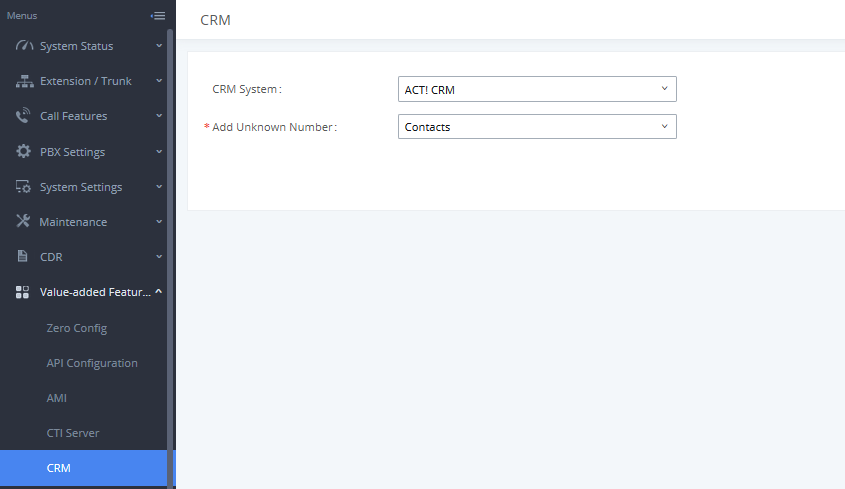
- Select ACT! CRM from the “CRM System” dropdown list to use the ACT! CRM and make similar configuration to the above, below are the details:
CRM System | Allows users to select a CRM system from the drop-down list, choose ACT! CRM to use ACT! CRM. |
Allows to automatically save received calls from numbers not previously logged in ACT! CRM and add them. |
Once users finish configuring above settings using admin access:
-
Click on
 and
and
 .
.
- Logout from admin access.
User Configuration
This configuration is per user, it will allow users to authenticate and sync up with ACT! CRM platform.
- Access to the UCM web GUI as user and go to User Portal🡪Value-added Features🡪CRM User Settings.
- Click on Enable CRM.
- Enter the Username and Password, which will be the ACT! CRM account’s API Key and Developer Key respectively generated before. Refer to [Generate API Key] and [Generate Developer Key].
-
Click on
and
.
The status will change from “Logged Out” to “Logged In” and users can start using ACT! CRM.
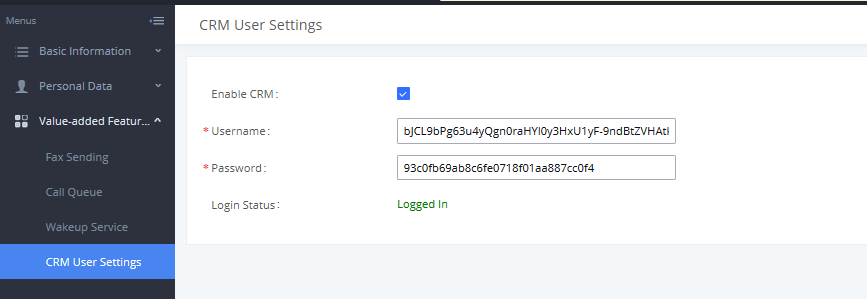
Enable CRM for the user account. | |
Username | Enter the generated API key. |
Password | Enter the generated Developer Key. |
ACT! CRM should now be configured.
Call Popup and Contact Lookup
Using Grandstream Affinity software, users can receive incoming calls to their IP Phones and in their PC as well, the following link explains how to install and configure Grandstream Affinity software. http://www.grandstream.com/sites/default/files/Resources/GS_Affinity_Guide.pdf
When receiving an incoming call from an existing contact on ACT! CRM, the contact’s name will be displayed on the phone’s LCD and more data will be shown on GrandstreamAffinity application. The following figure shows an example of the result.
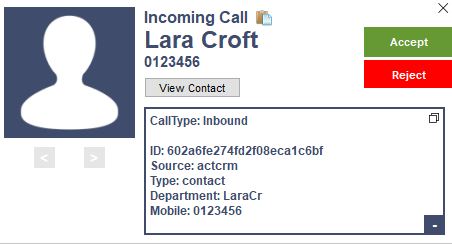
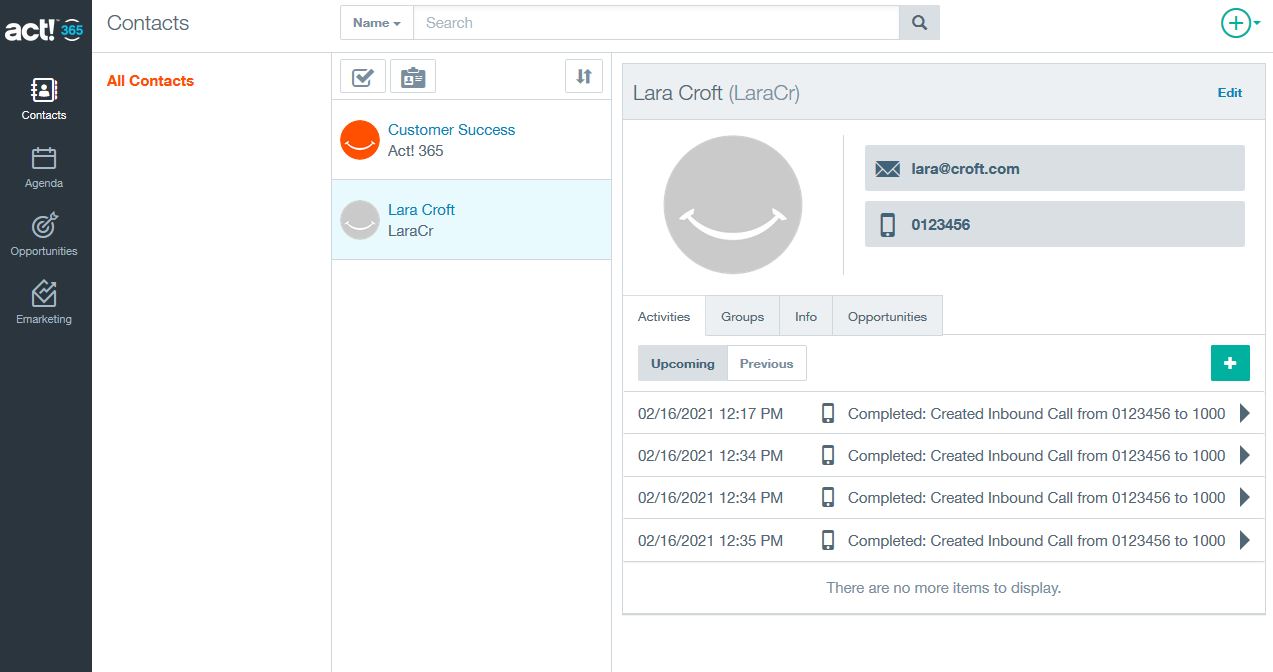
Users can click on the “View Contact” button to be redirected to contact’s page for more details about the contact or to edit specific data like shown below:
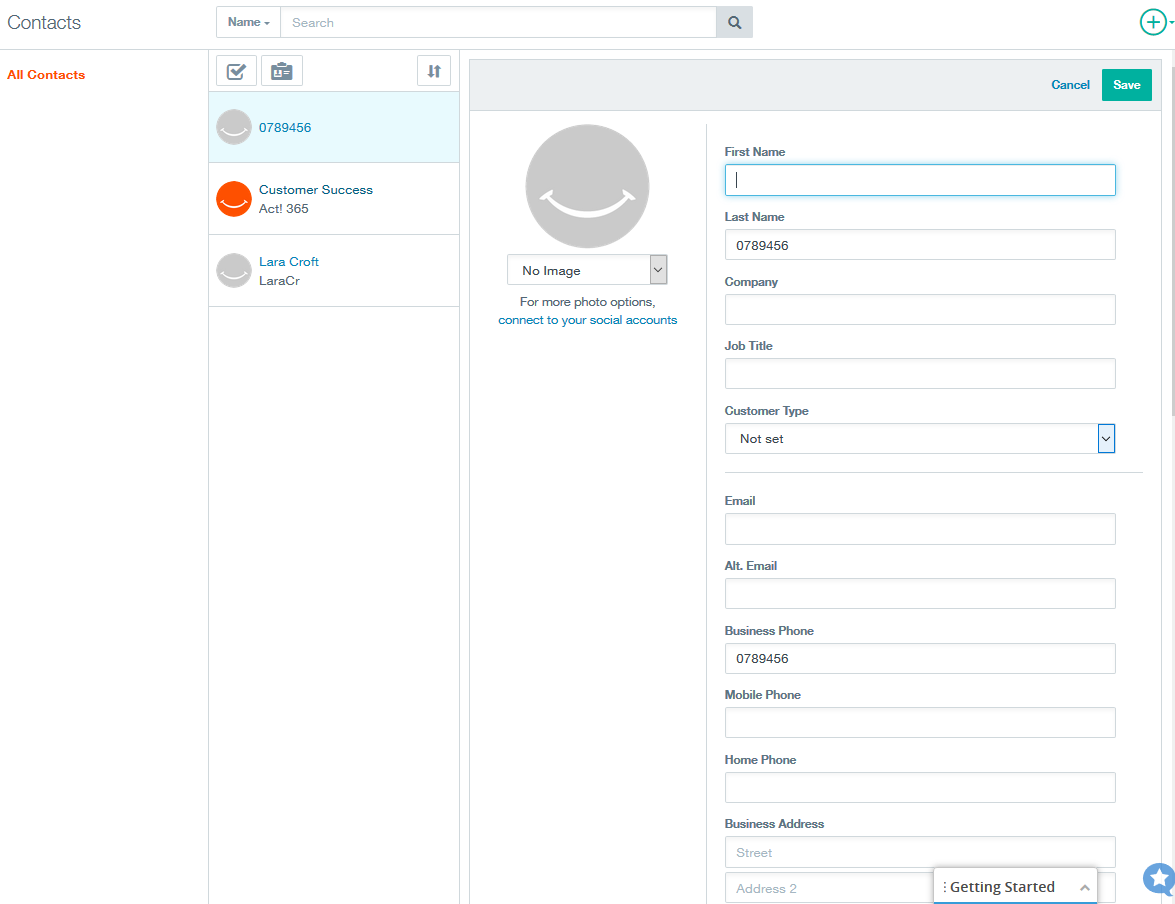
When “Contacts” is configured as [Add Unknown Number] on the UCM, calls that are received from contacts not previously configured in ACT! CRM will be automatically saved and users can after that edit and add them to the list like shown below:
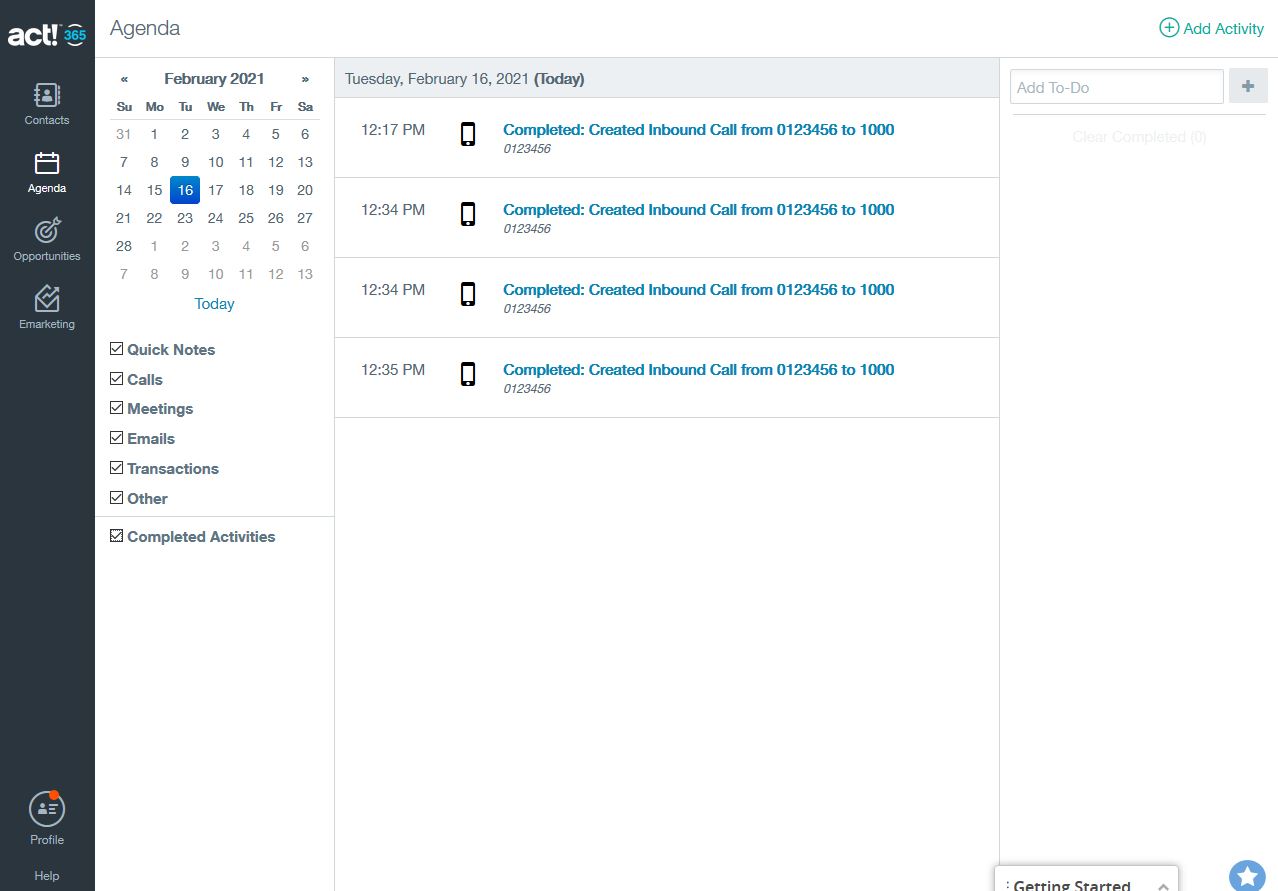
Call Reporting
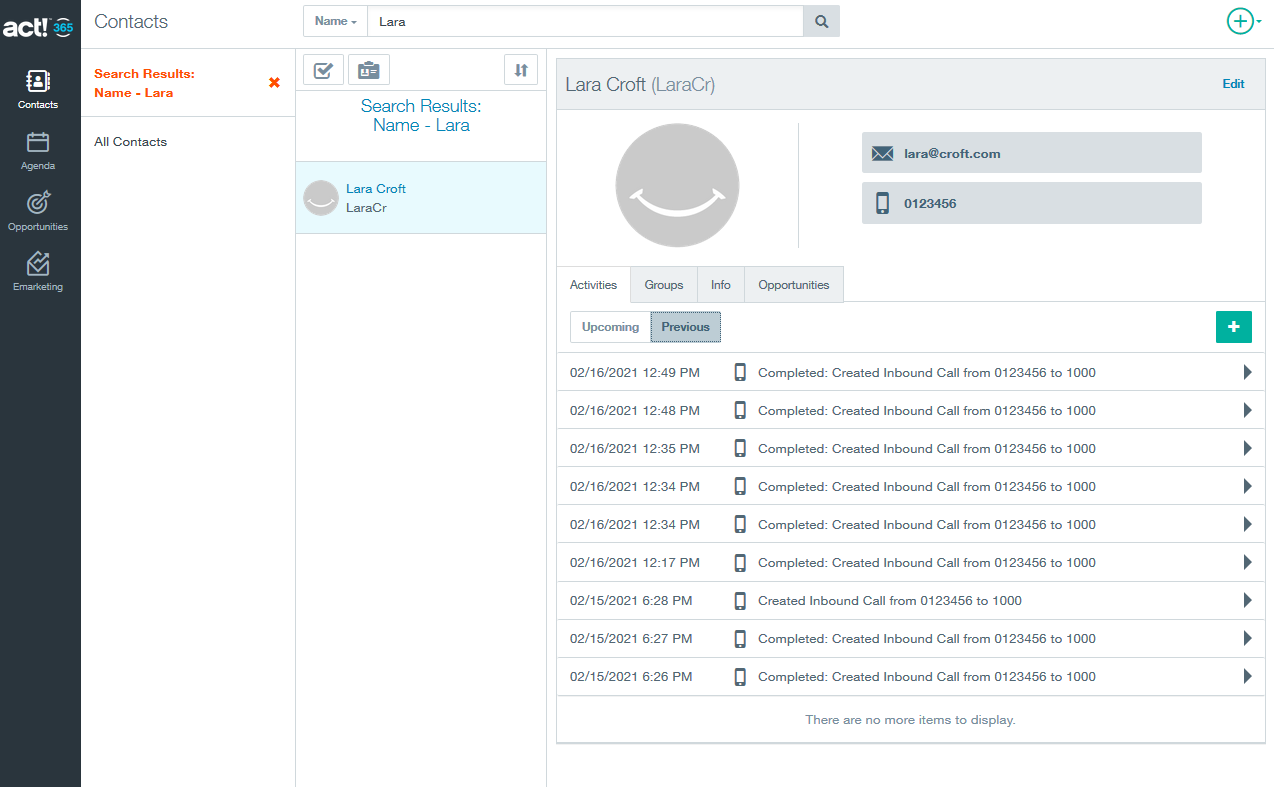
Users can see reports of their calls on ACT! CRM by navigating under Agenda, where they can select a date within the Agenda section and it will show all the activities done or scheduled for that date. If the activity has already been completed please ensure the Completed box is selected when you click the desired date.
Users can also view call reports for a specific contact under Contact section, after searching for the contact, the reports will be displayed under Activities.