SoftwareUCM is a powerful communication management system that provides businesses with control over their telephony infrastructure. By deploying SoftwareUCM on AWS, organizations can take advantage of cloud scalability, flexibility, and reliability. This setup eliminates the need for on-premises hardware, allowing for easier management, automated backups, and increased resilience.
This guide provides a step-by-step walk-through for setting up a virtual machine on AWS, importing the SoftwareUCM image, and configuring it for optimal performance.
Prerequisites
Before proceeding with the instructions in this guide, users should ensure the following criteria are met:
- An AWS account with appropriate permissions to create and manage EC2 instances, S3 storage, and IAM roles.
- Ensure that you have a SoftwareUCM virtual machine set up and ready to be exported.
Export the SoftwareUCM Virtual Machine from VMware
Before deploying SoftwareUCM on AWS, start by exporting your virtual machine from your hypervisor.
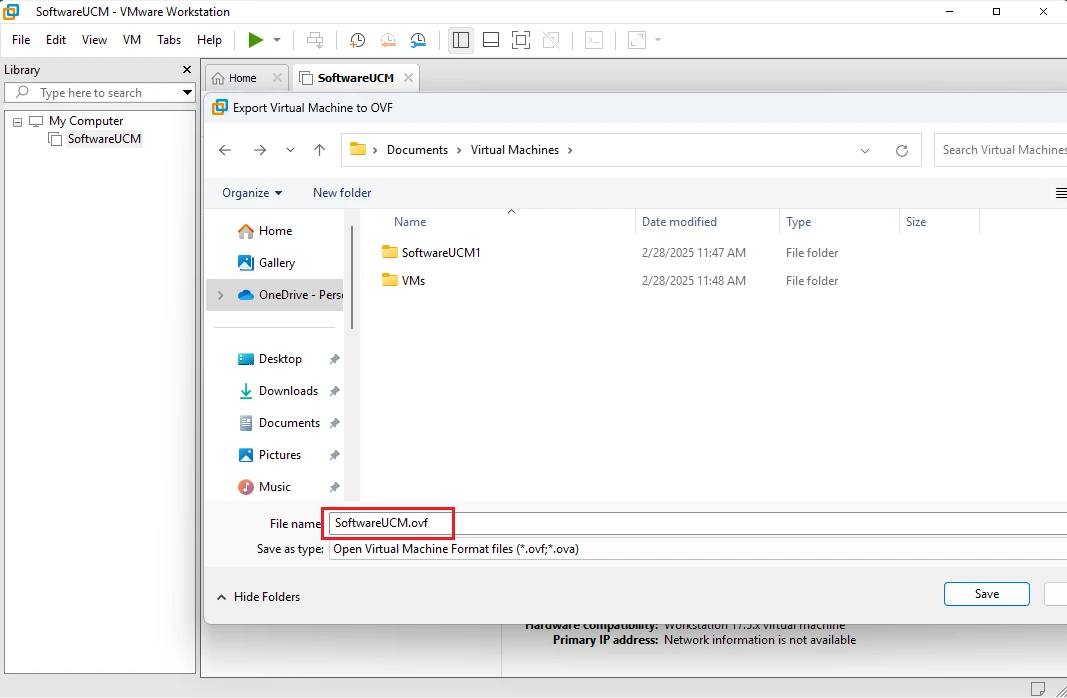
- Open the VMware Workstation and locate the SoftwareUCM virtual machine you want to export.
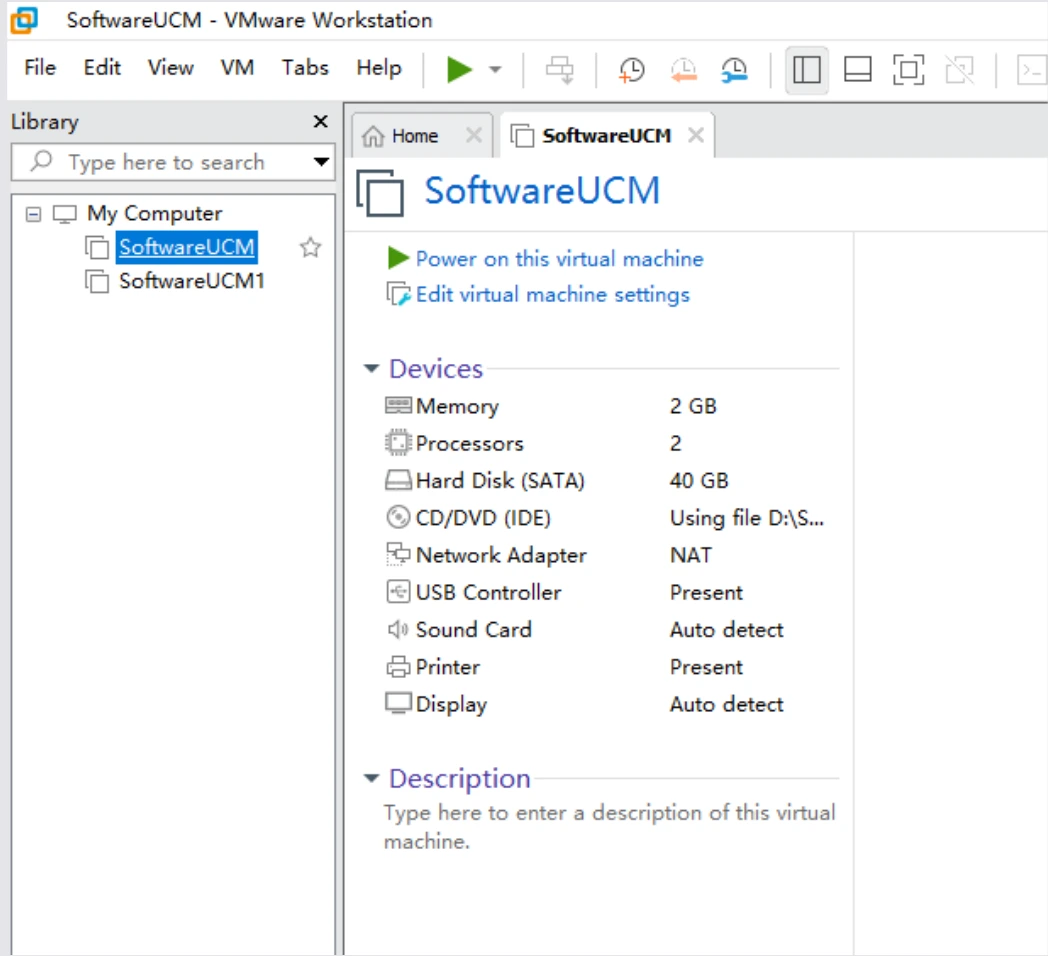
- Right-click on the VM and choose Export OVF Template.
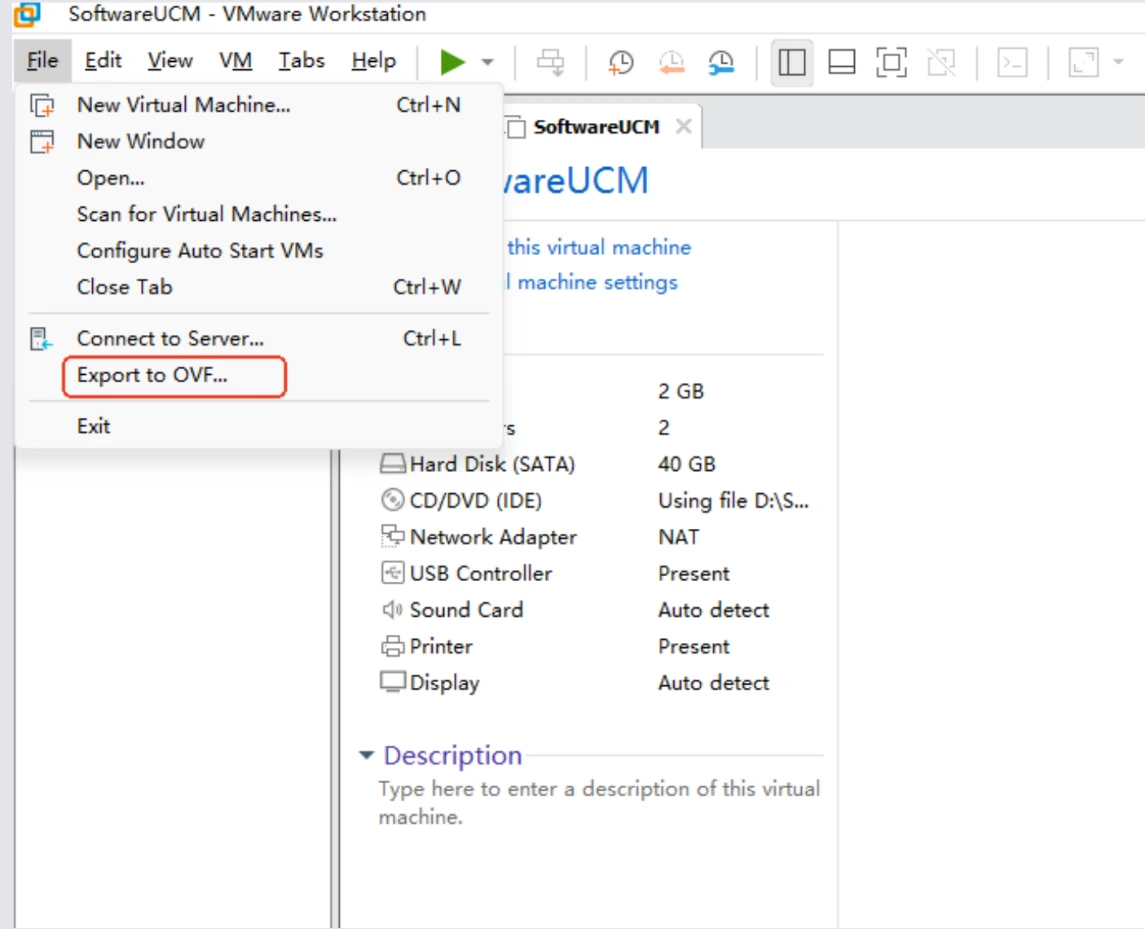
- Select the OVA format and specify a location to save the file.
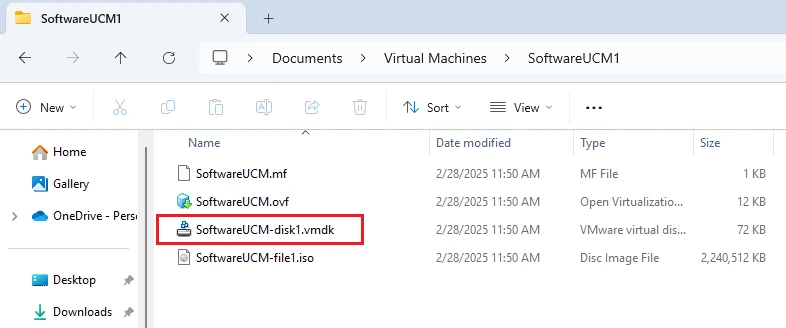
- Locate the virtual machine in .vmdk format. This file will be used to create an AMI (Amazon Machine Image) in AWS.
Create an AWS S3 Bucket
- Log in to your AWS Management Console.
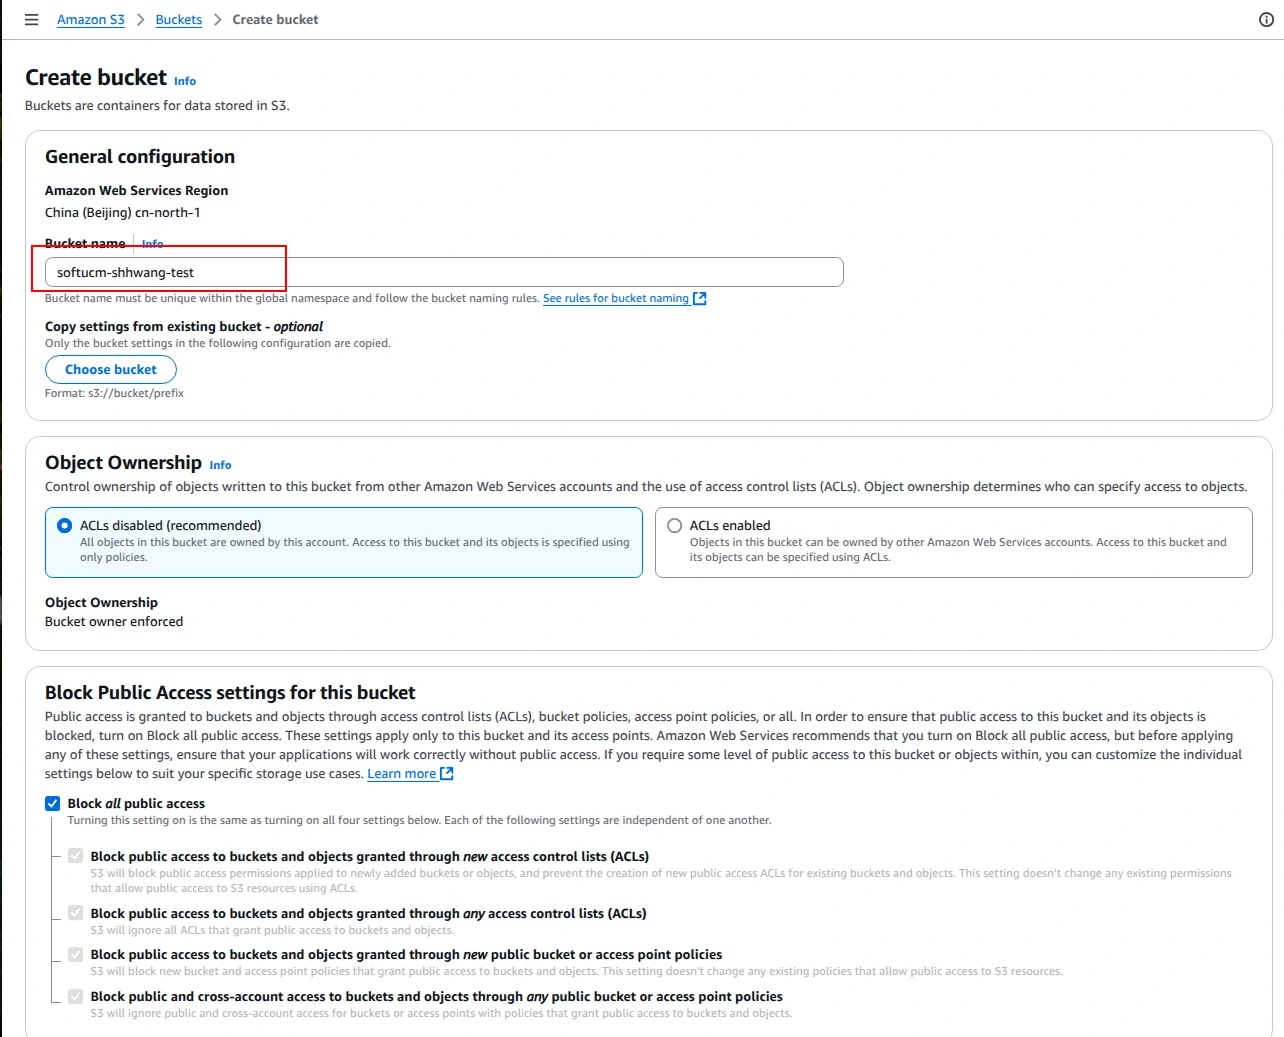
- Navigate to the Amazon S3 service and click on Create bucket.
- Provide a unique name for your bucket and configure the settings as shown below.
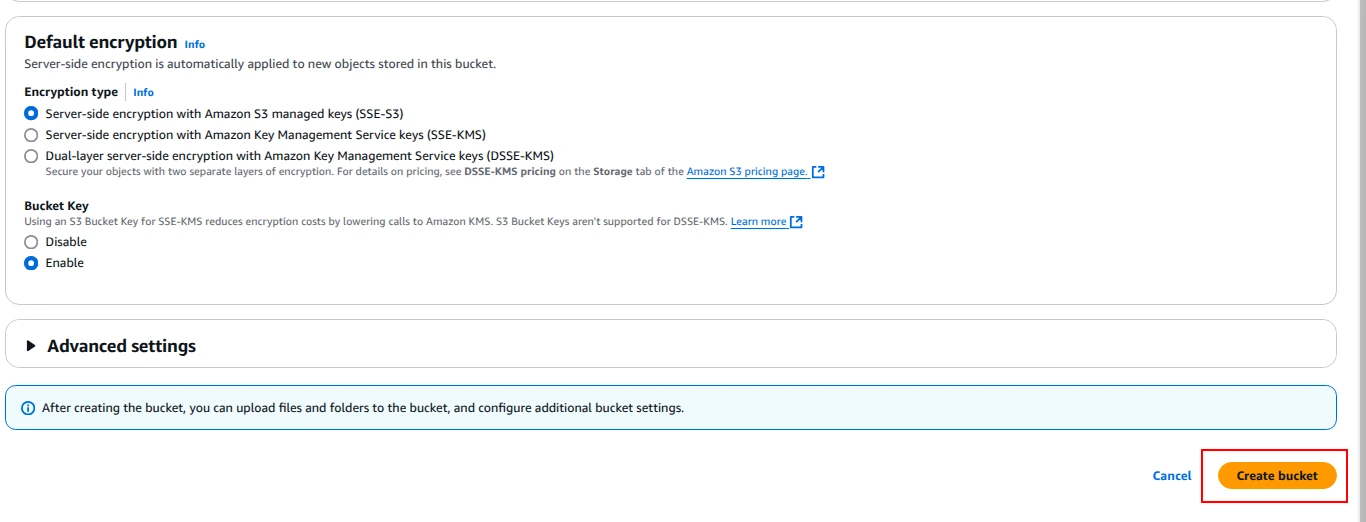
- Configure the bucket settings as needed and click Create bucket.
Upload the .vmdk File to the S3 Bucket
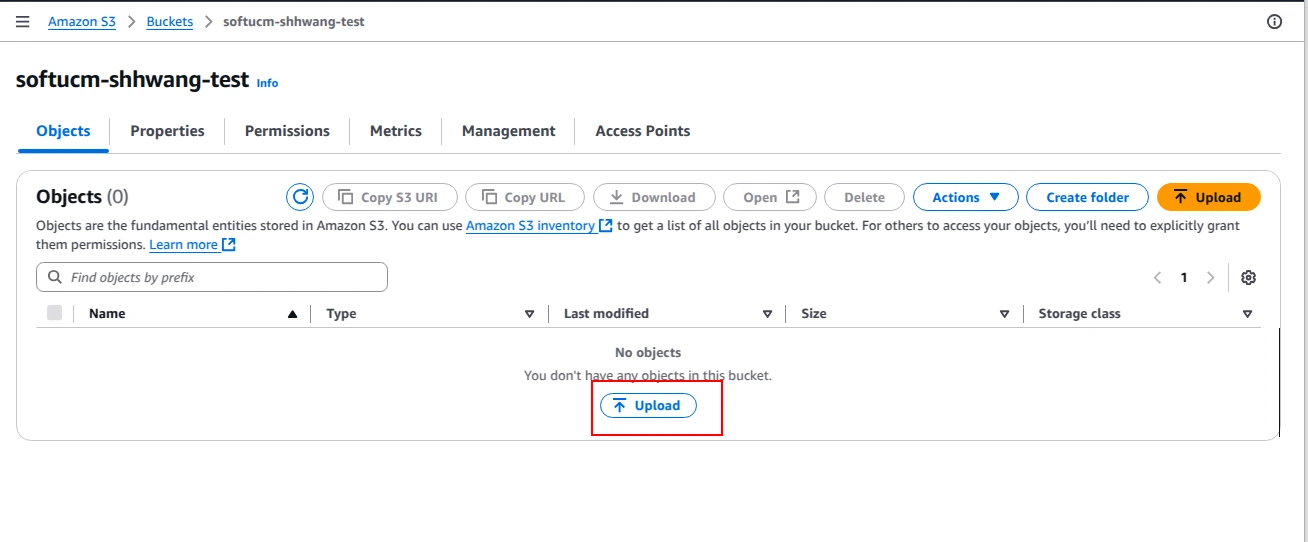
- In the S3 console, locate the bucket you just created.
- Click on the bucket name, select Upload then click Add files.
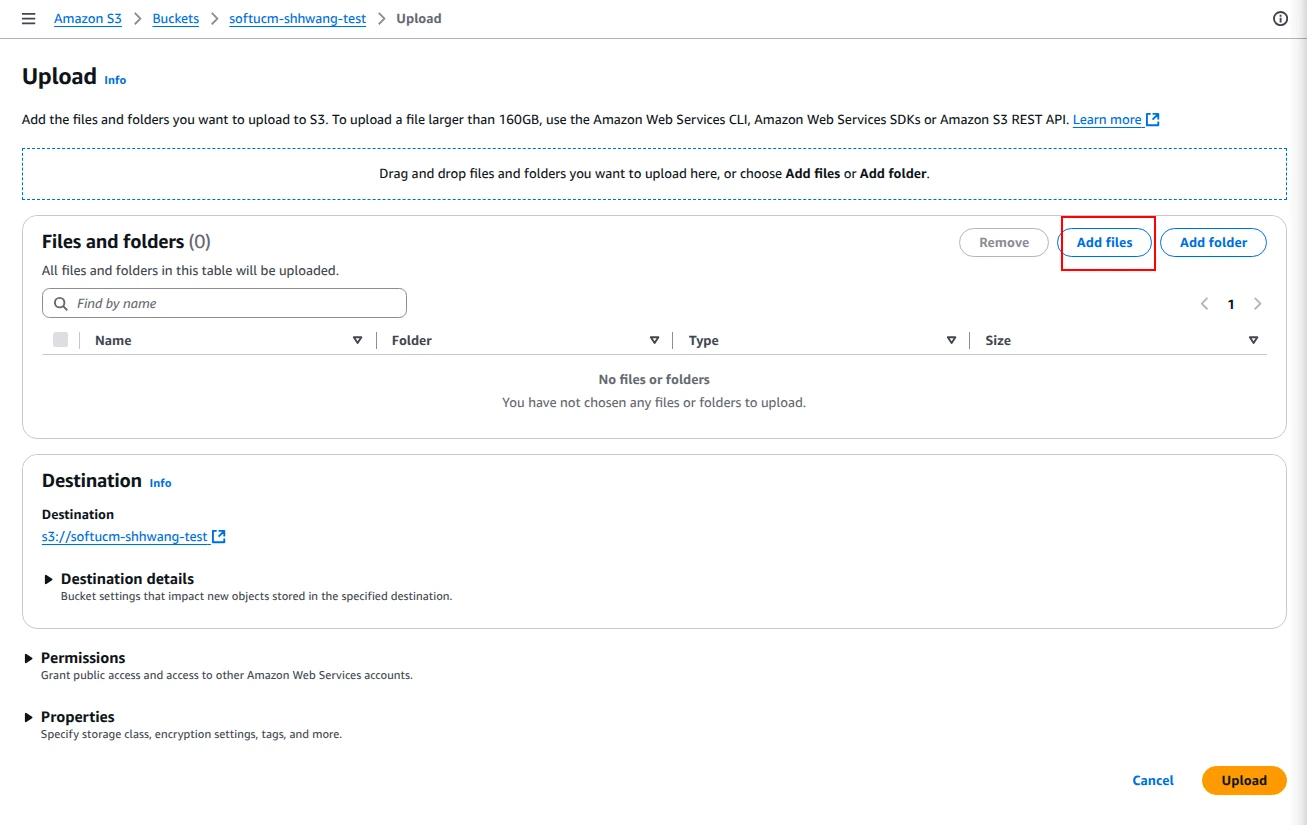
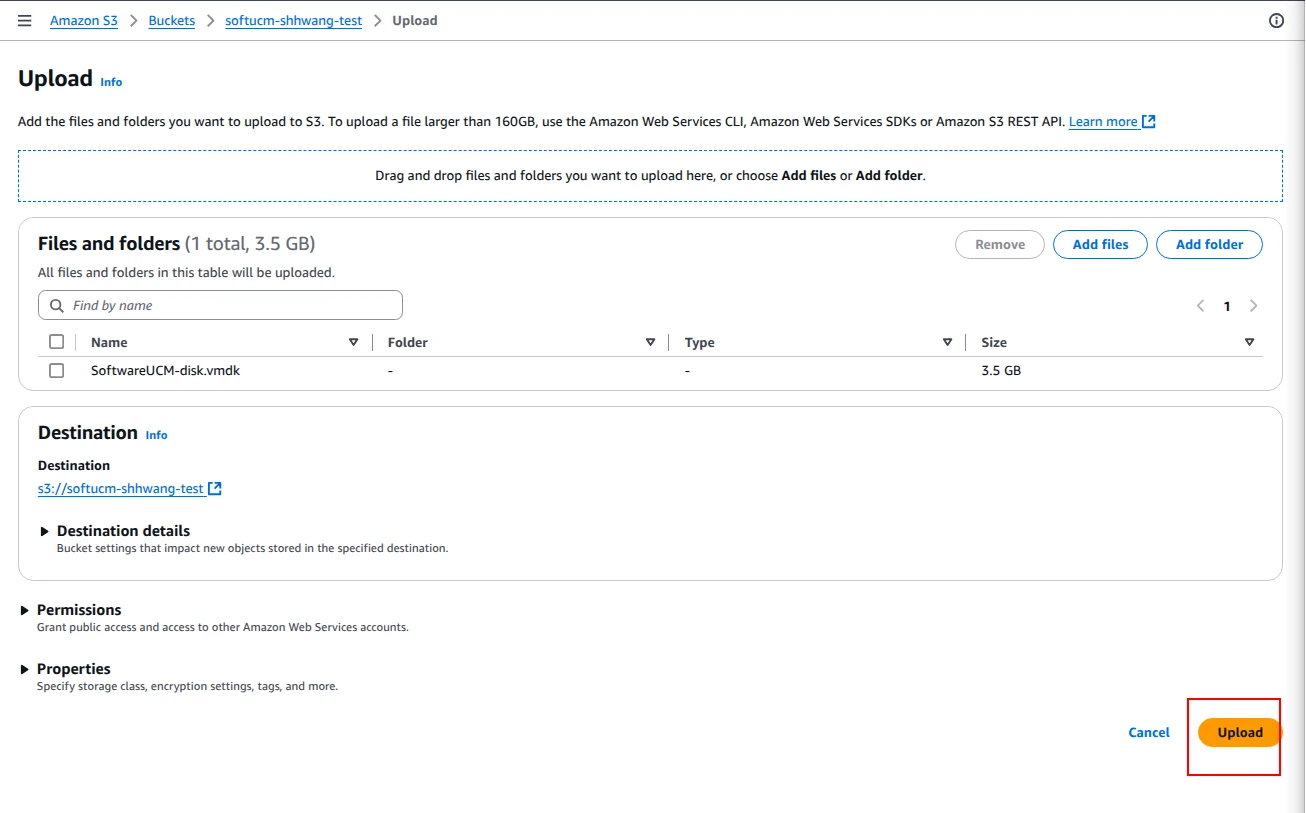
- Select the .vmdk file you exported from VMware and click Upload.
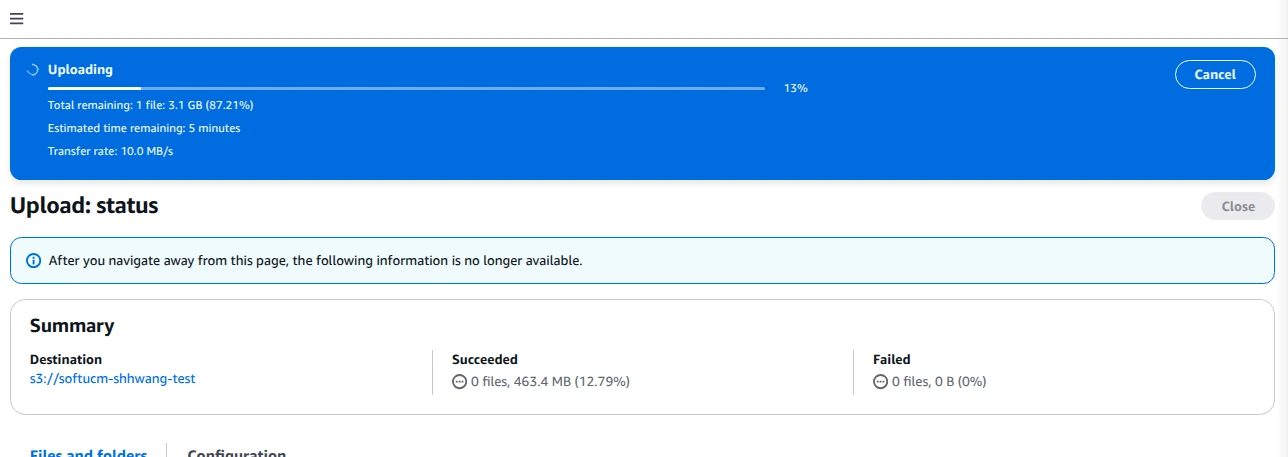
- Wait for the upload to complete. This may take some time depending on the size of the file.
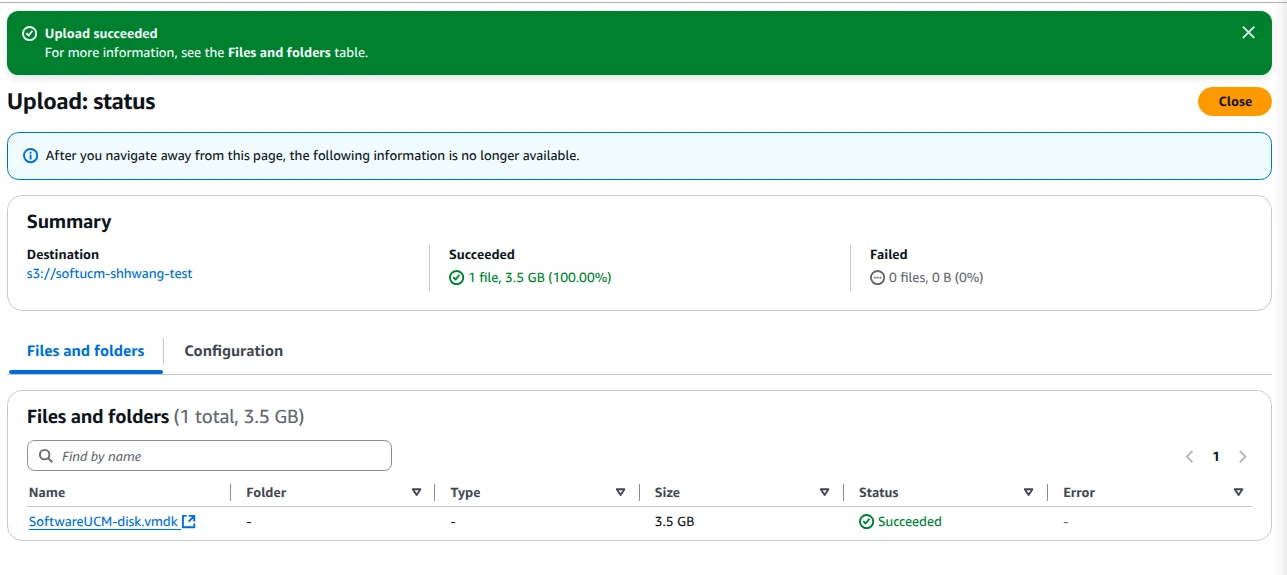
Import the Image Using AWS EC2 Image Builder
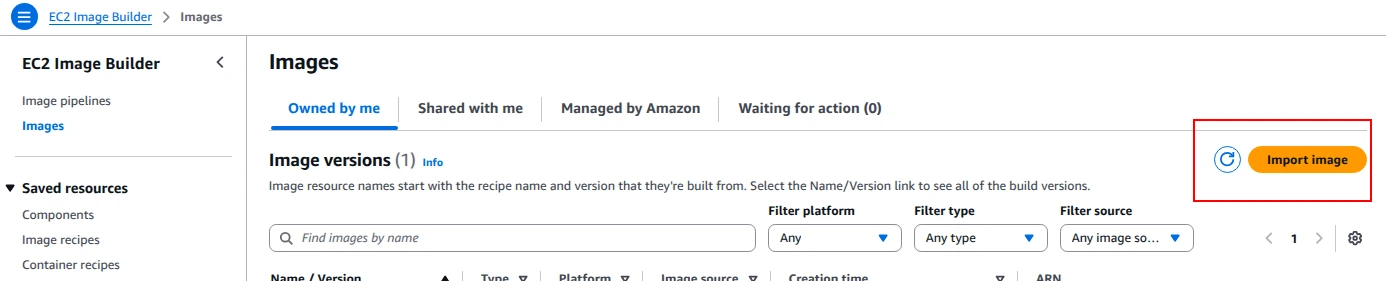
- Navigate to the EC2 Image Builder service in the AWS Management Console.
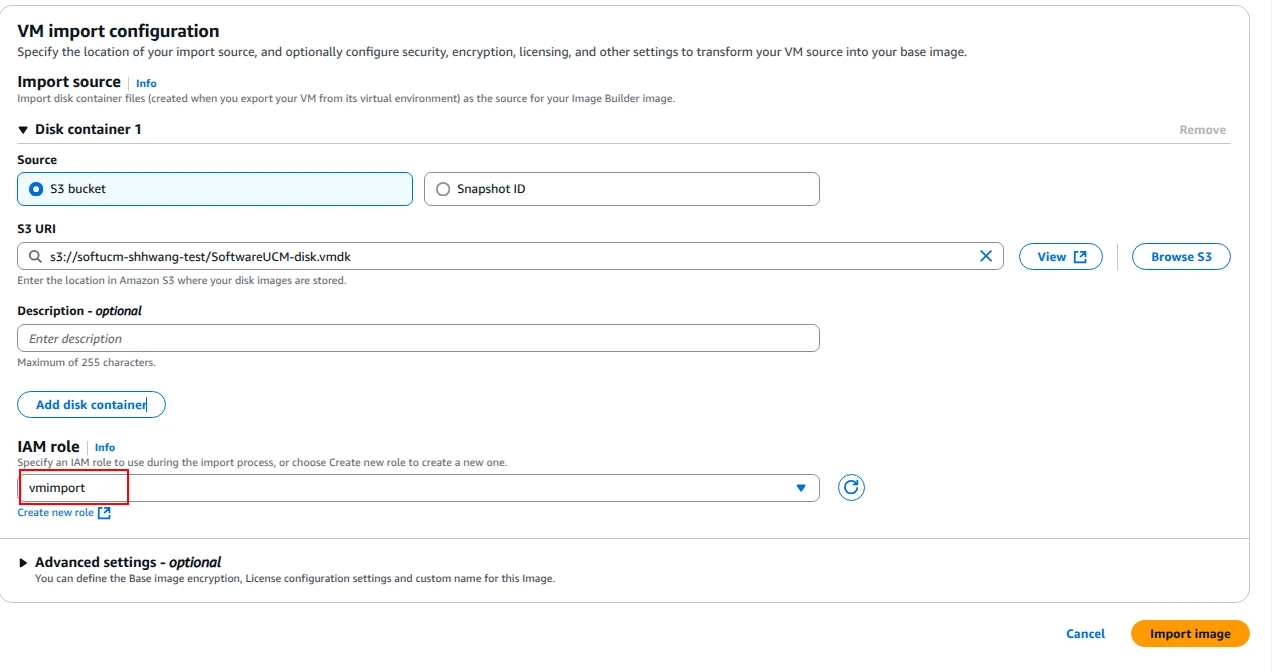
- Click on Import Image.
- Select the .vmdk file from the S3 bucket you uploaded earlier.
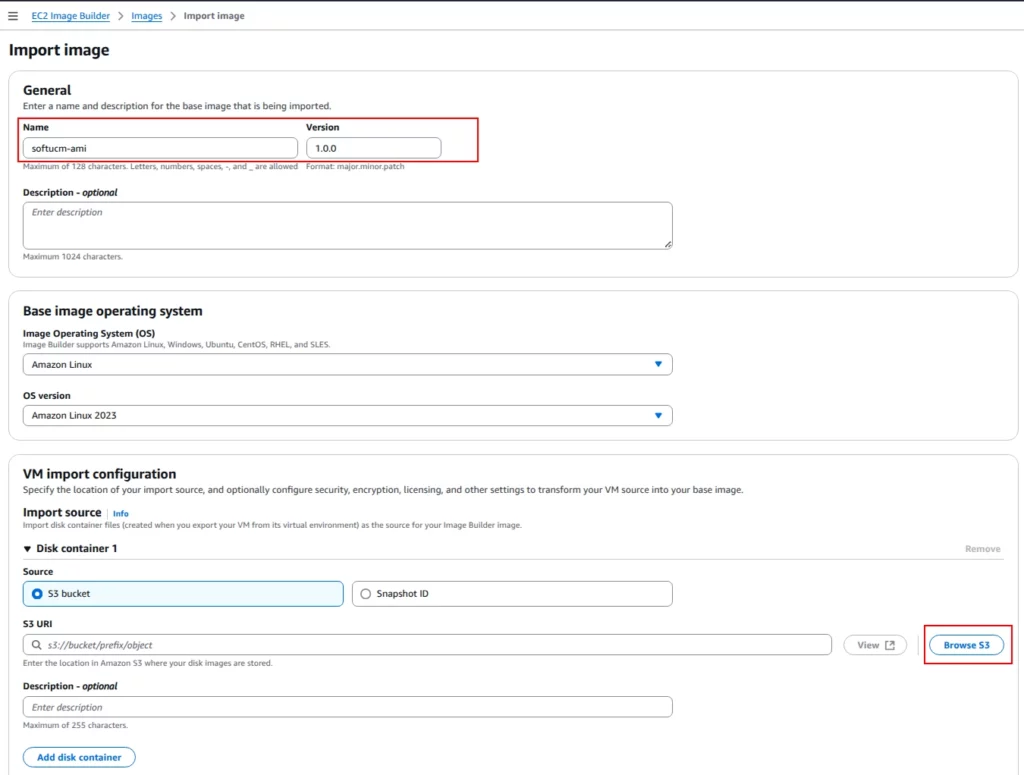
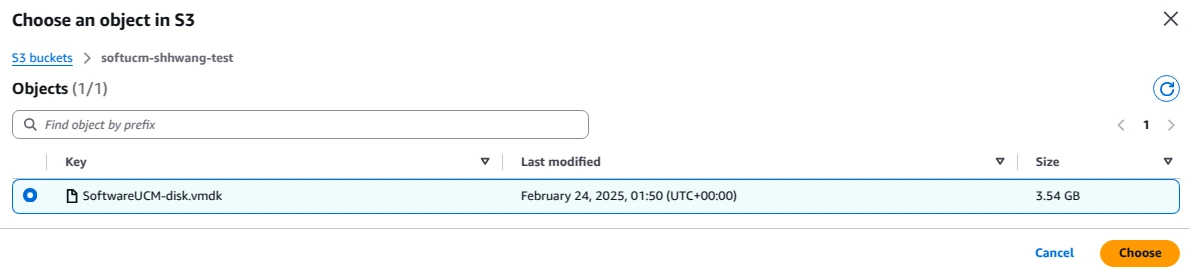
- In the IAM Role section, select vmimport. This is the default IAM role for importing images. Ensure that this role has the necessary permissions to access the S3 bucket where the .vmdk file is stored.
- To verify that the role has the necessary permissions, search for IAM in the AWS Management Console and access it.
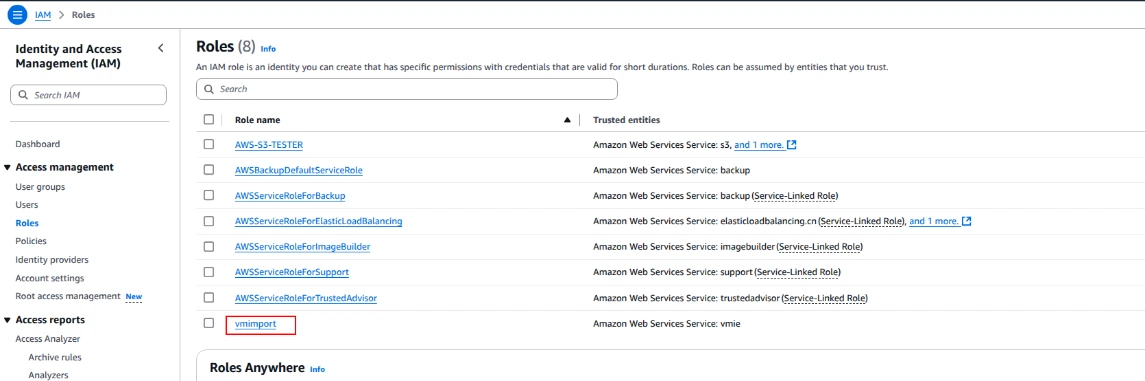
- In the IAM dashboard, click on Roles in the left-hand menu. Search for the vmimport role in the list of roles.
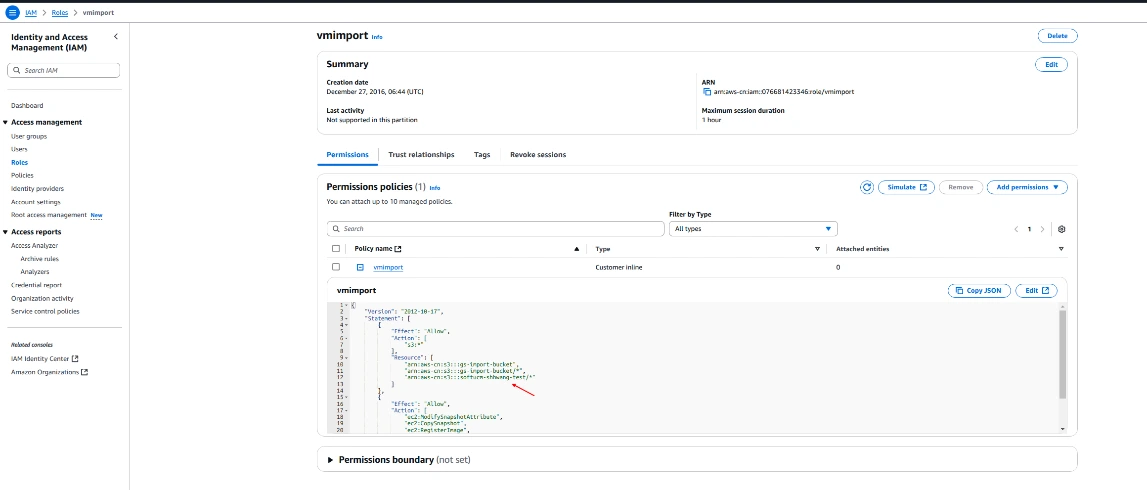
- Click on the vmimport role to view its details. Under the Permissions tab, you will see the policies attached to the role. Ensure that the role has the following permissions.
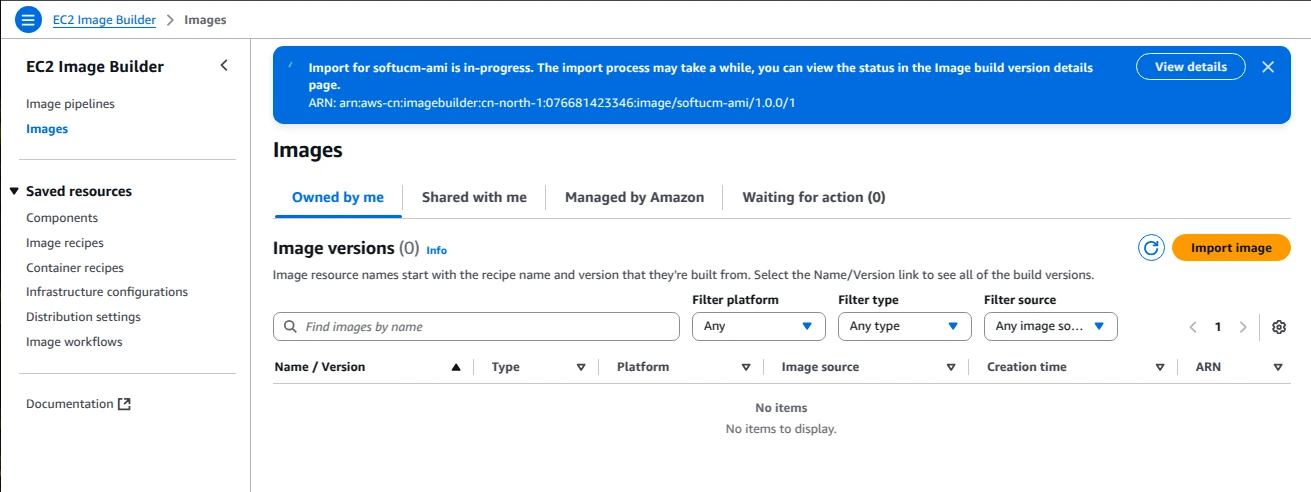
- Click on Import Images and wait for the image creation process to complete. This may take some time.
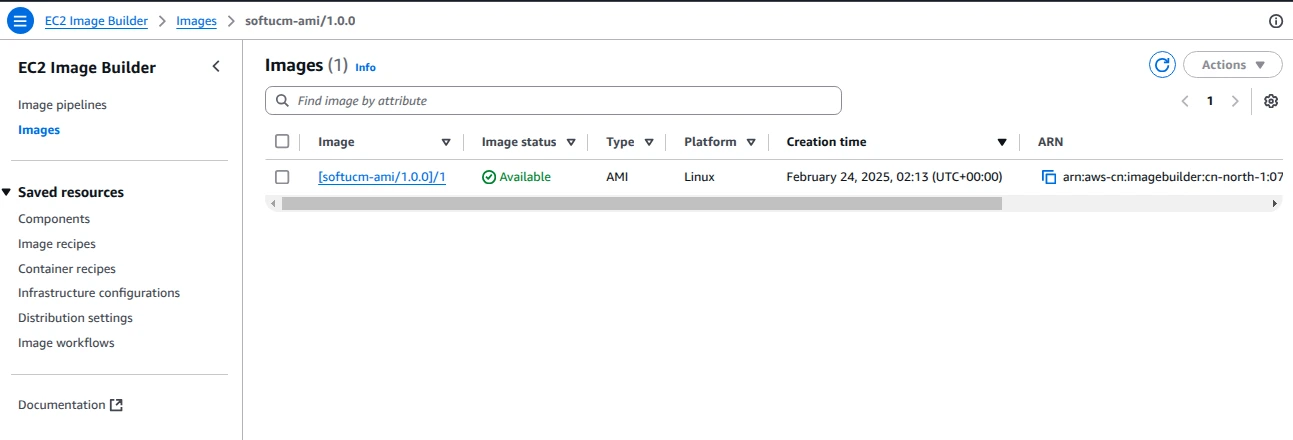
Launch an EC2 Instance from the AMI
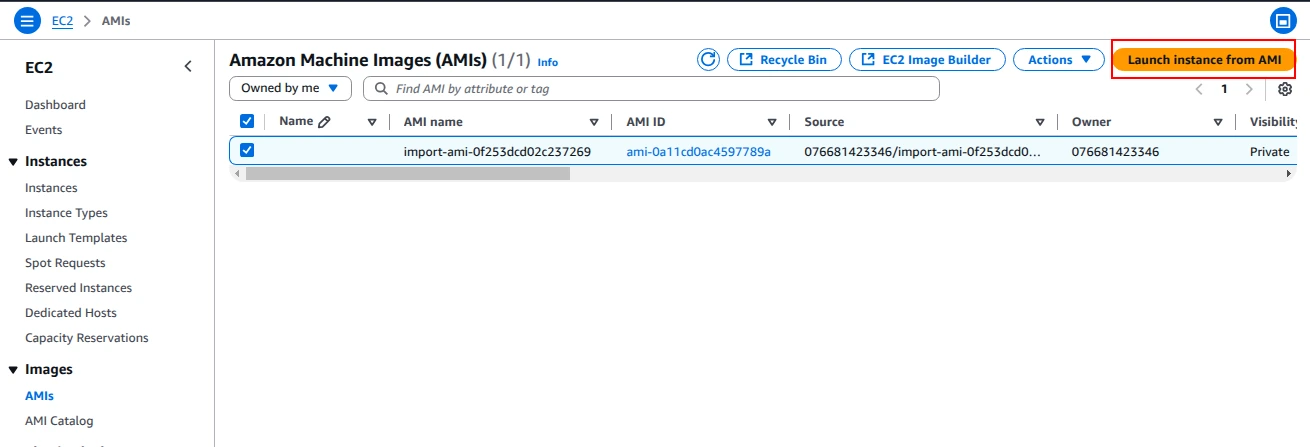
- Once the image import is complete, navigate to the EC2 service in the AWS Management Console.
- Choose the AMI, then click on Launch Instance from AMI.
- Choose an instance type that meets your performance requirements and configure the instance settings as needed.
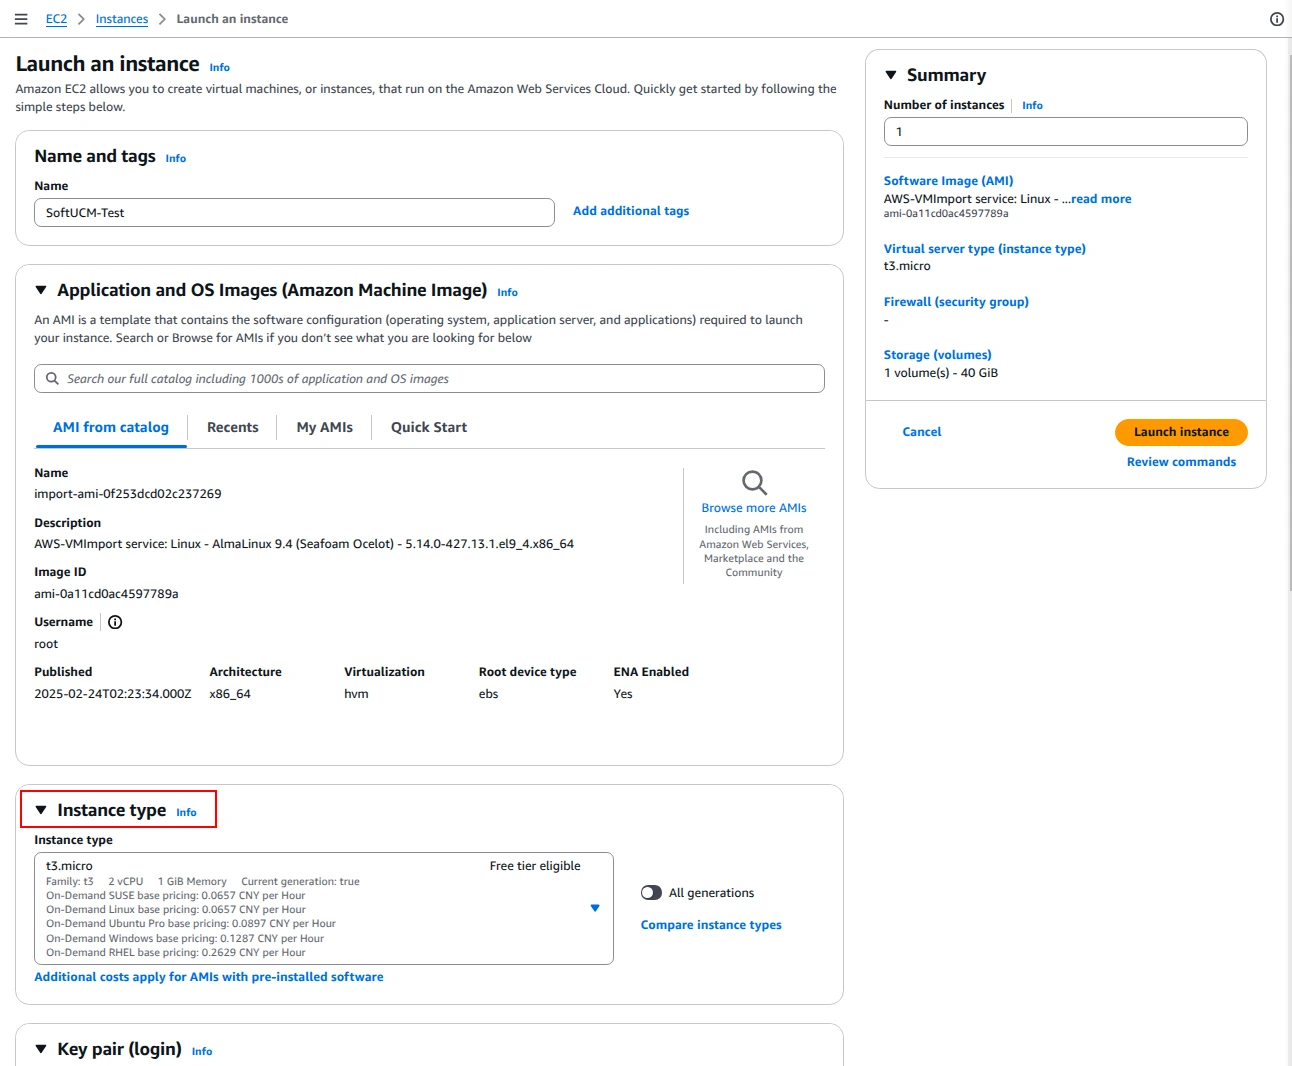
- Launch the instance and wait for it to initialize.
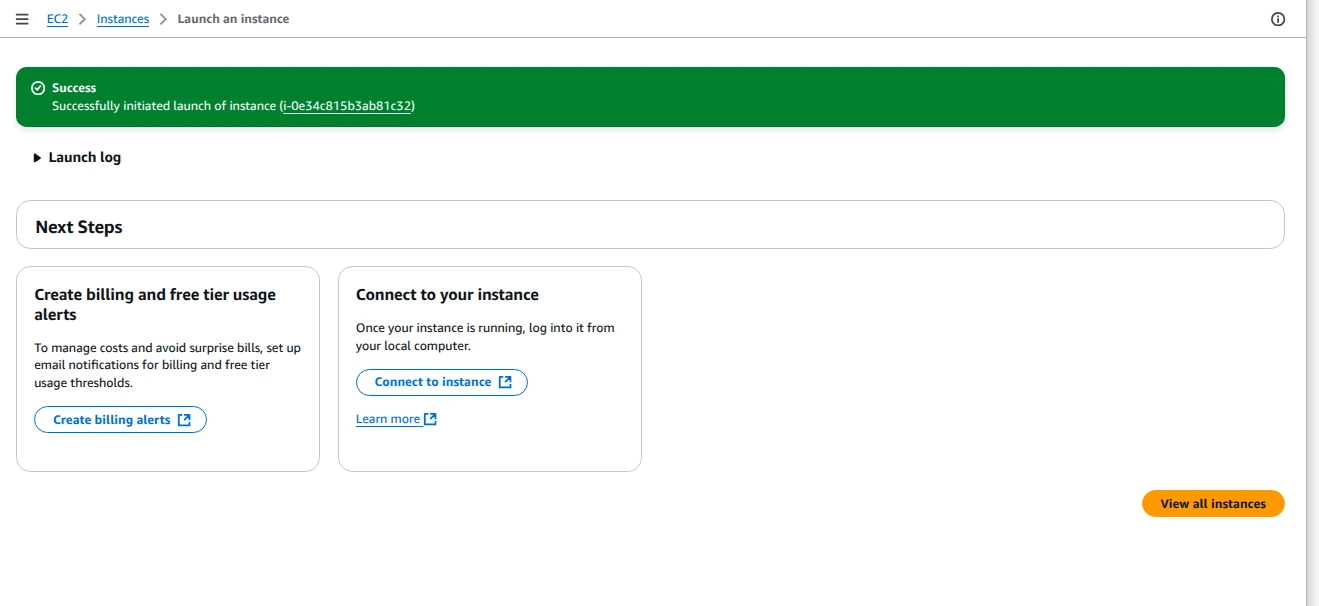
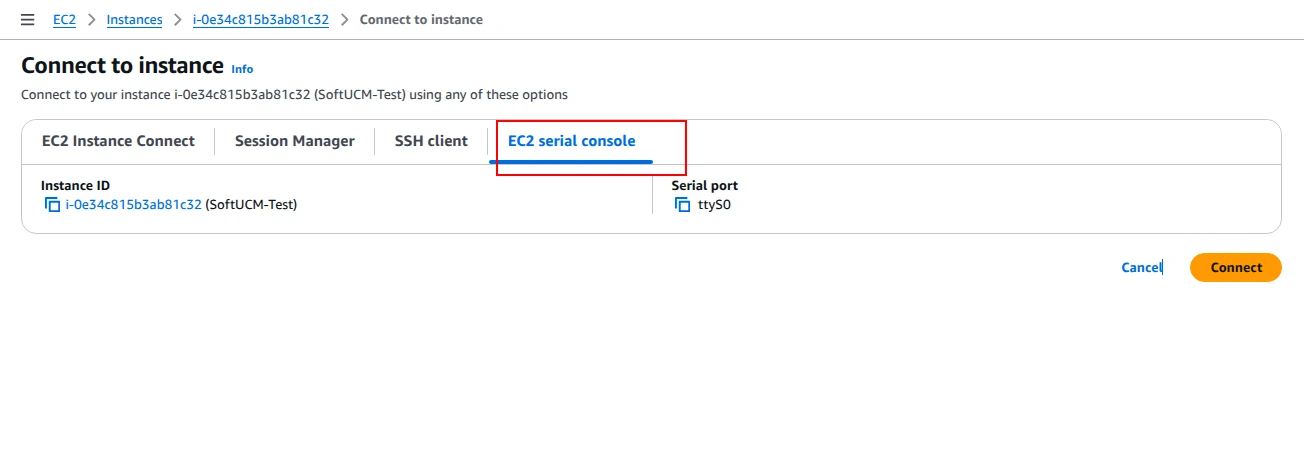
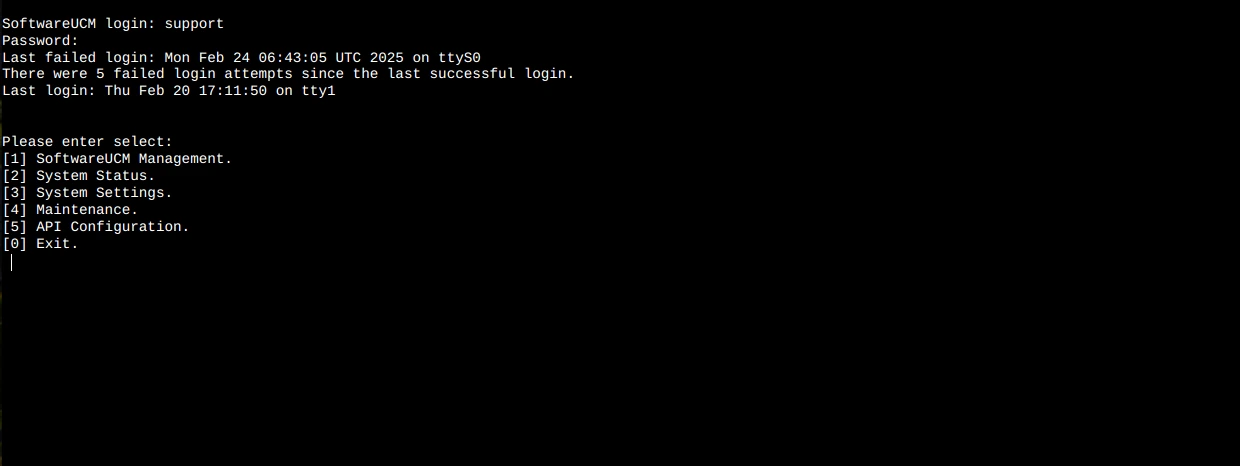
Access SoftwareUCM on AWS
Once the EC2 instance is running, you can access the SoftwareUCM system through the AWS Management Console.