Introduction
This guide provides step-by-step instructions for deploying SoftwareUCM on a VMware ESXi 8.0 environment. It covers prerequisites, ISO upload, virtual machine setup, and final access to the SoftwareUCM web interface. The procedure is designed for IT administrators familiar with VMware ESXi management.
Prerequisites
- Ensure your VMware ESXi version is 8.0.
- Download the SoftwareUCM ISO image file.
Installation Steps
Step 1: Upload the SoftwareUCM ISO to VMware ESXi
- Log in to the VMware ESXi management console.
- In the left navigation bar, click on Storage.
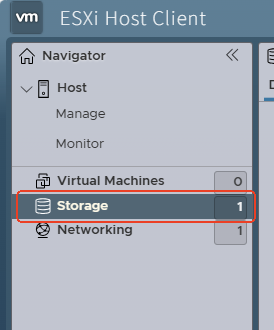
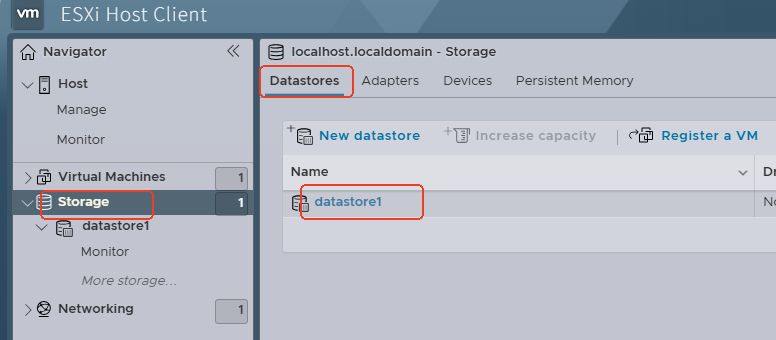
- Choose a datastore where you want to upload the ISO.
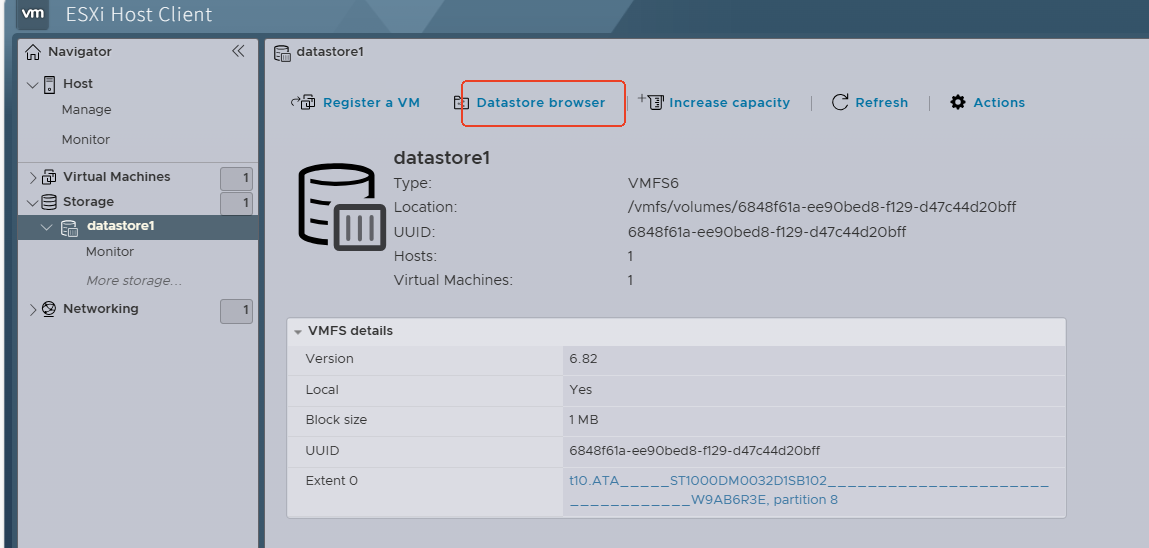
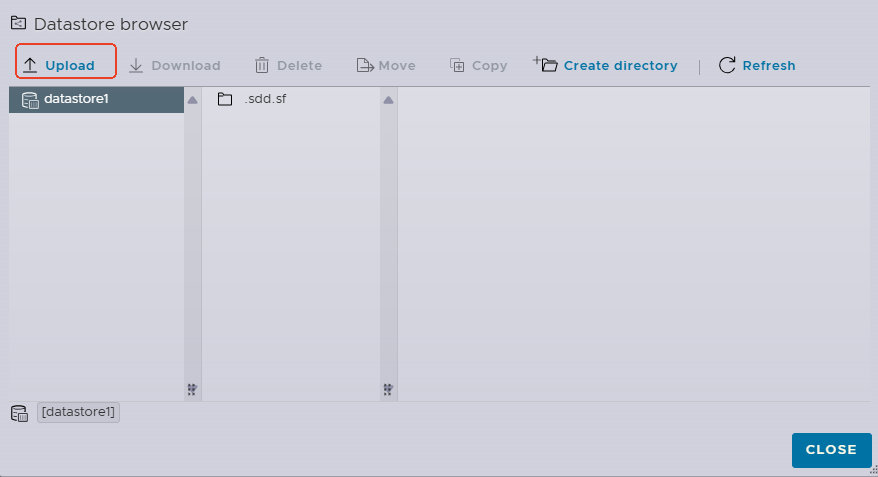
- Click Datastore browser > Upload and select the SoftwareUCM ISO file from your computer.
- At the top-left corner of the pop-up window, click Upload to select the SoftwareUCM ISO, Wait a few minutes for the upload to complete.
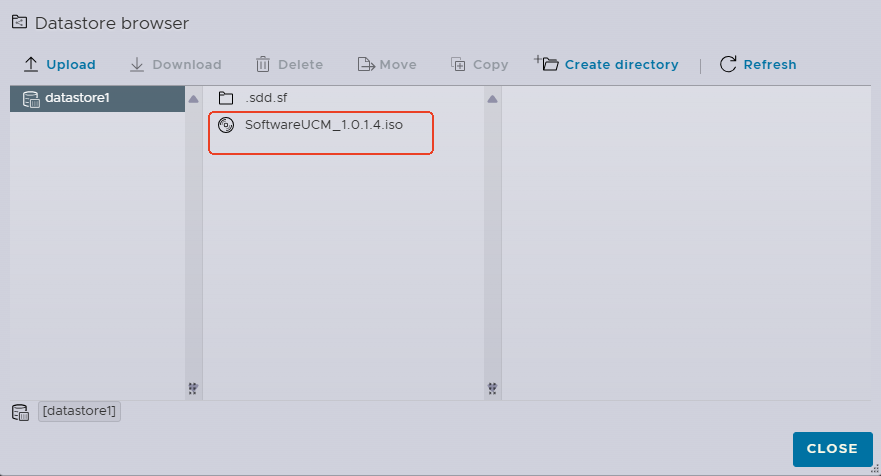
- When done, the SoftwareUCM ISO is displayed on the datastore. Click Close after that.
Step 2: Create a New Virtual Machine
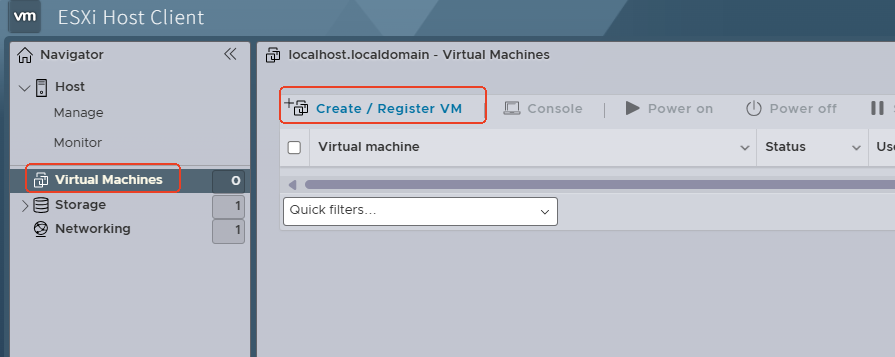
- Click Virtual Machines > Create / Register VM.
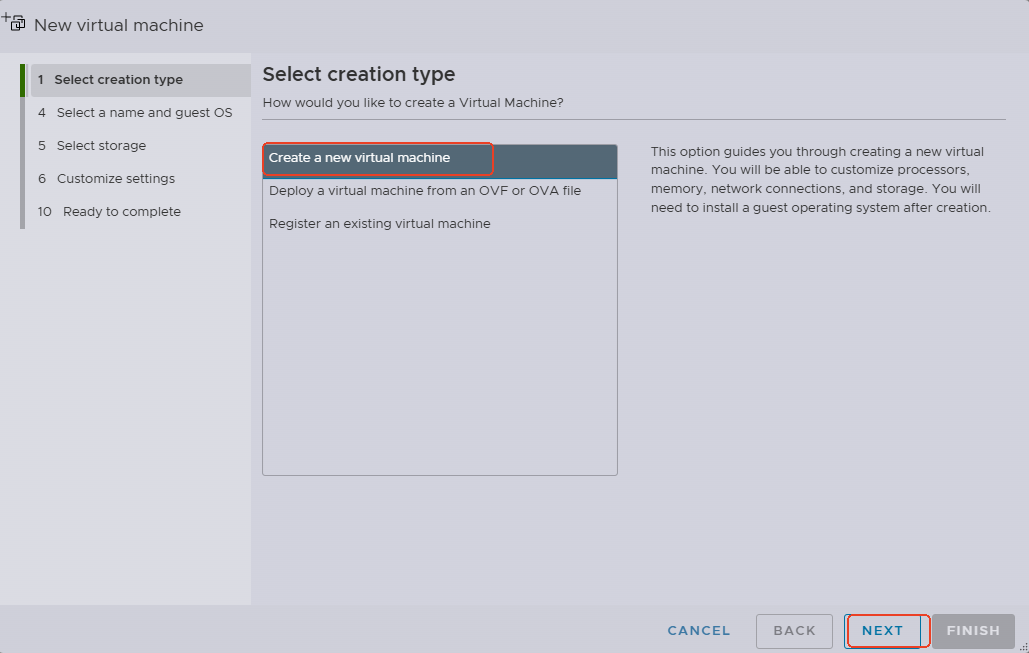
- Select Create a new virtual machine and click Next.
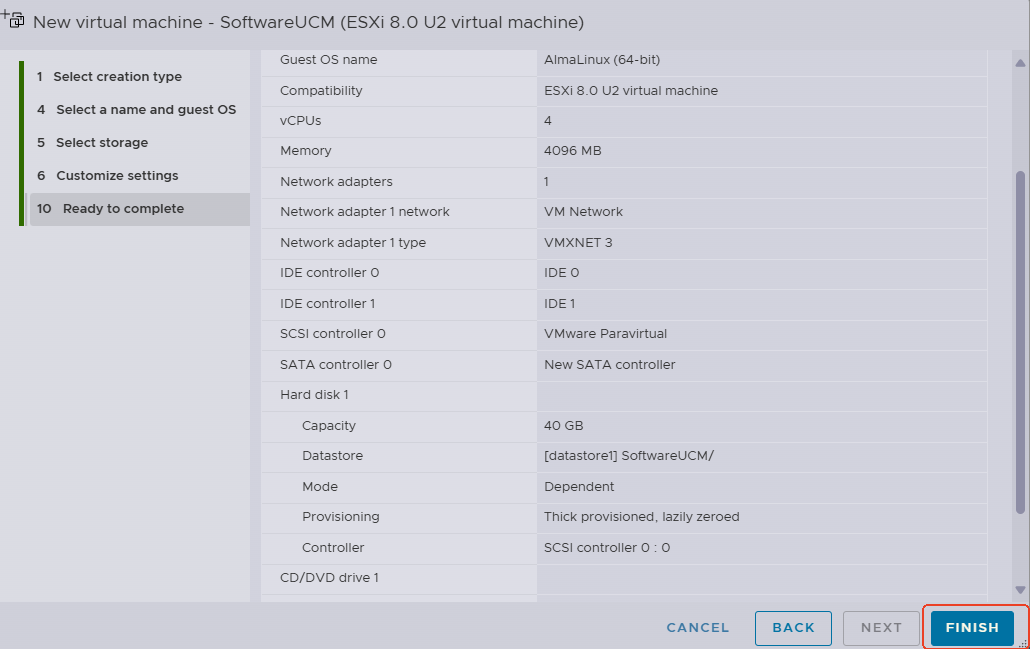
- Enter the following VM details:
- Name:
SoftwareUCM - Compatibility:
ESXi 8.0 U2 virtual machine. - Guest OS Family:
Linux - Guest OS Version:
AlmaLinux (64-bit)
- Name:
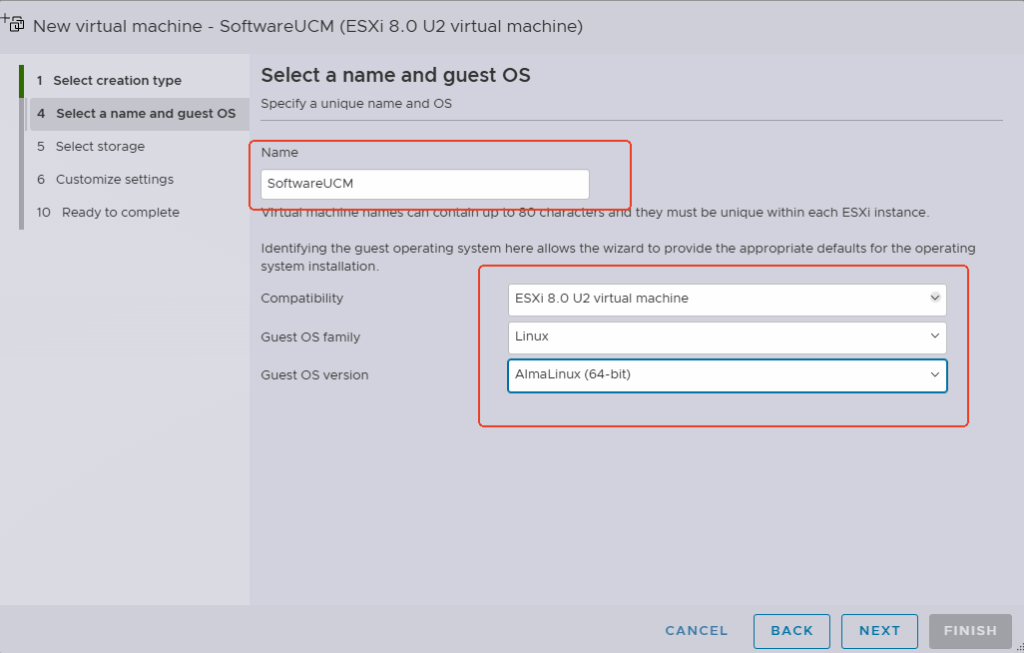
- Select the previously used datastore for installation.
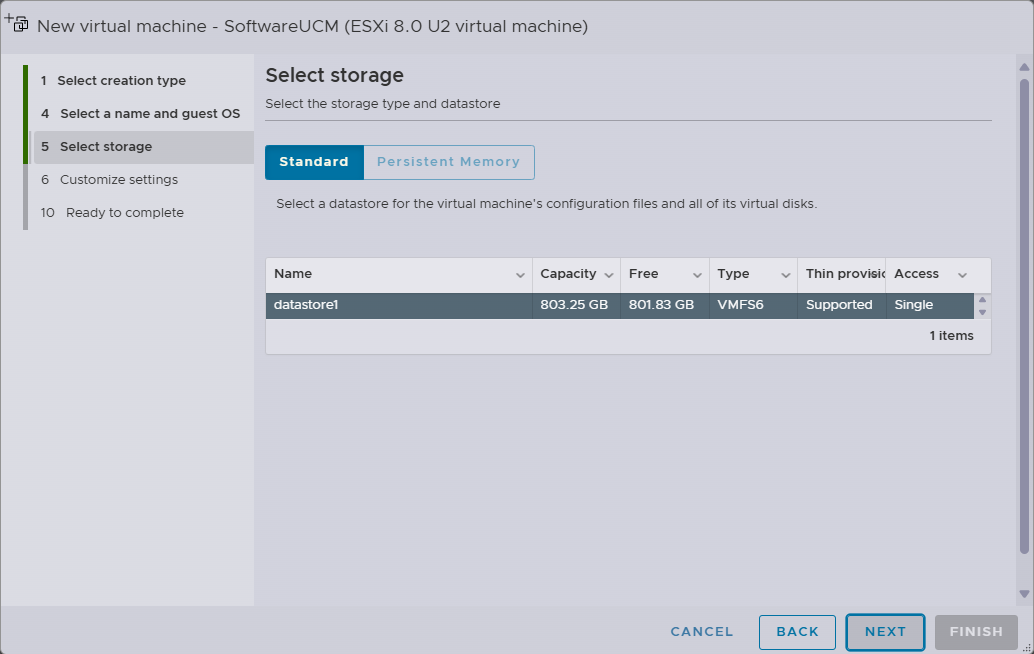
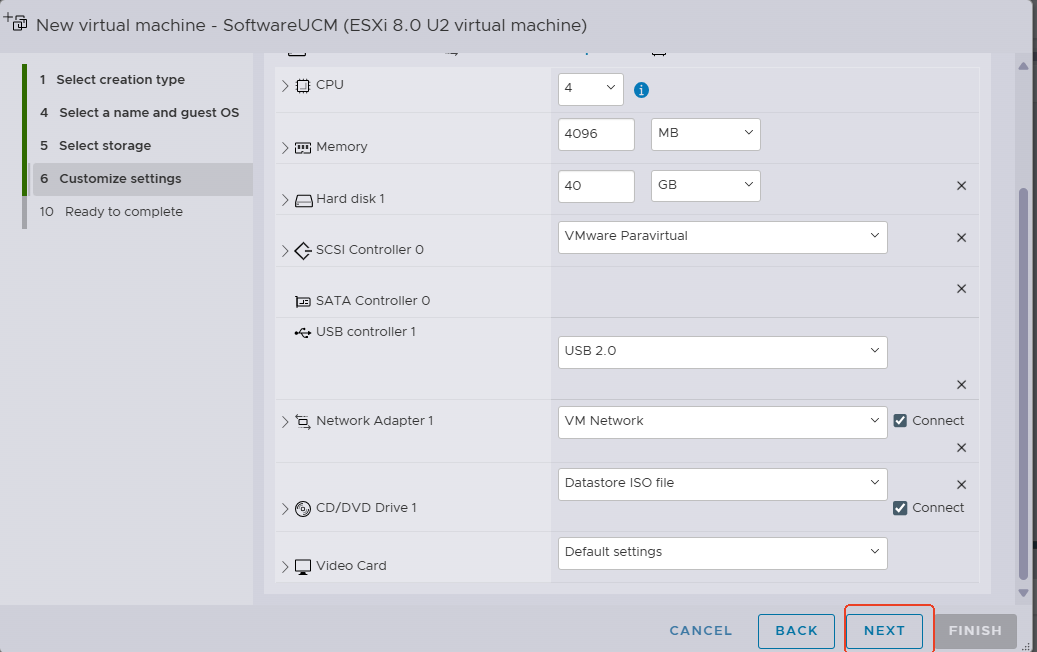
- Configure virtual hardware:
- CPU: 4
- Memory: 4096 MB
- Hard disk: 40 GB
- CD/DVD Drive 1: Select Datastore ISO file, then choose the uploaded SoftwareUCM ISO.
- Network Adapter 1: VM Network
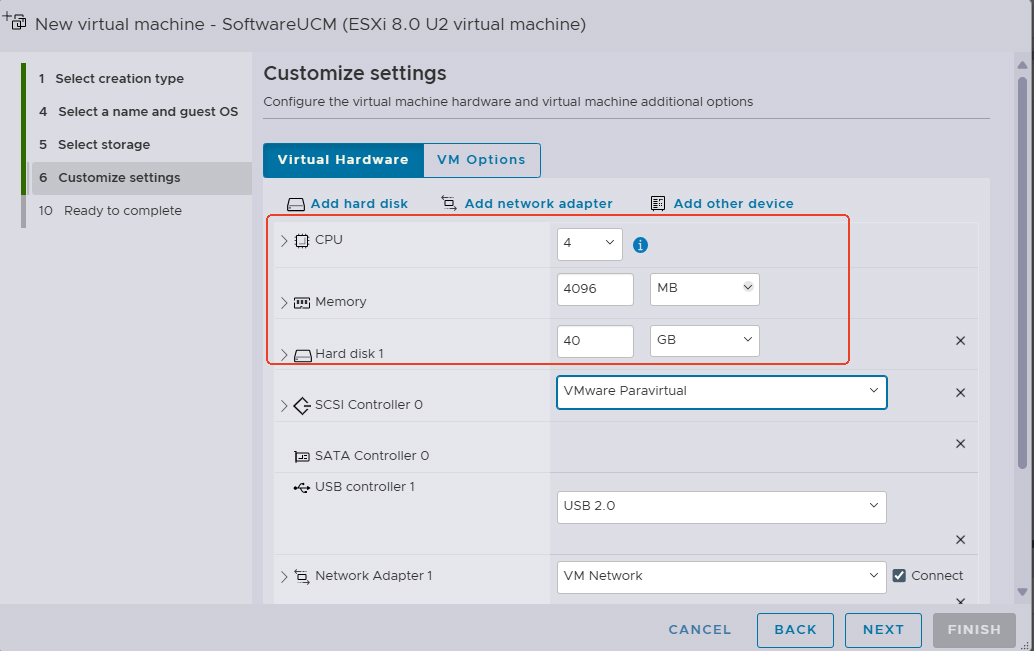
- Select Datastore ISO file. In the pop-up window.
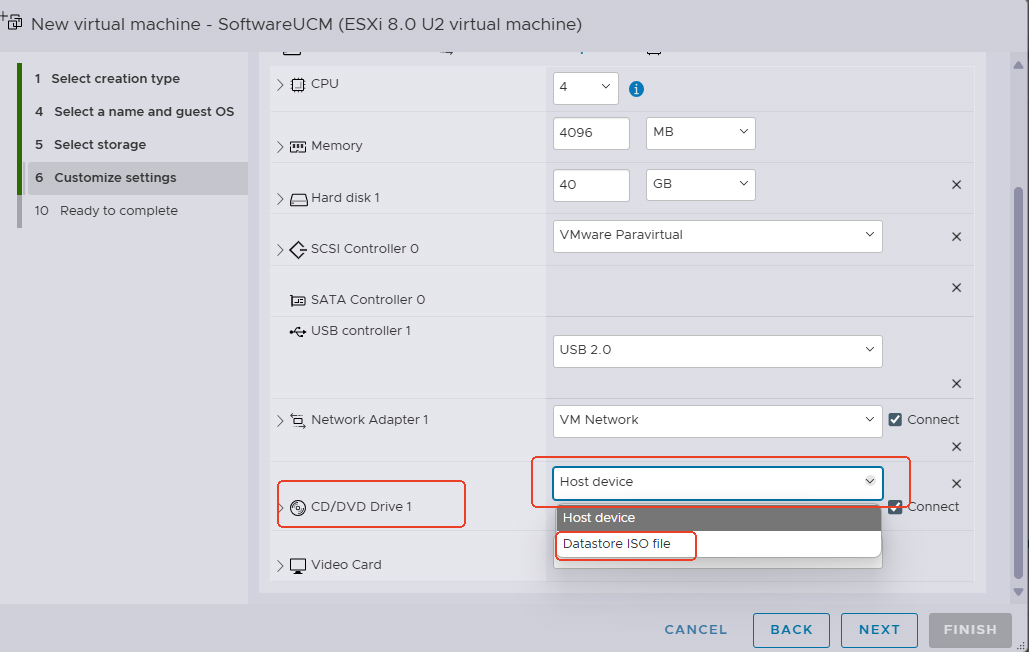
- Select the SoftwareUCM ISO, then click Select.
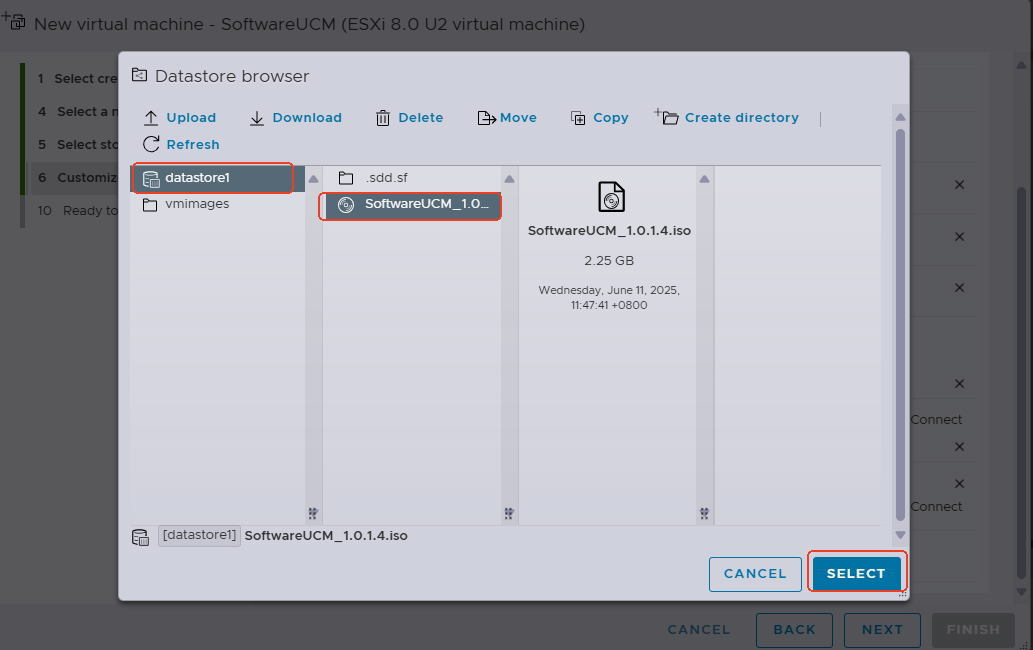
- After selecting the ISO file, click Next.
- On the Ready to complete page, review the settings, then click Finish.
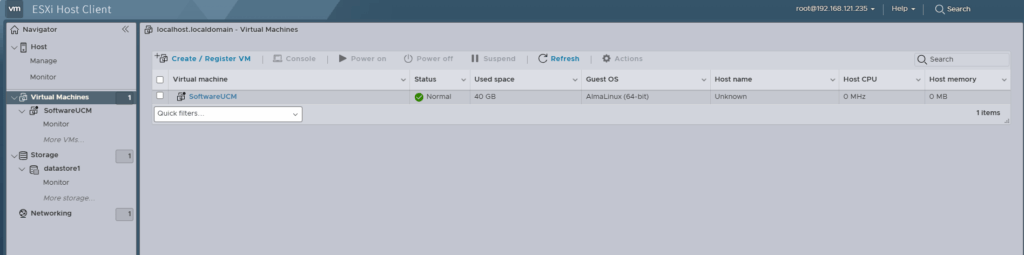
- Finally, The virtual machine is created and displayed on Virtual Machines list.
Step 3: Set up the virtual machine’s network
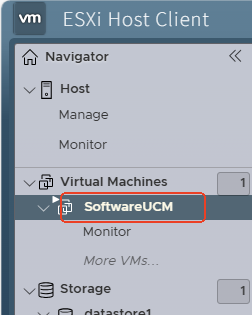
- Select the new
SoftwareUCMVM created.
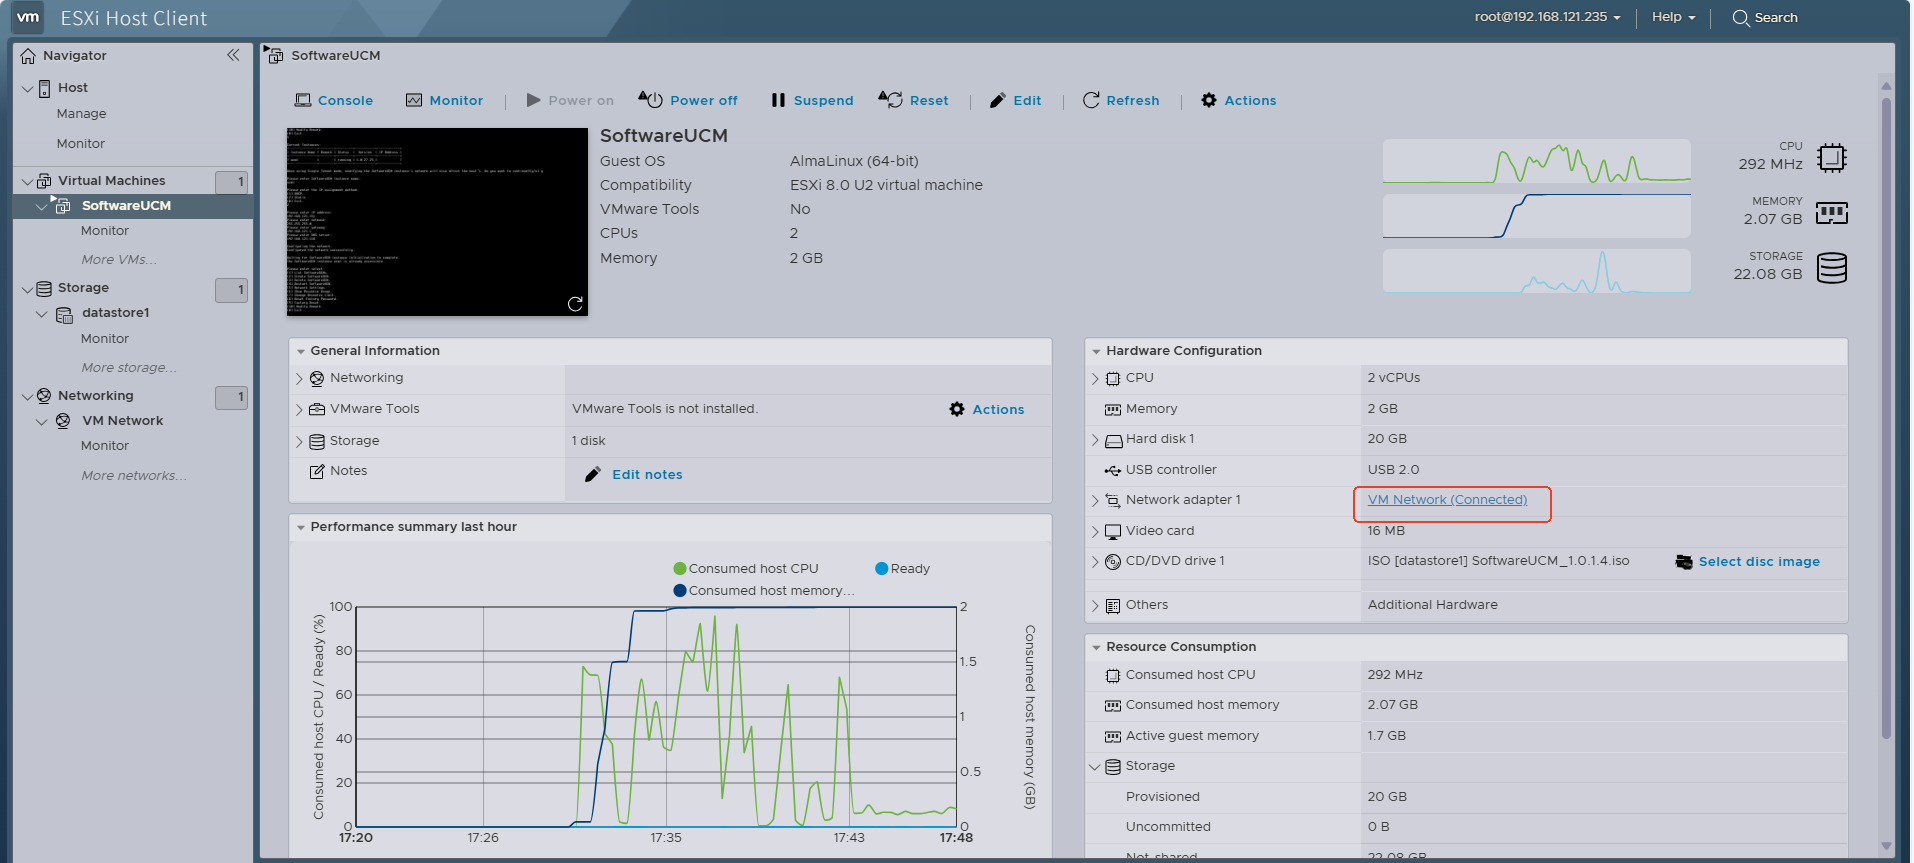
- Click VM Network
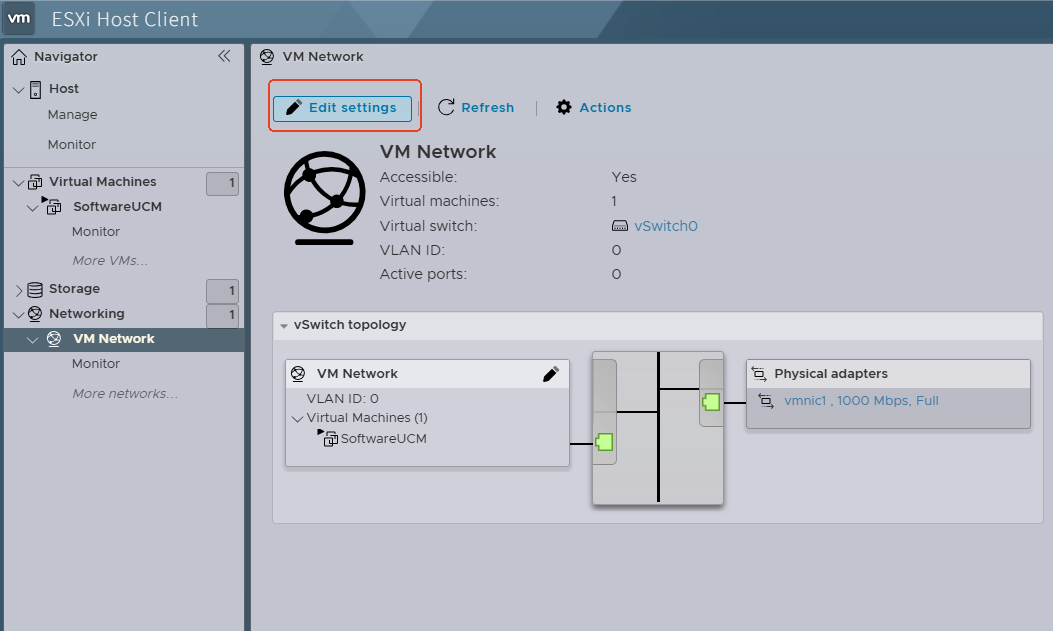
- Select Edit settings.
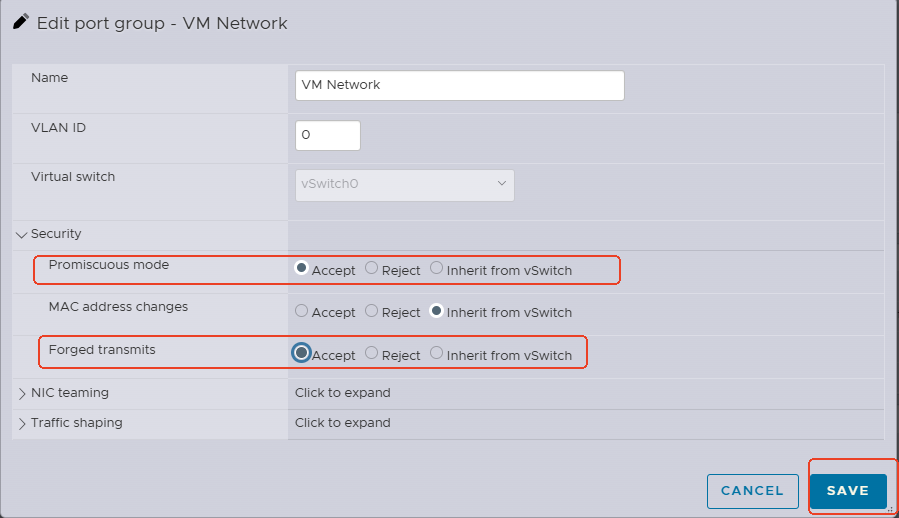
- In the popup window:
- Click the Security dropdown menu.
- Set both Promiscuous mode and Forged transmits to Accept.
- Click Save.
Step 4: Install SoftwareUCM on the Virtual Machine
- Select the created virtual machine, then click Power on.
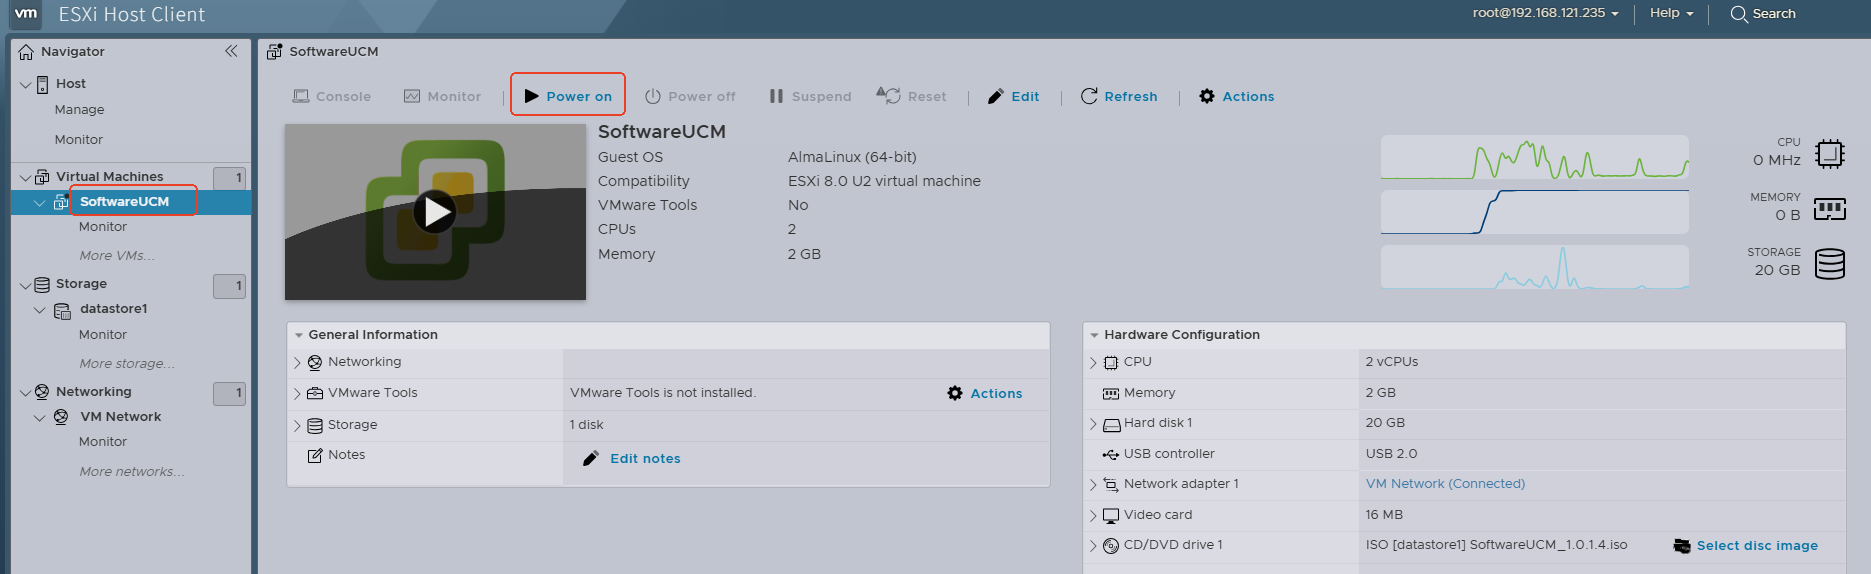
- Open the console to view the installation process.
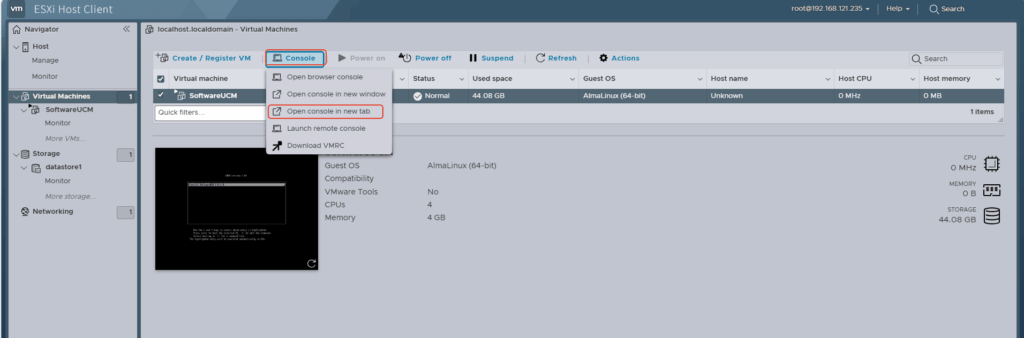
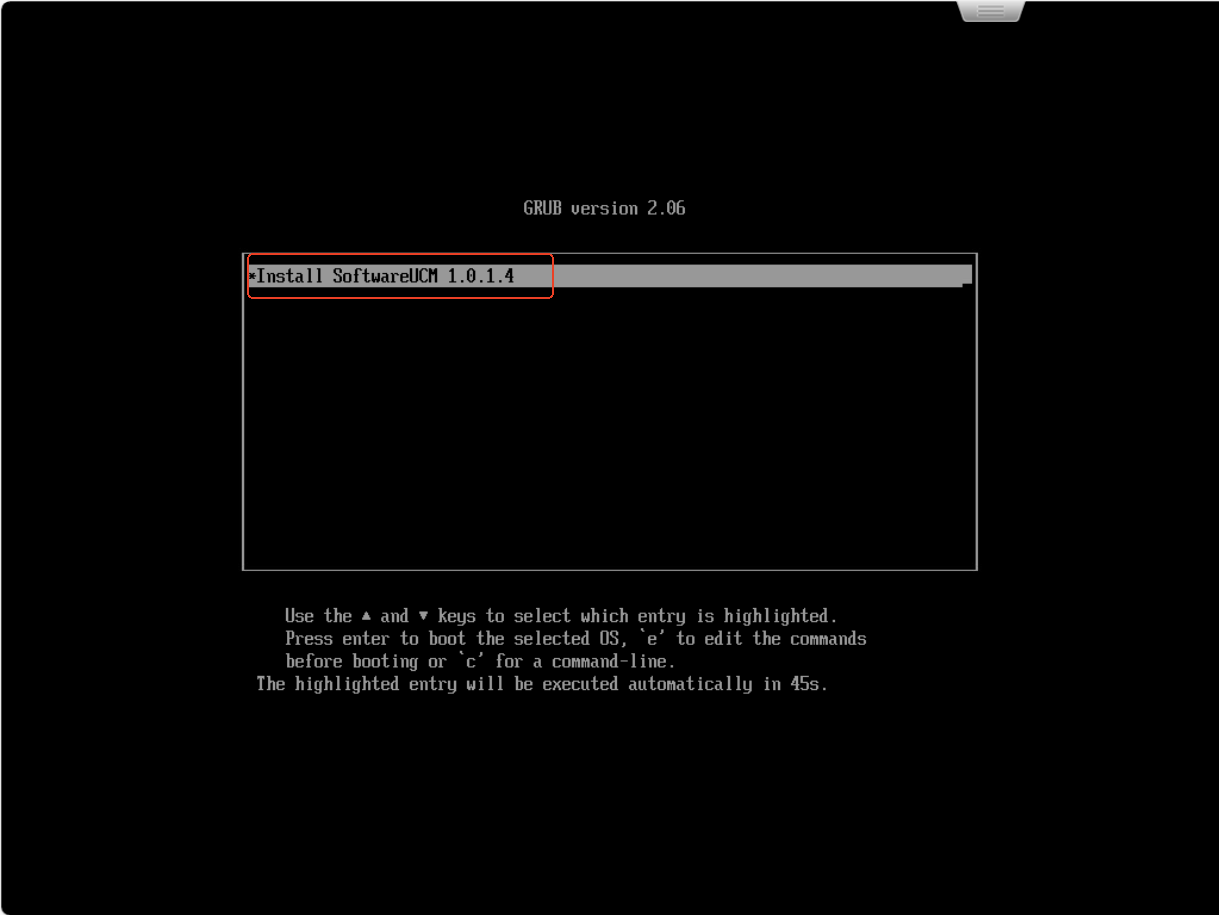
- Select Install SoftwareUCM, then press Enter.
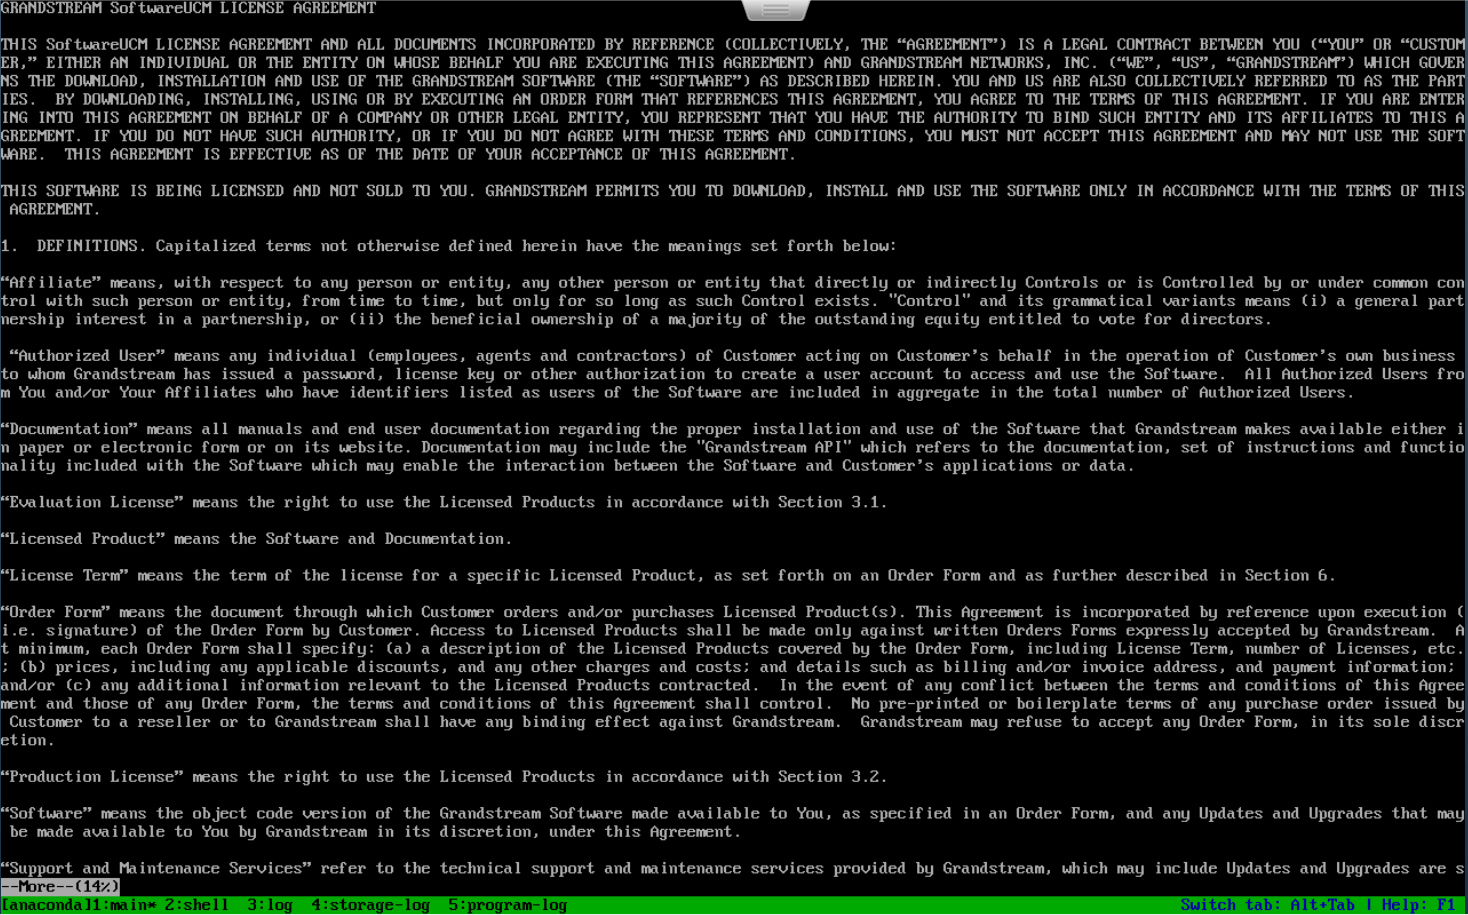
- Read and accept the license agreement:
- Press Enter or PageDown to scroll down.
- Input
yand press Enter to accept.
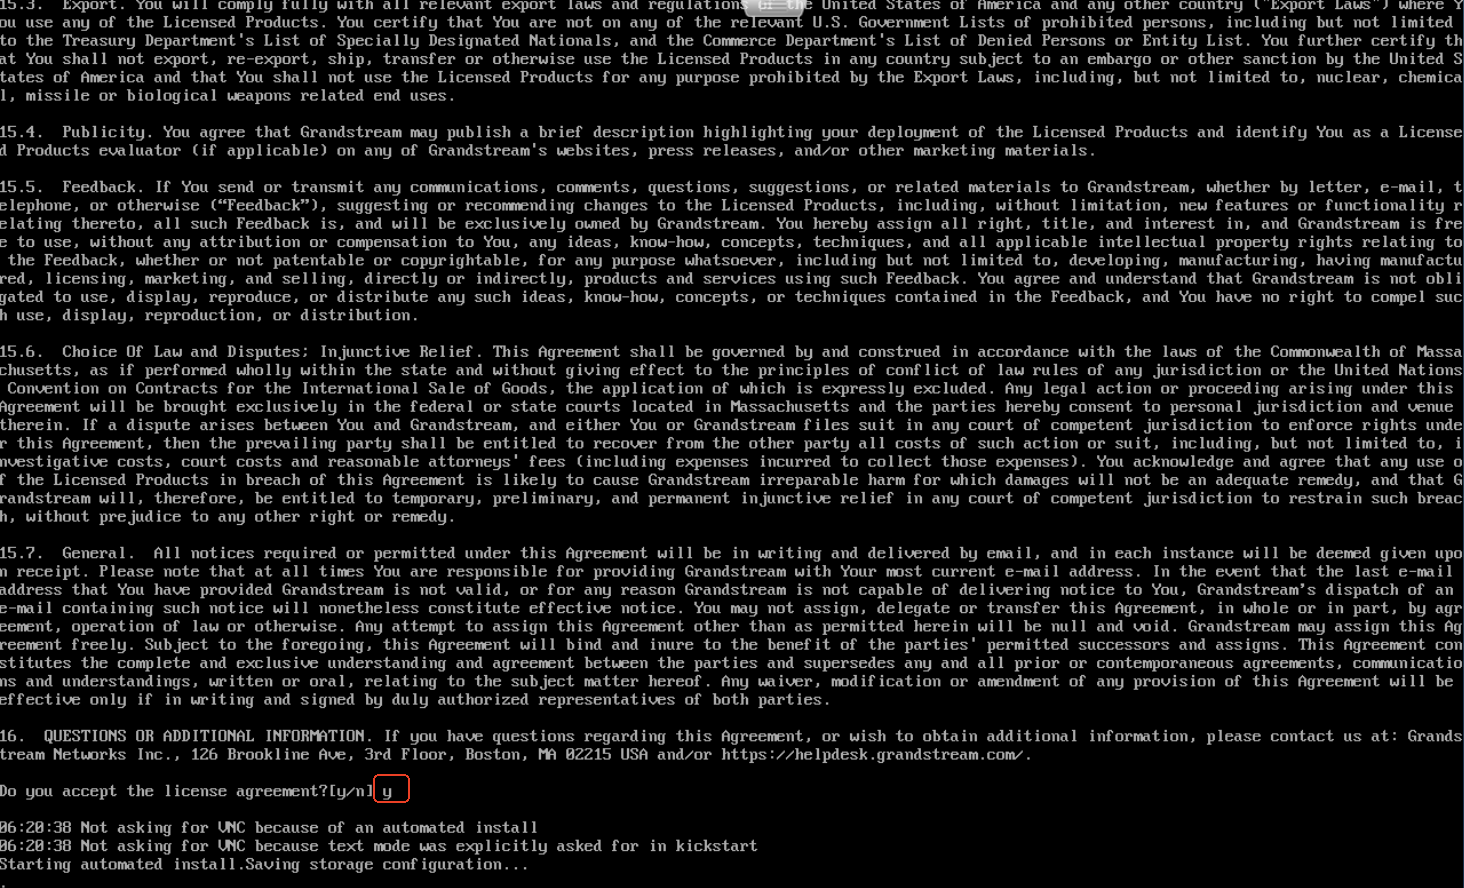
- Wait for the installation to complete.
Step 5. Change the IP address of SoftwareUCM
Once SoftwareUCM is installed, it will use a DHCP IP address by default. If you prefer to assign a different IP address or if your network does not support DHCP, follow these steps:
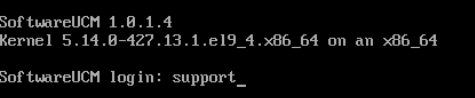
- Log in using the support user and set the password.

- Navigate to SoftwareUCM Management > List SoftwareUCMs to view the current instance information.
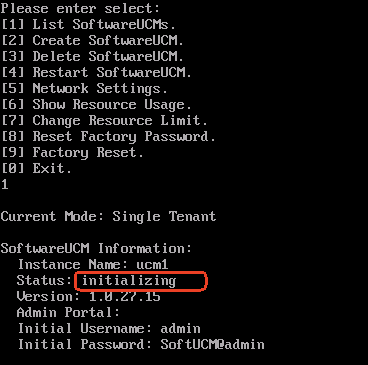
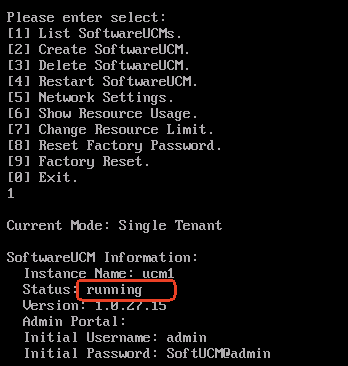
- Wait until the status of the instance becomes Running.
- Select Network Settings to change the IP address.
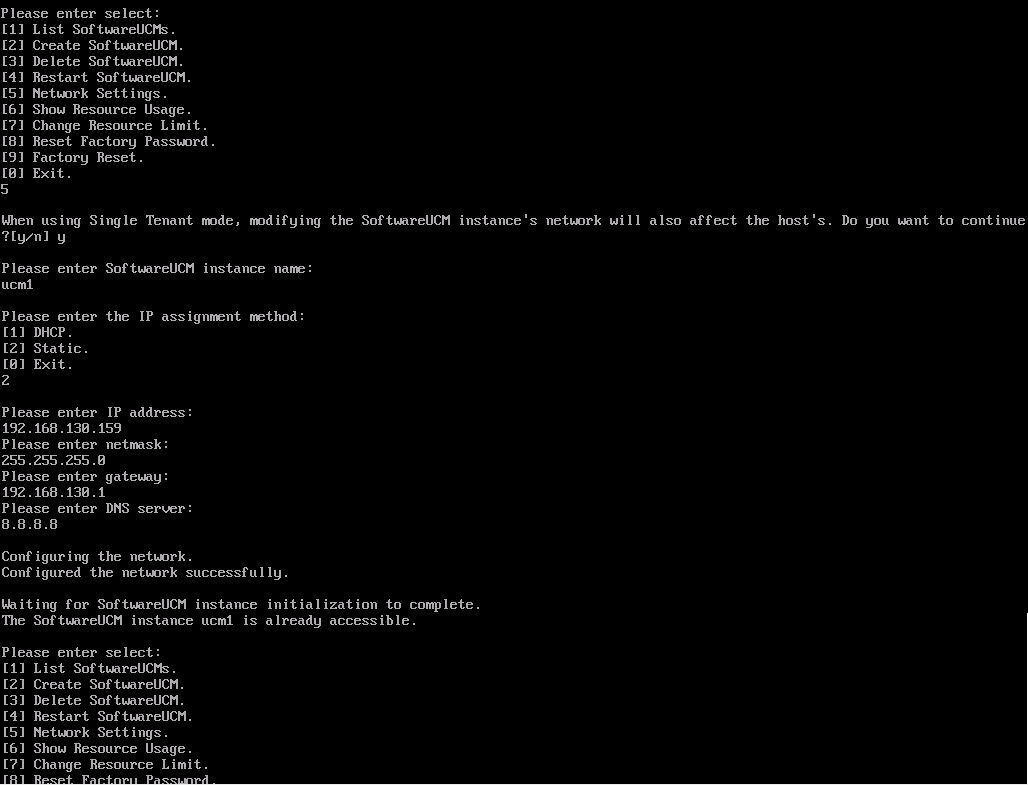
- After the instance is initialized, go to List SoftwareUCMs again to view the updated access information.
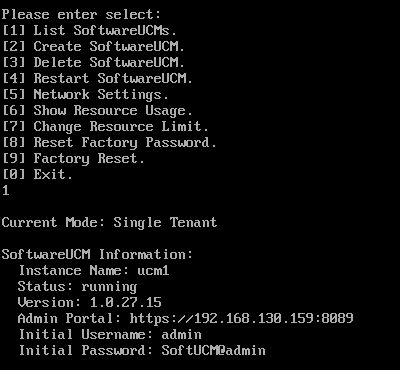
Results
SoftwareUCM is installed successfully.
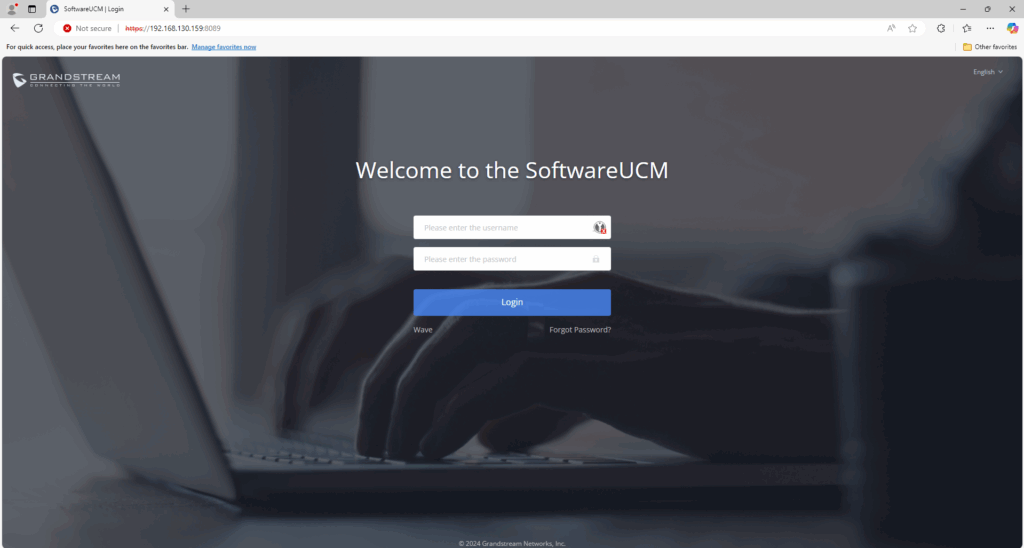
To access it:
- Open a web browser.
- Enter the Admin Portal URL of the SoftwareUCM instance in the address bar.
- Press Enter.