


SoftwareUCM is an on-premises solution that provides businesses with complete control over their telephony systems, eliminating the need for cloud services. It offers many advantages, such as scalability by expanding storage capacity, flexibility in integrating with third-party applications, and security within the internal network.
There are many ways users can write an image of SoftwareUCM on a USB drive. In this guide, we will be focusing on using Rufus, which is a popular tool that allows users to format and create bootable USB flash drives.
Prerequisites
Before proceeding with the instructions in this guide, users should ensure the following criteria are met:
- SoftwareUCM Image File Downloaded: Ensure that you have the SoftwareUCM image file downloaded and ready for installation.
- USB drive with sufficient storage capacity.
Write SoftwareUCM Image to a USB Drive
To start the process of writing the SoftwareUCM image, please refer to the steps below:
- Open Rufus. (Download link)
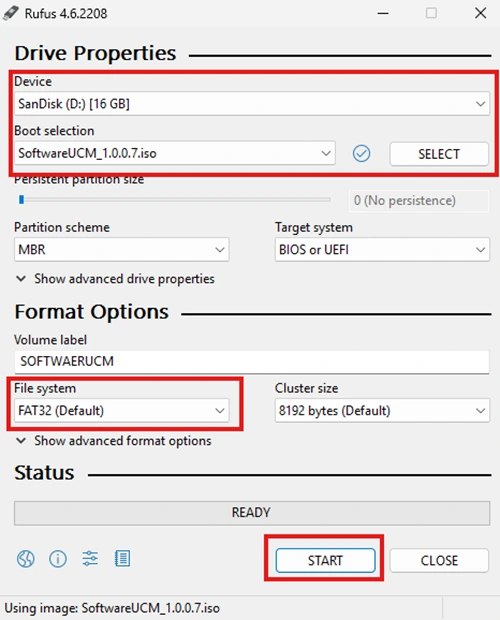
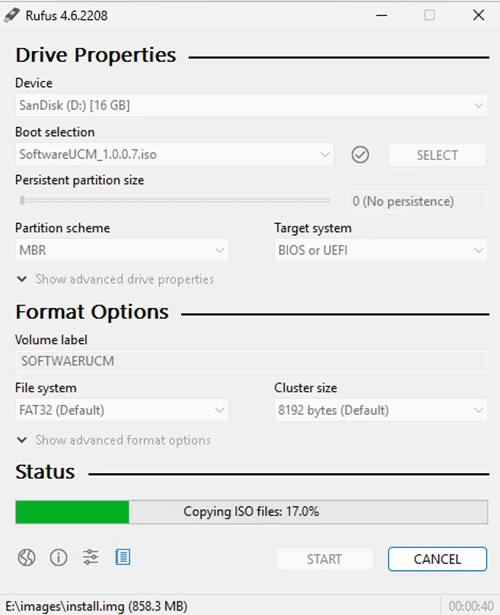
- Select the USB drive as the Device and choose the SoftwareUCM image file under Boot selection, then click Start to begin the process.
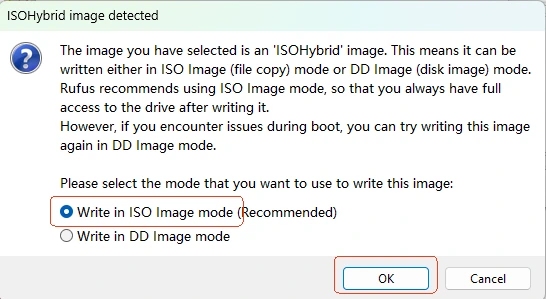
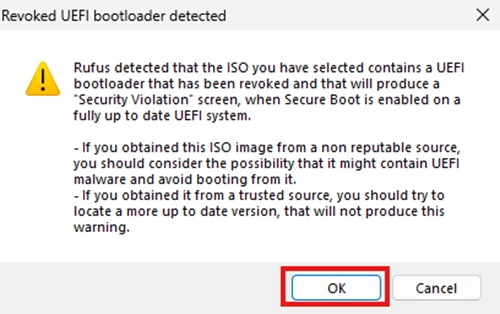
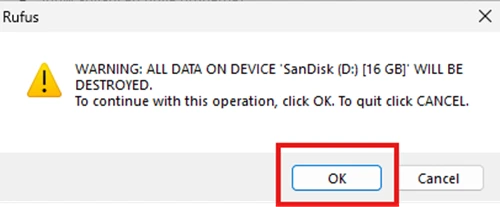
- Select Write in ISO mode and click OK. A warning prompt will appear notifying you that all data on the USB drive will be removed. Click OK to proceed.
- Wait for the process to complete.
After the process is finished, insert the USB drive into the system and power it on. To access the boot menu, press the appropriate key (usually F12, Esc, or Del) during startup. Select the USB drive from the list and press Enter to boot from it.