
Other than the web interface access for administrators, Grandstream UCM6xxx IP-PBX series offer to each extension a “User Portal” allowing to manage extension own data and information by the user from the web UI with no need of administrator intervention. Using the User Portal will reduce administrator interventions to the system for basic extension operations which will be managed by the extension owner directly.
A user portal account is automatically available upon extension creation and is designed to give access to a variety of features covering user information, extension configuration, CDR (Call Detail Records), and value-added features such as Fax Sending, Call Queue, wakeup Service, and CRM (Customer relationship management). These features are categorized into 3 main menus: Basic Information, Personal Data, and Value-added Features.
This document introduces the user portal features and offers step-by-step instructions to use them.

Login to the User Portal
After creating an extension, the super Administrator can configure/edit the login credentials for the user portal under UCM6xxx Web GUI 🡪 Maintenance 🡪 User Management 🡪 User Information.
Users will use only their extension number and the password set by the admin to access the user portal as shown in the below figure.
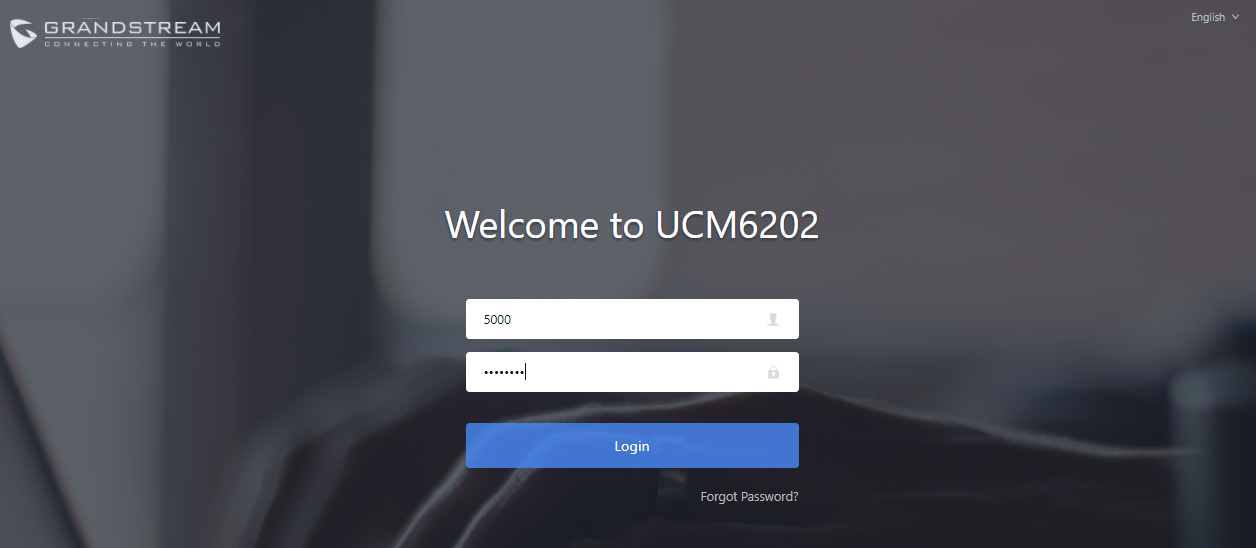
The UCM6xxx User Portal Web GUI appears once you click “Login”. The following figure shows the user portal interface:
Basic Information
The basic Information menu includes the following sub-menus:
- User Information.
- Personal Config.
- Extensions.
- CDR (Call Detail Records).
- Change Information.
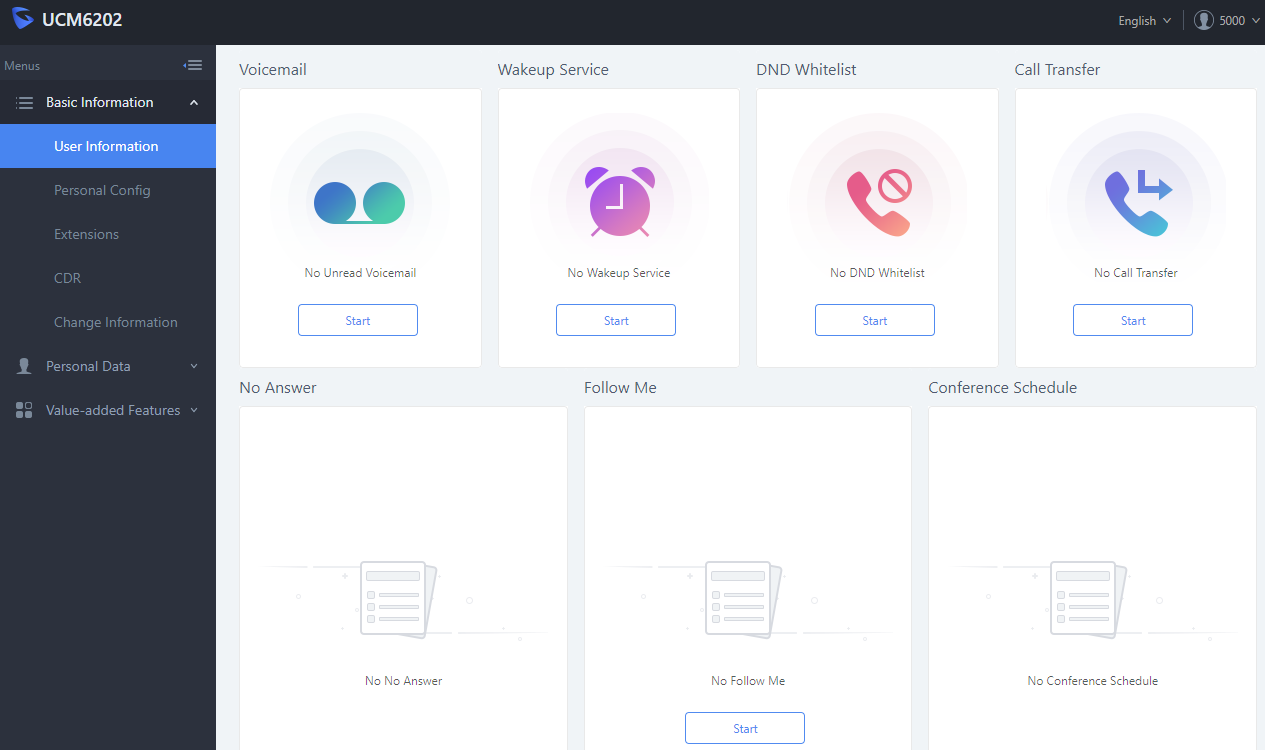
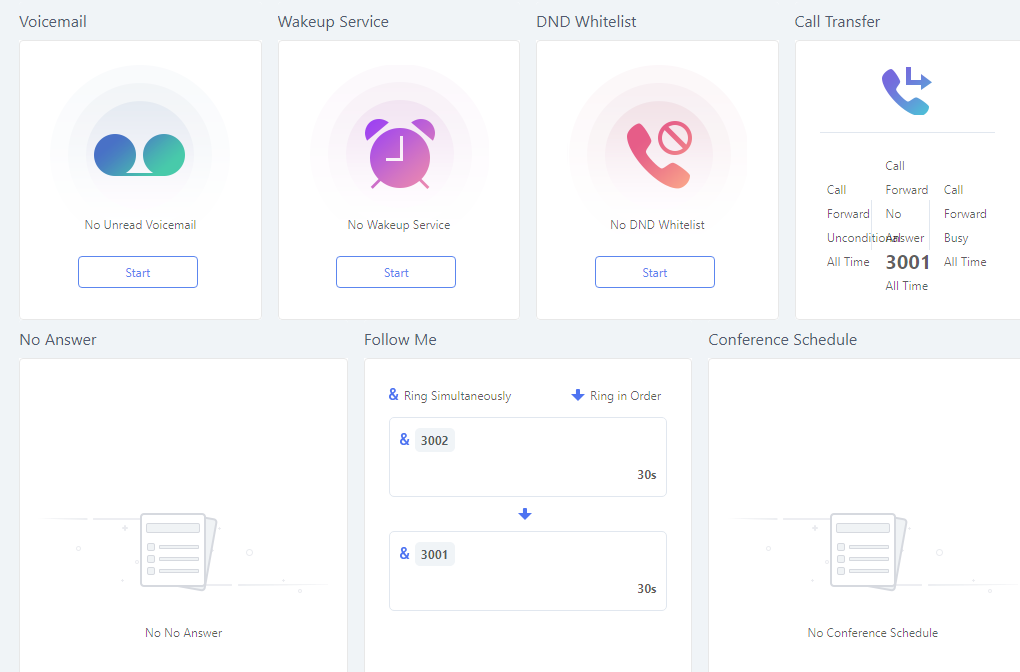
User Information
User Information page displays the extension call features statuses including Voicemail, DND whitelist, Call Transfer, No Answer, Follow Me, and Conference Schedule.
The user can press the Start button to enable and configure a call feature directly.
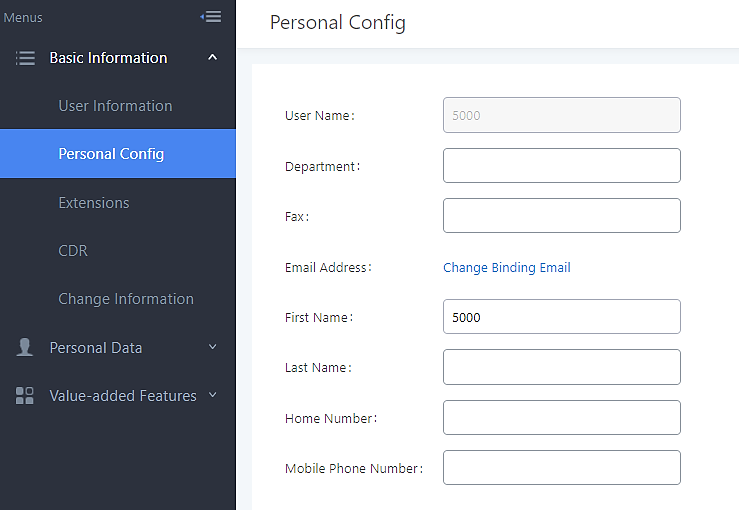
Personal Config
Personal Config page allows the user to edit his/her personal information including Department, Fax Number, Email Address, First Name, Last Name, Home Number, and Mobile Phone Number.
The “User Name” cannot be edited from the User Portal. Only Admin can edit this field if needed.
Extensions
The extension page is divided into 3 tabs as follows:
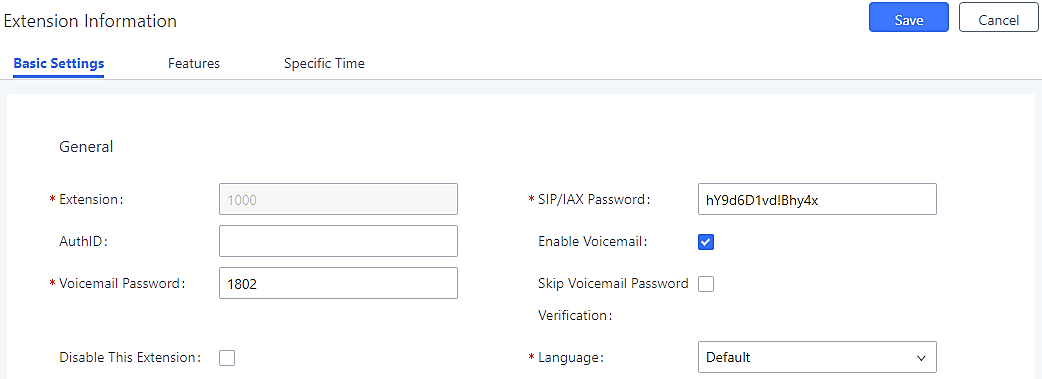
- Basic Settings: Allows to:
- Change the SIP Extension Password and Authentication ID.
- Enable/Disable Voicemail and set the Voicemail Password.
- Enable/Disable the extension.
- Select the extension prompts language.
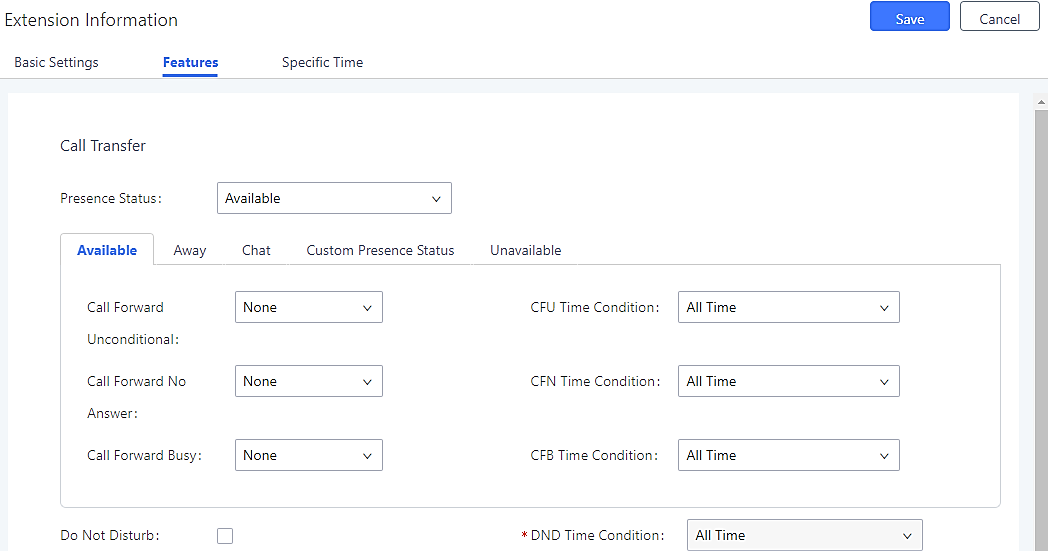
- Features: The extension configuration parameters in this menu provide the user with a variety of call features to perform, such as:
- Presence: Set up presence status of the extension (6 statuses are available).
- Call Transfer: Configure call forward for each presence status. (Call Forward Unconditional, Call Forward No Answer, Call Forward Busy and FWD Whitelist).
- Do Not Disturb: Enable/Disable DND feature and configure its conditions including DND Whitelist.
- Ring Simultaneously: Enable/Disable “Ring Simultaneously” feature and configure its conditions.
- Seamless transfer privilege control: Select the extensions that can perform seamless transfer to the user’s extension.
- Ring Timeout: Configure the ring time out parameter for the extension.
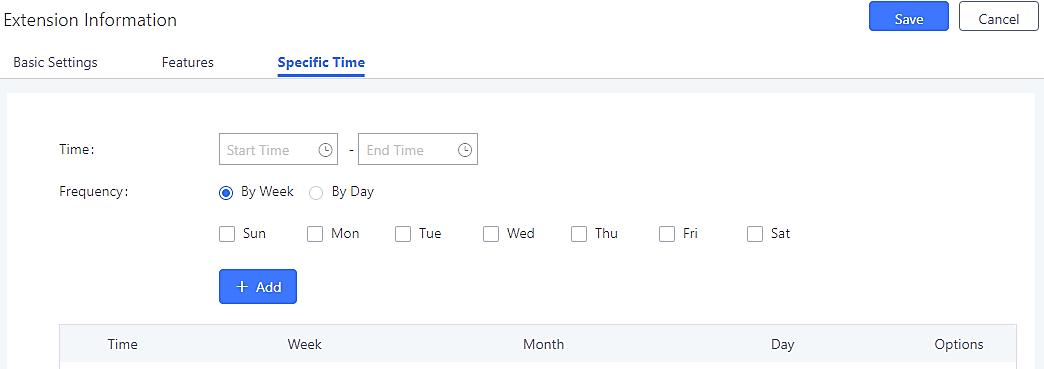
- Specific Time: User can configure specific time for his extension to use time condition based features.
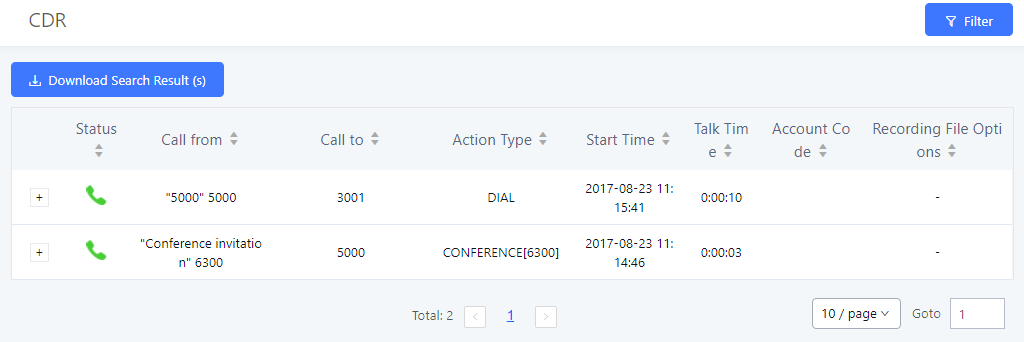
CDR (Call Detail Records)
The CDR page provides to the user all the call records details related to his extension.
Notes:
-
User can also filter records by: start/end time, Caller Number/Name, Call Number, Action Type, Call Type, and Status. Click on
 button to have the filtering menu and once the criteria are set then click on
 button in order to process the request and get the desired result.
- User can also download all his CDR records in an excel file from the user portal.
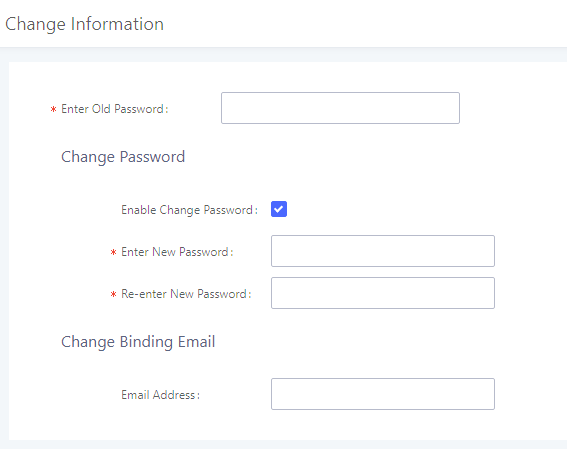
Change Information
Users can easily change the user portal password by entering the old one already set by the administrator and setting a new one. In addition to this, user Email Addresses can also be set or modified in this menu.
Personal Data
Personal Data menu includes the following sub-menus:
- Follow Me.
- Voicemail.
- Recording Files.
- Fax Files.
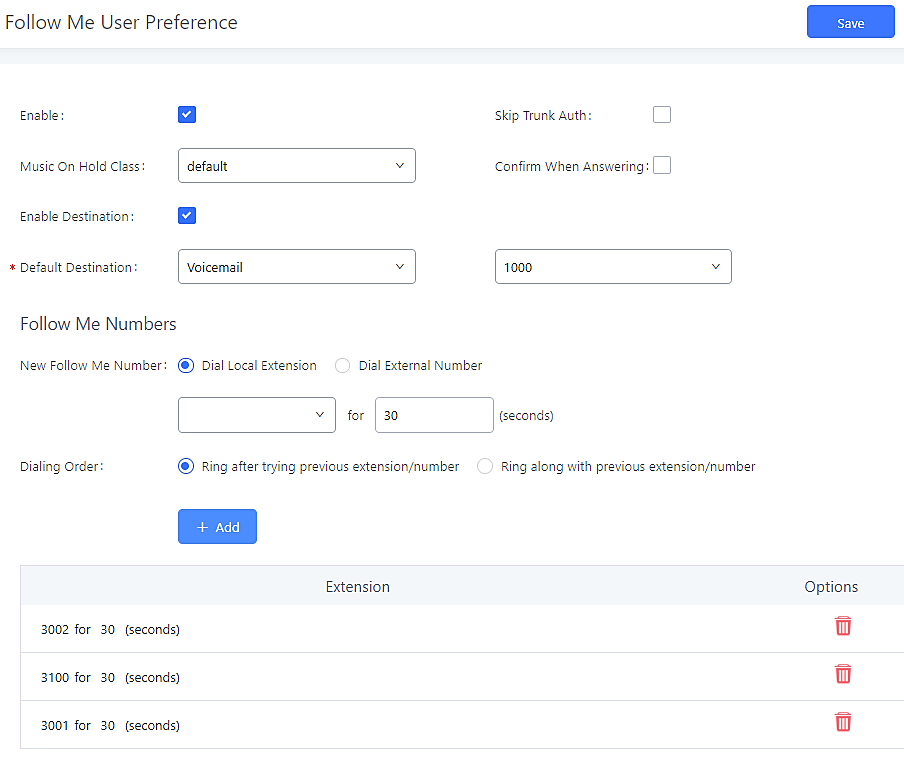
Follow Me
This page allows the user to configure Follow Me feature for his own extension.
Follow Me is a very useful feature to locate a user by ringing different extensions and external numbers in a pre-defined order. This feature allows users to be reached at numerous devices, such as mobile, home-telephone, office-telephone, or softphones.
Voicemail
User can view all the voicemails he received under the UCM6xxx portal Web GUI 🡪 Personal Data 🡪 Voicemail. He can download them as well by clicking on
![]() , delete them by clicking on
, delete them by clicking on
![]() or Mark them as Read by clicking on the
or Mark them as Read by clicking on the
![]() button.
button.

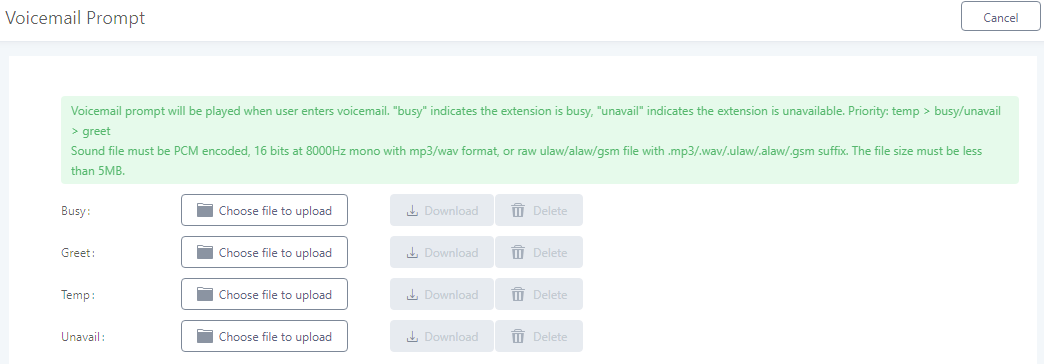
Users can also customize their Voicemail greetings messages by uploading a custom prompt for each greeting message. To do so, the user needs to click on ![]() and upload a prompt for each status.
and upload a prompt for each status.
Notes:
- Available greetings are:
- Busy: This voicemail prompt will be played when the called party is in another call or is in DND mode.
- Unavail: This voicemail prompt will only be played when the called party’s extension is unregistered.
- Temp: Highest priority. This voicemail prompt will be played in all scenarios when it is configured (unregistered, unanswered/ring timeout, busy, DND).
- Greet: This voicemail prompt will be played when the called party does not answer the call within their ring timeout period.
The priority is “temp > busy/unavail > greet”.
- Sounds file must be PCM encoded, 16 bits at 8000Hz mono with mp3/wav format or raw ulaw/alaw/gsm file with .mp3/.wav/.ulaw/.alaw/.gsm suffix. The file size must be less than 5MB.
Recording Files
From this menu, the user can find all the Extension Call Recordings under the UCM6xxx portal Web GUI 🡪 Personal Data 🡪 Recording Files, with the possibility of playing them on the user portal interface by clicking
![]() button or download them to his personal computer.
button or download them to his personal computer.

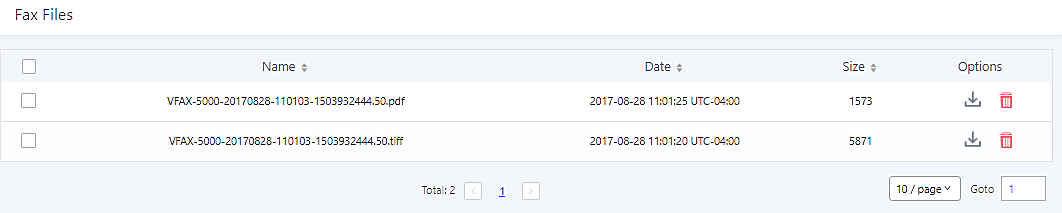
Fax Files
Users can view all the faxes they received under the UCM6xxx portal Web GUI 🡪 Personal Data 🡪 Fax Files. He also can download the files by clicking on ![]() , or delete them with the button
, or delete them with the button ![]() .
.
Value-Added Features
Value-added Features menu includes the following sub-menus:
- Fax Sending.
- Call Queue.
- Wakeup Service.
- CRM User Settings.
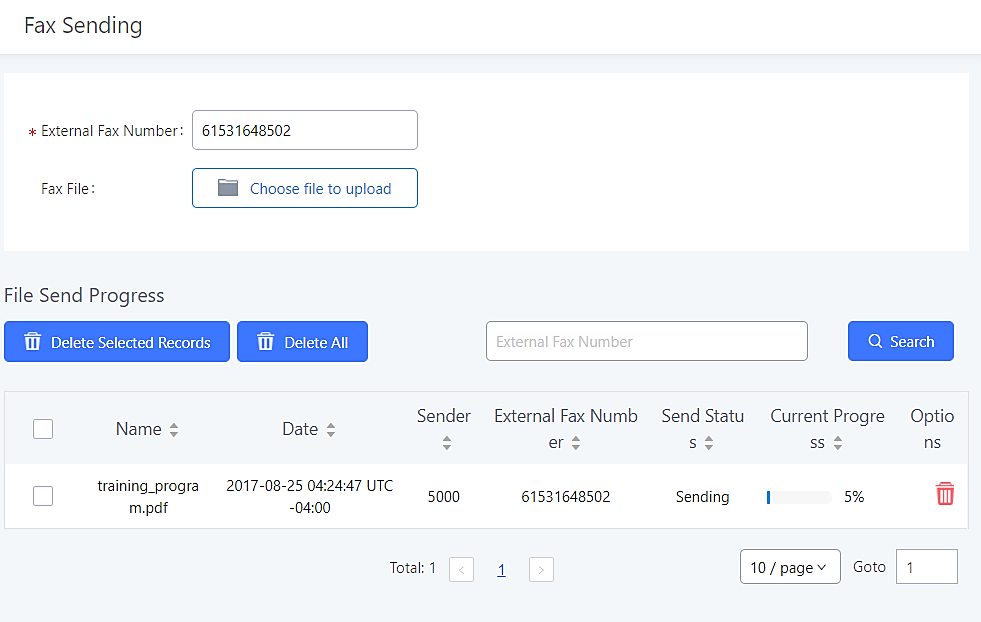
Fax Sending
This page provides the ability to send PDF or TIF/TIFF fax files to an external fax destination.
The steps below describe the basic configuration required to send a fax to an external fax number:
- Go to UCM6xx User Portal GUI 🡪 Other Features 🡪 Fax Sending.
- Enter the destination “External Fax Number”.
- Click on “Choose file to upload” and Select the file you want to send.
Call Queue
As members of a call queue, the user can manage his calls from the user portal. The page also provides a user dashboard displaying waiting calls and call statistics.
The following figure shows the Switchboard seen by user 5000 who is a queue agent and can see only his own information under the user portal.
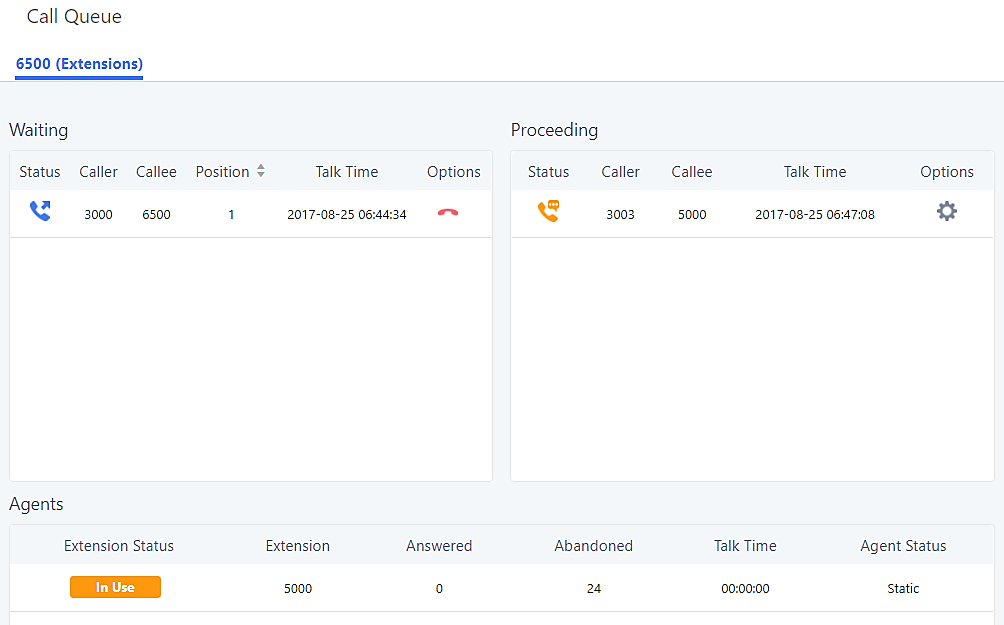
Waiting | This menu shows the current waiting calls along with the caller id and the option to hang up the call by pressing on the |
Proceeding | Shows the currently established calls along with the caller id and the callee (agent) as well as the option to hang up or to transfer the call using the |
Agents | Displays the agent extension status (idle, ringing, in use or unavailable) along with some basic call statistics and agent’s type (static or dynamic). |
Wakeup Service
Users can schedule a reminder or wake up calls to its extension using the UCM6xxx user portal.
Please refer to the following steps:
- Login to the user portal on the UCM6.
- WakeUp service can be found under “Other Features 🡪Wakeup Service”, click on
 to create a new wakeup service.
 - Configures the Name, Prompt, Date and Time for the user to make the wakeup to.
- Click
 and
and  to apply the changes.
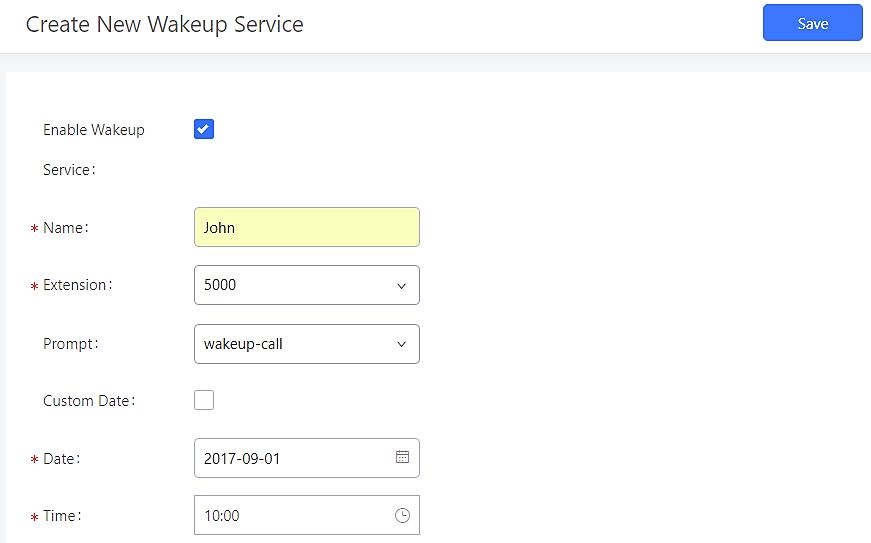
Enable Wakeup Service | Enable Wakeup service. |
Name | Enter a name to identify the wakeup service. |
Prompt | Select the prompt to play for that extension. |
Custom Date | If disabled, users can select a specific date and time. If enabled users can select multiple days of the week to perform the wakeup. |
Date | Select the date or dates when to performs the wakeup call. |
Time | Select the time when to play the wake-up call. |
Members | Select the members involved within the wakeup group. |
Users can start using the CRM feature once settings on admin access are configured with supported CRM platforms (currently only SugarCRM and Salesforce are supported).
CRM User Settings
Refer to the following steps to log in to CRM account:
- Navigate under UCM6xxx portal GUI 🡪 Added-Value Features 🡪 CRM User Settings
- Click on Enable CRM.
- Enter the Username associated with CRM Account.
- Enter the Password associated with CRM Account.
- Click on “Save” and “Apply Changes”.
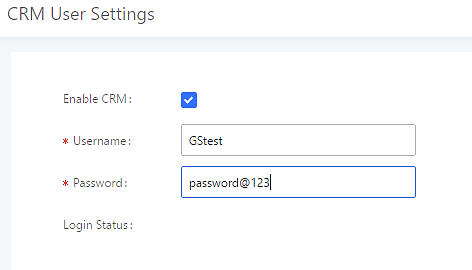
The status will change from “Logged Out” to “Logged In” and the user can start then using CRM features.