
Overview
Users can pre-install the Wave add-ins on the UCM Web UI for all extension users or some specific extension users. For example, users can pre-install the Google Drive add-in for all extension users’ clients.
Before using this feature, the current UCMRC plan of the UCM device needs to obtain the third-party add-in permissions. All paid plans contain the third-party add-in permissions.
Firmware Version Requirements
UCM63xx Firmware Version: V1.0.21.X or later version.
Wave Desktop Application Version: V1.21.X or later version.
Steps
- Log in to the Web UI of the UCM63xx device as an administrator.
- Go to Maintenance → User Management → User Portal/Wave Privileges page, when the user tries to add permissions or edit permissions, the user can select the pre-install add-ins. Please refer to the screenshot below:
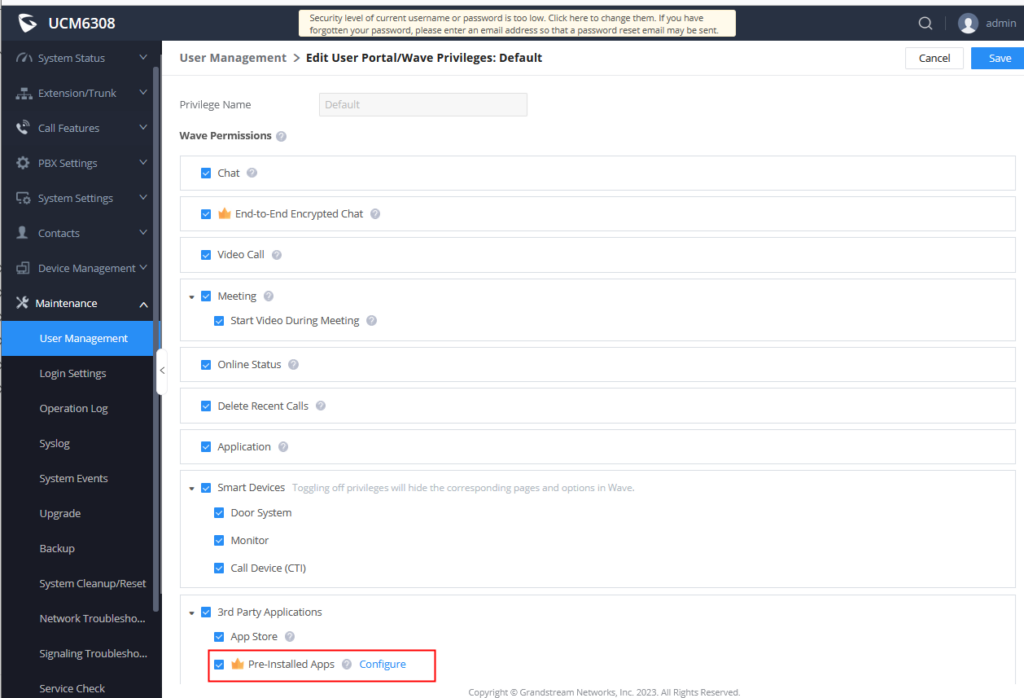
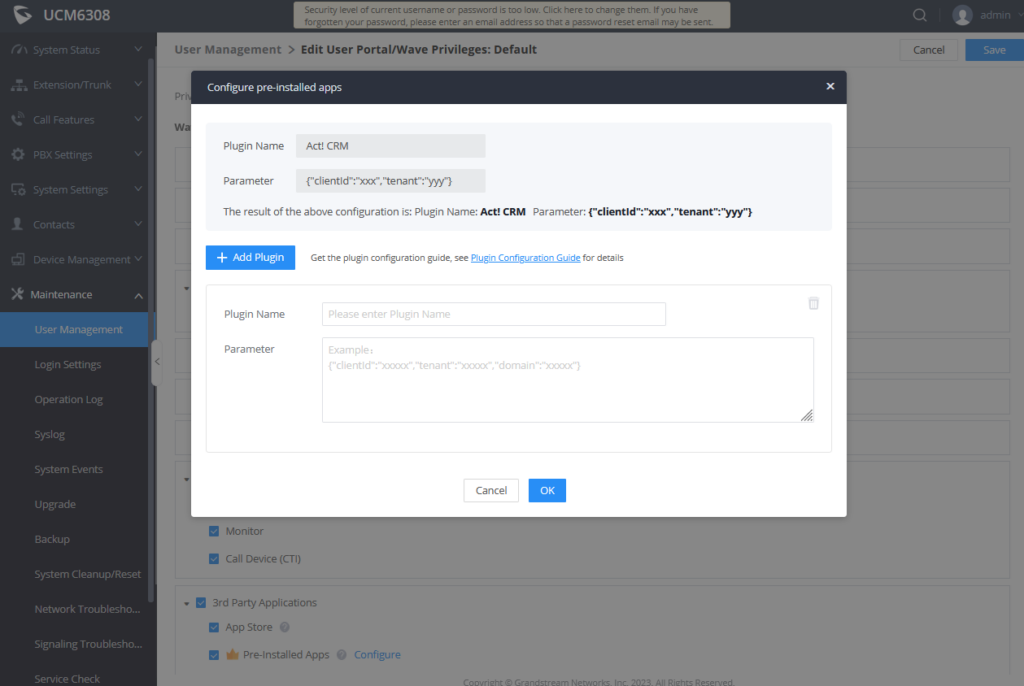
3. Click the “Configure” button to access the “Configure pre-installed apps” configuration page, and the user can click the “Add Plugin” button to add the pre-installed add-ins. Please refer to the section “Wave Add-in and Parameter Configuration Rules” for details.
4. After the permissions are saved, the administrator can access the extension management page and configure the permissions for multiple extensions or a specific extension. When the extension user logs in to the Wave Desktop application, it will automatically install the configured add-ins and log in with the preset parameters.
Wave Add-in and Parameter Configuration Rules
The following table describes the add-ins supported by the Wave Desktop client and related parameters:
Add-in Name | Parameters | Parameter Format (You can copy and paste the parameter to the input box and please replace the "xxxx" with your own parameters.) |
ACT! CRM | Username: Fill in the "Developer Key" | {"username":"xxxxx", "password": "xxxx", "dataBase": "xxxx", "serverAddress": "xxx" } |
Google Drive | / | / |
Bitrix 24 | webhook | {"webhook":"xxxx"} |
Dynamics 365 |
| {"webhook":"xxxxx"} |
Freshdesk |
| {"domain":"xxxx","apikey":"xxxx"} |
HubSpot | / | / |
IPVideoTalk |
| {"account":"xxxx","password":"xxxx"} |
Office 365 | / | / |
Salesforce | domain | {"domain":"xxxxx" } |
Sugar CRM |
| {"hostAddress":"xxxx","username":"xxxx","password":"xxxx"} |
Vtiger CRM |
| {"host":"xxxx","username":"xxxx","accessKey":"xxxx"} |
Zendesk | token: Please use the "API Secret" | {"token":"xxxx"} |
Zoho CRM | Host: Select the regional server from one of the regions below: "US", "CN", "EU", "IN", "AU" any other content is invalid. AU - Australia | {"host":"xxxx"} |
Whatsapp Business |
| {"config":[{"name":"xxxxx","accessToken":"xxxxx","payloadKey":"xxxxx","webhooksUrl":"xxx","phoneNumIDList":["xxxxx","xxxxx"]} |
Odoo CRM |
| {"username":"xxxxx","password":"xxxxx","dataBase":"xxxxx","serverAddress":"xxxxx"} |
Less Annoying CRM | access_token: Fill in the "API Key" | {"access_token":"xxxxx"} |
Monday Sales CRM | / | / |
Oracle Netsuite | / | / |
Capsule | / | / |