Overview
Email is a very useful and widely-used way to relay information in businesses, for that reason, the UCM is equipped with an email client which is used to send important alerts, reports, documents and general information. For demonstration purposes, we are going to use Gmail as an SMTP server.
Types of Emails
There are many features in the UCM63XX that rely on email, in this list below, you will find all the features that require email settings to be configured to function properly.
Multimedia Meeting Schedule |
Meeting Report |
Wave Welcome |
Call Queue Statistics |
Missed Calls |
Scheduled Meetings Report |
SLA Alert |
Alert Events |
Emergency Calls |
PMS |
Fax Sending |
Reset Password |
Fax |
CDR |
Remote Registration |
Voicemail |
Extension |
Prerequisites
- A Gmail account that will be used exclusively by the UCM to send the emails.
- 2-step authentication must be enabled on that specific Gmail account.
Please refer to this link to see how to enable 2-step authentication: https://support.google.com/accounts/answer/185839
Generate App Password
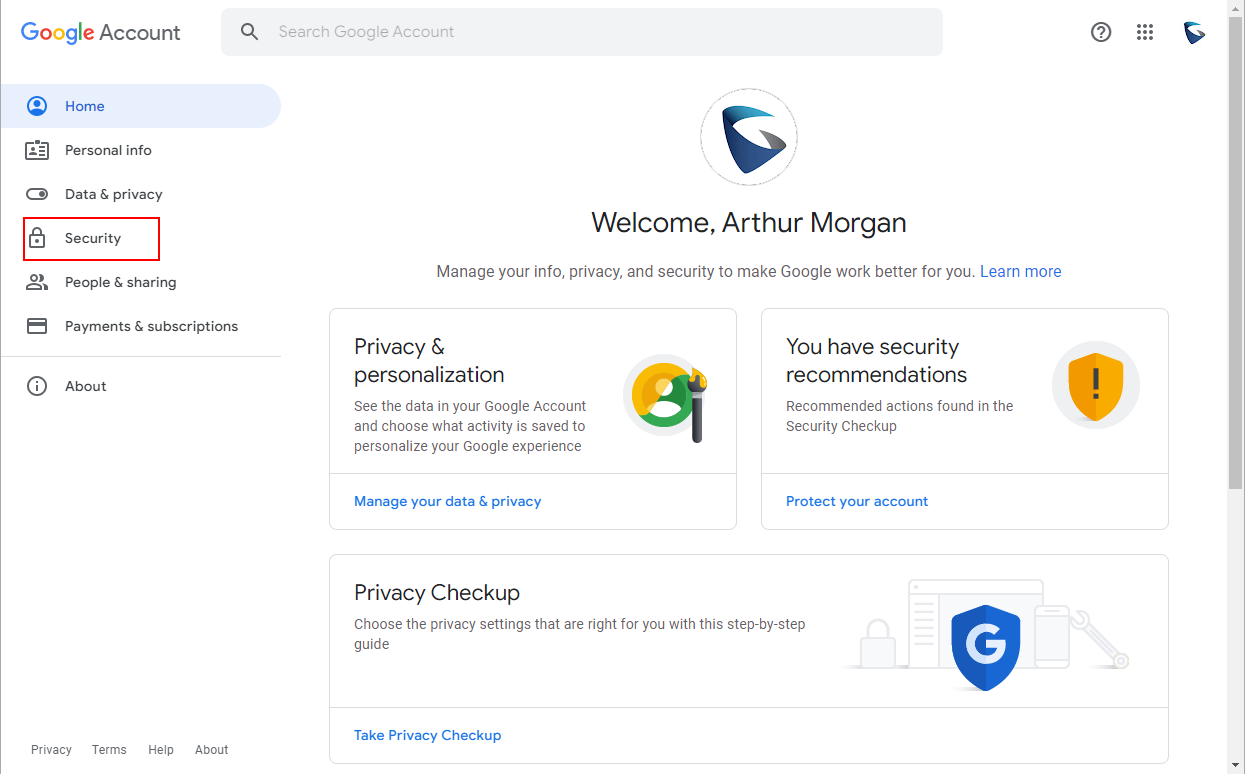
First, we will have to generate a password and to do that please log into the Gmail account that you have created, then access myaccount.google.com
Please navigate to “Security” tab as shown in the figure below
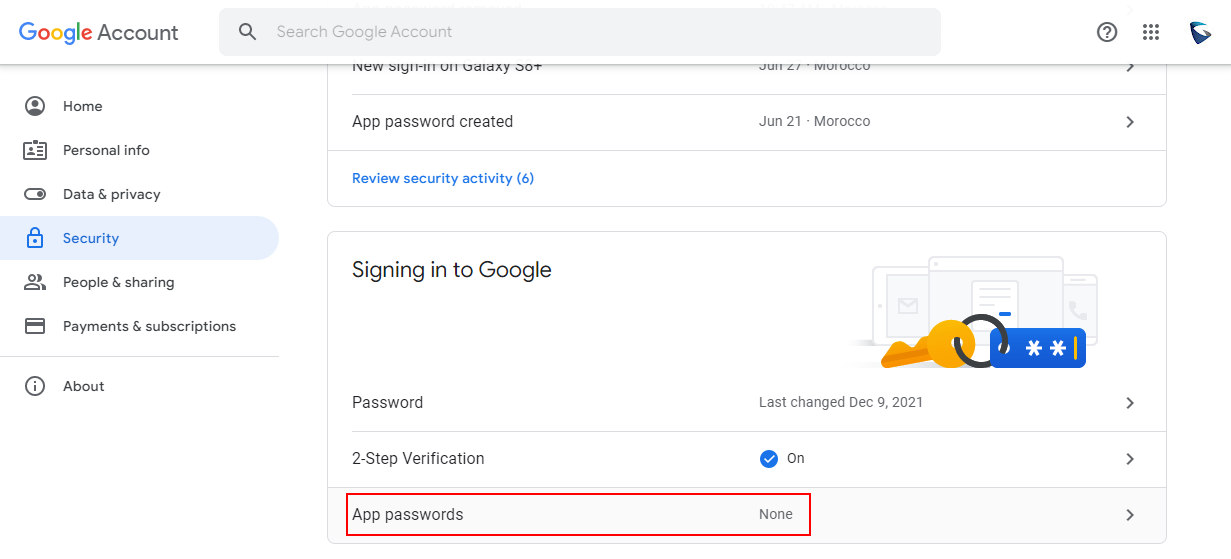
Scroll down and find “App password” setting and click on it.
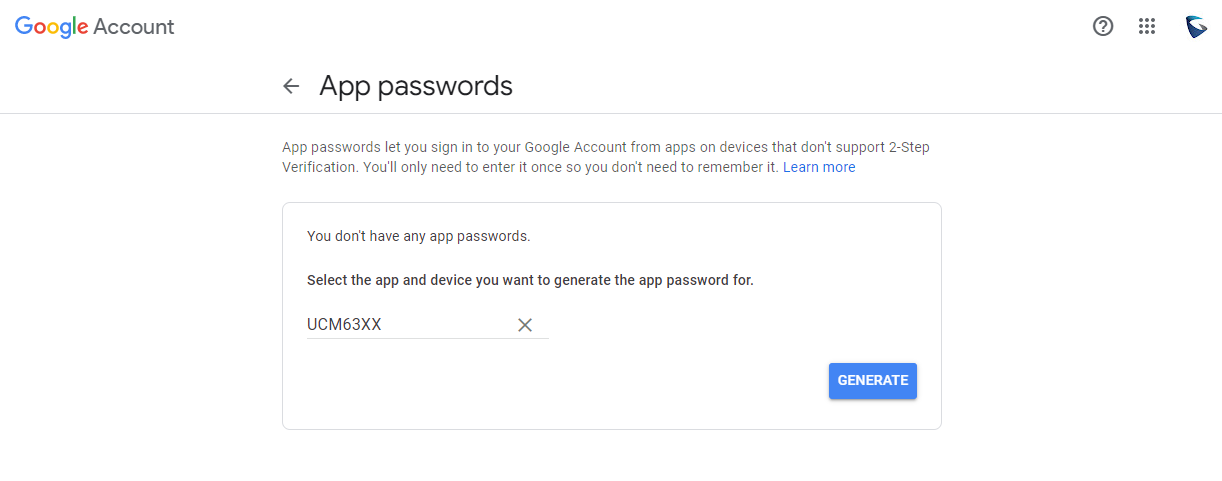
Enter the password to authenticate again, then select the device as “Other” as shown below
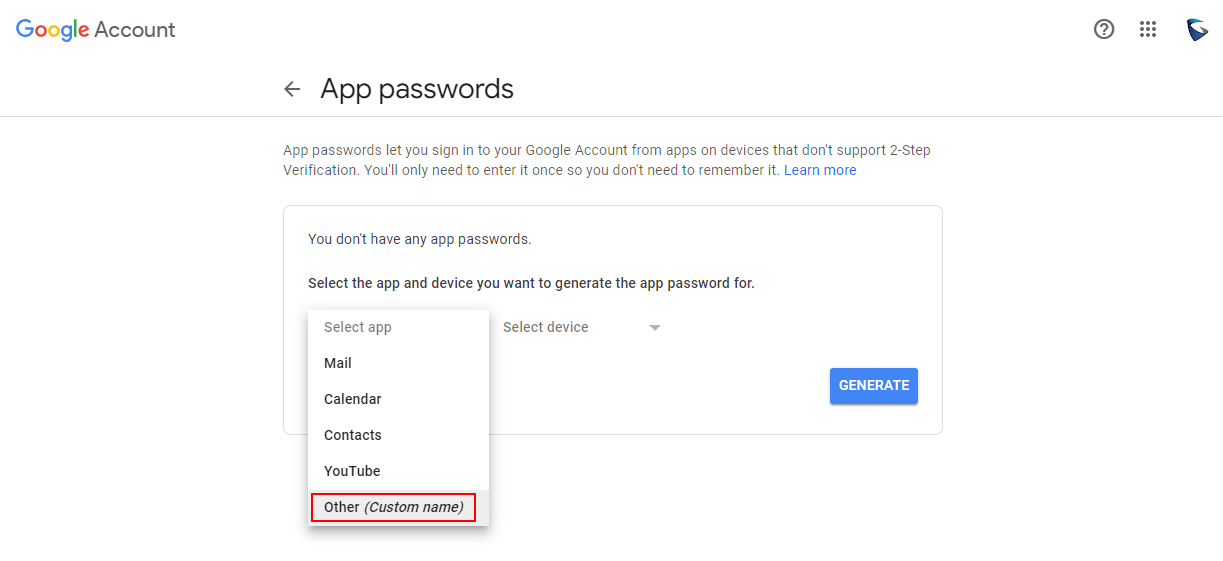
Enter a custom name then click on ![]()
Then your app password will appear in the yellow box as shown below
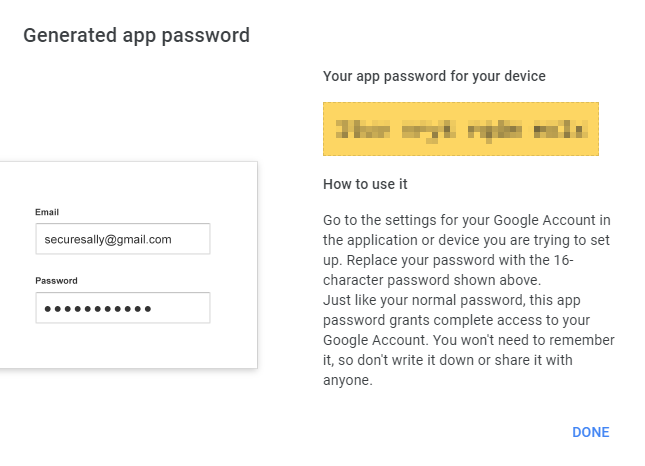
Please copy that password to a notepad and save it for the next step.
Email Settings Configuration on the UCM
To set up the email client on the UCM63XX, please navigate to UCM Web GUI🡪System Settings🡪Email Settings.
Select “Client” for the Type.
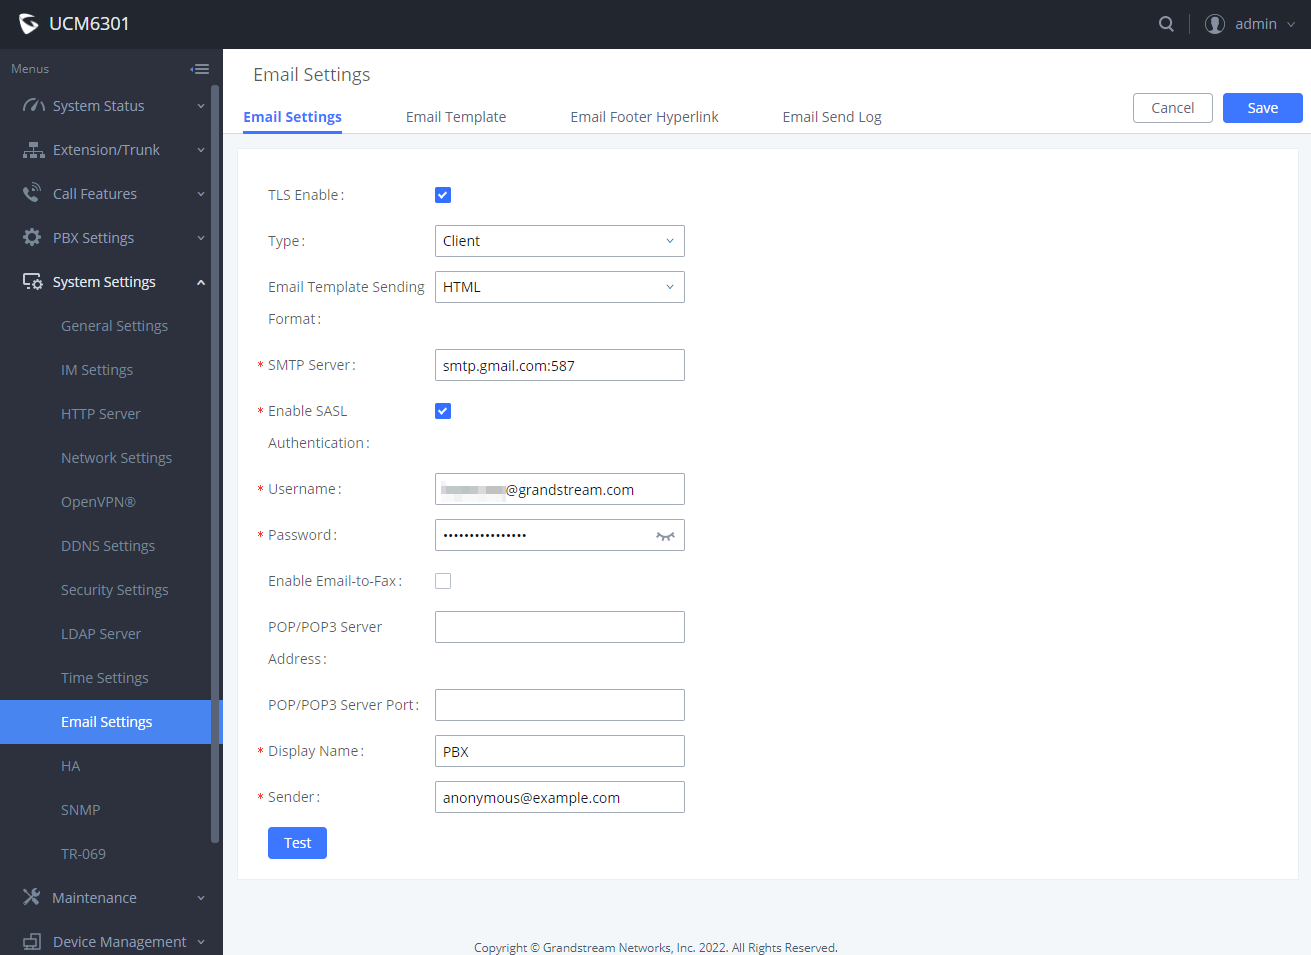
- SMTP Server: Please enter smtp.gmail.com as the SMTP server address and use port 587 for smtp over TLS. For more information on Gmail SMTP server, please refer to https://support.google.com/mail/answer/7126229#zippy=%2Cstep-change-smtp-other-settings-in-your-email-client
- SASL Authentication: Please enable this option as it is required for authentication.
- Username: Enter the address email.
- Password: Enter the app password that we have generated earlier.
- Display Name: Choose the name that you want to be displayed in the email.
Then click on ![]() and
and ![]()
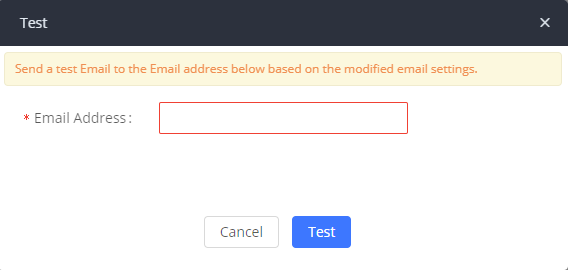
To test if the email settings are working, please click on ![]()
Then enter the email address that you want to send an email test to
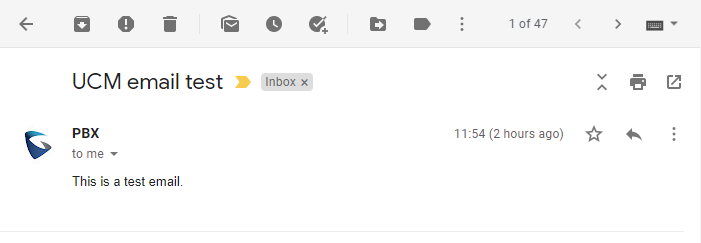
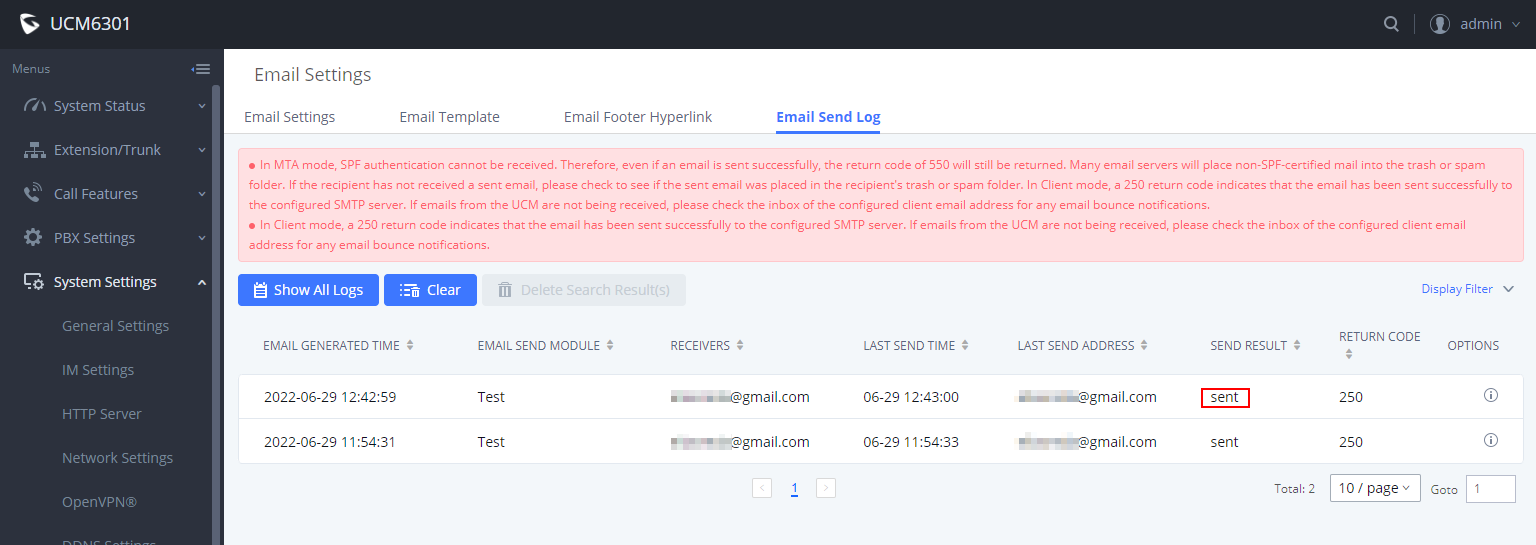
Once the test email has been sent, the logs will be updated showing whether the email has been sent successfully or not.
The test email that has been sent looks similar to the figure below