Introduction
The GWN7672(L) is a new generation enterprise-grade Wi-Fi 7 access point with BE11000, ideal for small-to-medium-sized businesses to build next-generation Wi-Fi networks. It offers tri-band 2×2:2 MU-MIMO with DL/UL Enhanced OFDMA technology and a sophisticated antenna design for maximum network throughput and expanded Wi-Fi coverage range. The GWN7672(L) improves bandwidth utilization and anti-interference ability with Multi-RU and Preamble Puncturing technology. With 4096 QAM modulation, Wi-Fi 7 achieves a significant increase in data transfer rates. MLO technology optimizes spectrum resource utilization to ensure a smooth experience for every user. To ensure easy installation and management, the GWN7672(L) uses a controller-less distributed network management design in which the controller is embedded within the product’s Web user interface. The GWN7672(L) is also supported by GDMS Networking and GWN Manager, Grandstream’s cloud and on-premise Wi-Fi management platform. It is the ideal Wi-Fi AP for voice-over-Wi-Fi deployments and offers a seamless connection with Grandstream’s Wi-Fi-capable IP phones. With support for advanced QoS, low-latency real-time applications, mesh networks, captive portals, BT location with BLE 5.3, 384 concurrent clients per AP, and 2 x 5 Gigabit network ports with PoE+, GWN7672(L) is an ideal Wi-Fi access point for medium wireless network deployments with medium-to-high user density.
Package Content
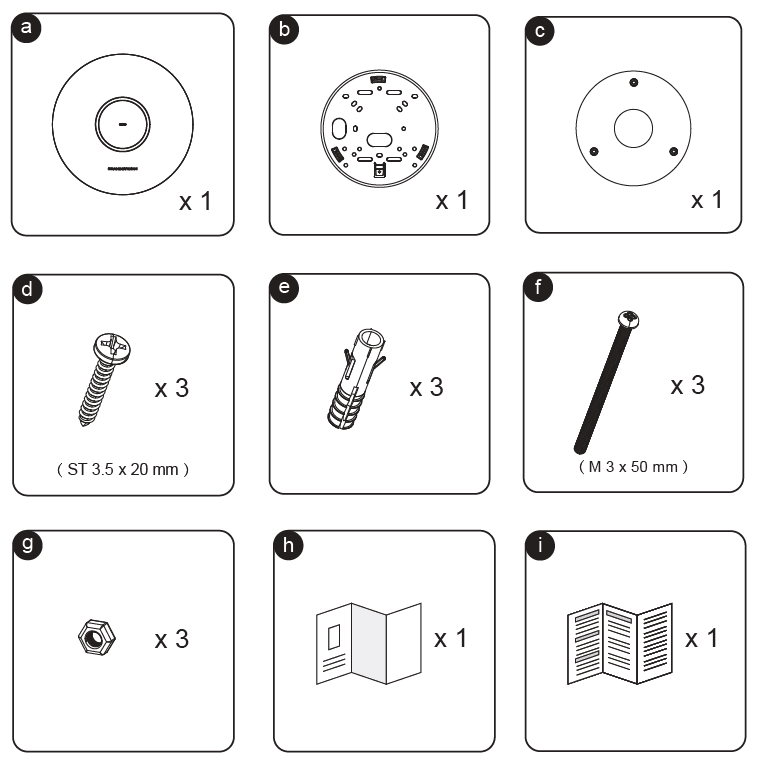
| a | 1x GWN7672 Access Point |
| b | 1x Ceiling Mount Bracket |
| c | 1x Wall Mount Bracket |
| d | Screws (PM 3.5*20) x3 |
| e | 3x Mounting anchors |
| f | Screws (PM 3*50) x3 |
| g | 3x M3 Nut |
| h | Quick Installation Guide |
| i | Regulatory paper |
Wall Mounting
- Mark Wall Holes: Use the wall mount bracket (c) as a template to mark 3 drill holes.
- Drill Holes: Use a drill to make the 3 holes in the wall.
- Insert Anchors: Insert the plastic anchors (f) into the holes.
- Fix Bracket: Align the wall bracket and screw it into the wall using PM 3*50 screws (d).
- Attach Device: Align the GWN7672(L) (a) with the bracket and slide it down into place.
Ceiling Mount
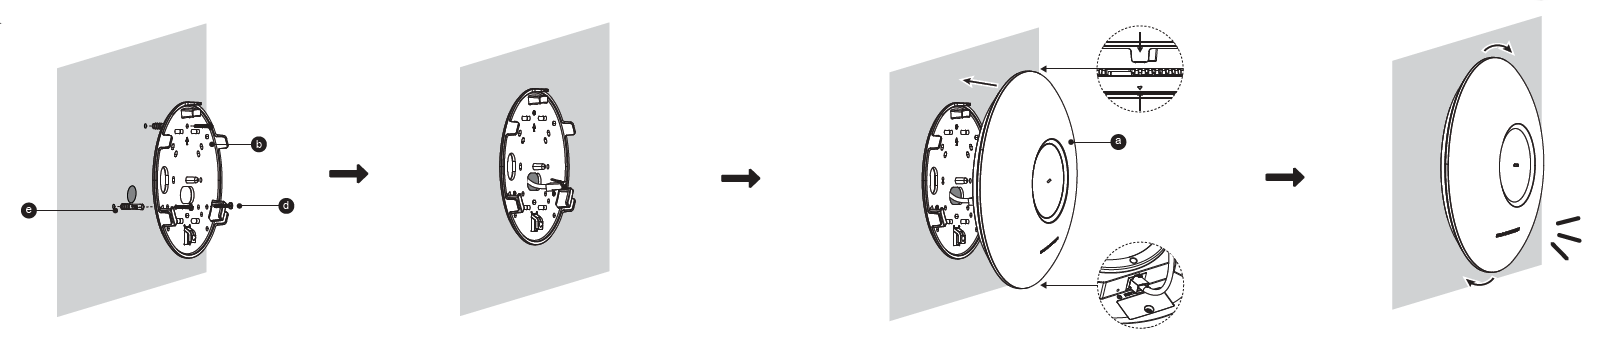
- Mark Ceiling Holes: Use the ceiling mount bracket (b) to mark 3 ceiling holes.
- Drill Holes: Make 3 holes at marked positions.
- Insert Anchors: Insert the mounting anchors (e).
- Fix Bracket: Use PM 3.5*20 screws (d) to secure the ceiling bracket.
- Mount AP: Push and rotate the device (a) to lock it onto the bracket.

Powering on The Device
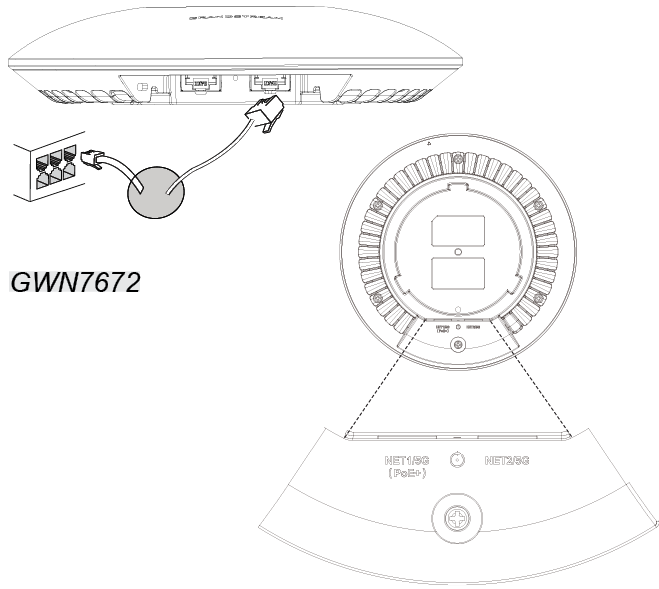
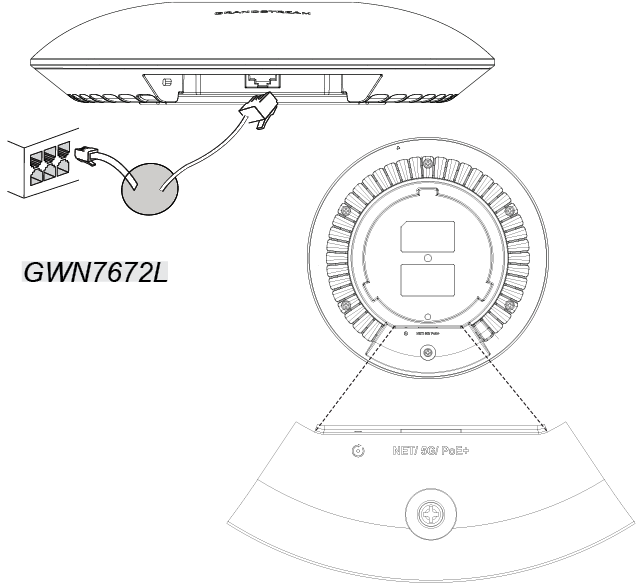
Connect an Ethernet cable to the PoE+ port from a PoE+ capable switch (or injector).
The LEDs will begin to light up to indicate booting.
- GWN7672
- GWN7672L
Accessing the WebUI
- Connect Your PC to the same network as the GWN7672(L).
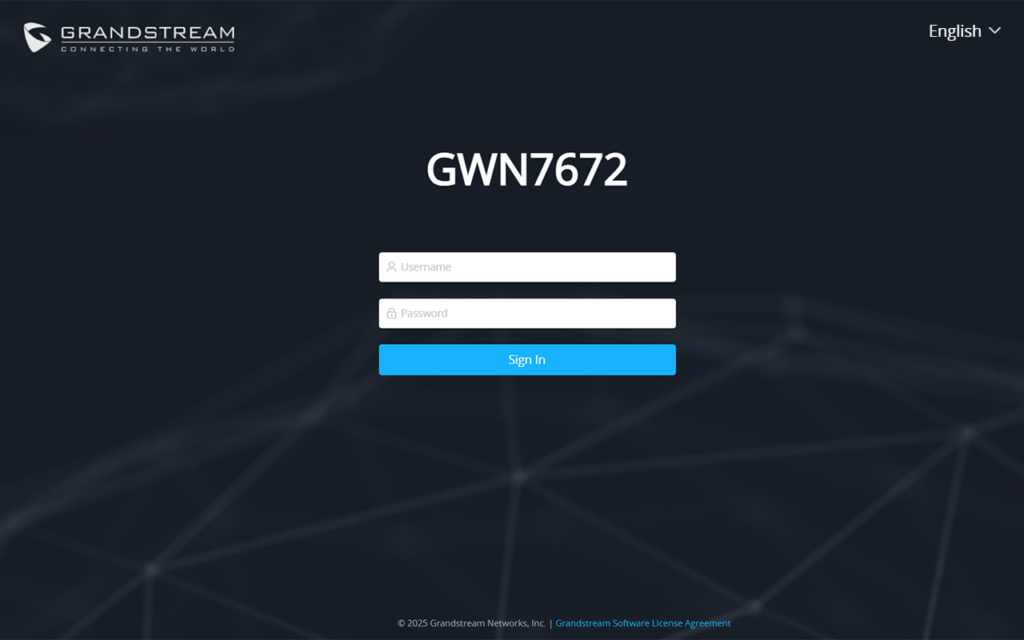
- Open the Browser and go to:
https://gwn_<MAC>.local- Replace
<MAC>with the last 6 characters of the device’s MAC address (found on the label).
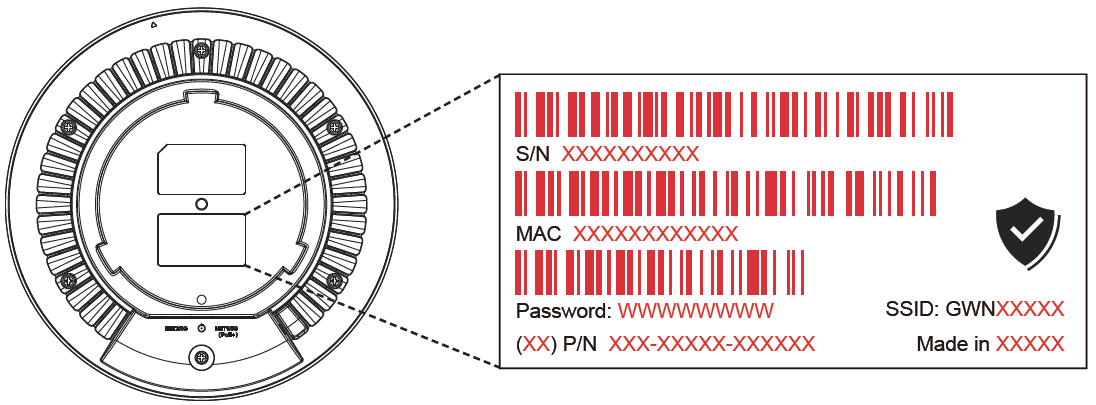
- Log in using default credentials (check device label).
- Change Password on first login as prompted.
Accessing the Cloud
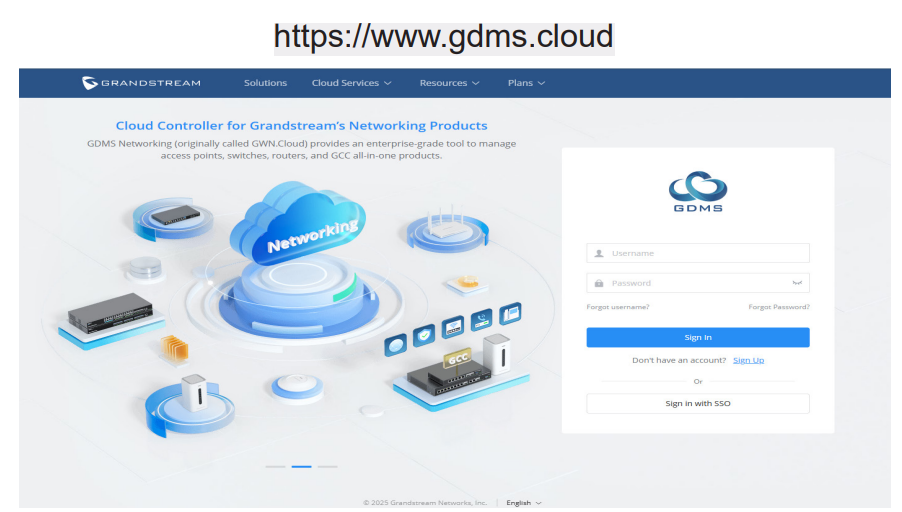
- Visit: https://www.gdms.cloud
- Create/Login to your GDMS account.
- Add Device:
- Click “Add Device”.
- Enter the MAC address and Device Password (both on the label).
- The device will now appear under your cloud dashboard for remote management.